This article describes how to enable OneLogin's Single Sign-on connector using SAML for the AWS IAM Identity Center (successor to AWS SSO).
Prerequisites
- Your organization must have enabled AWS IAM Identity Center.
- Your organization must meet the IAM Identity Center prerequisites as set by Amazon.
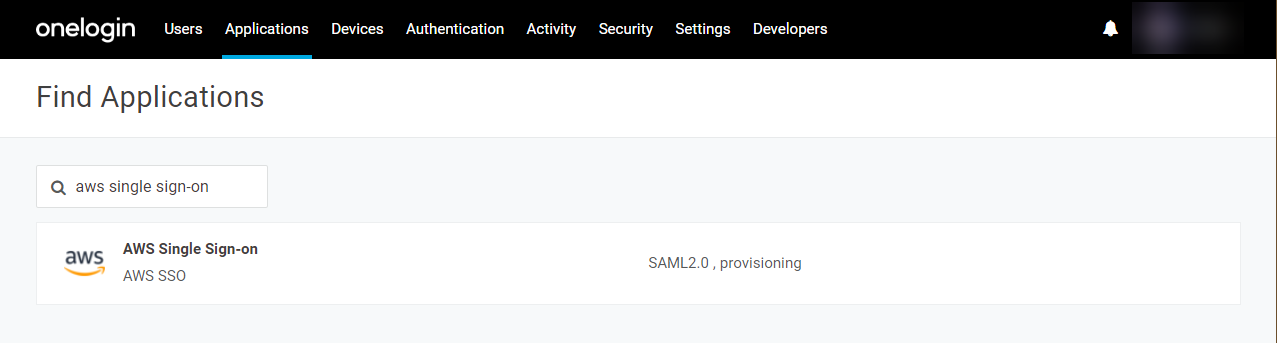
- Sign in to the OneLogin admin portal. Go to Applications > Applications and click Add App.

- Search for and select and select AWS Single Sign-on.
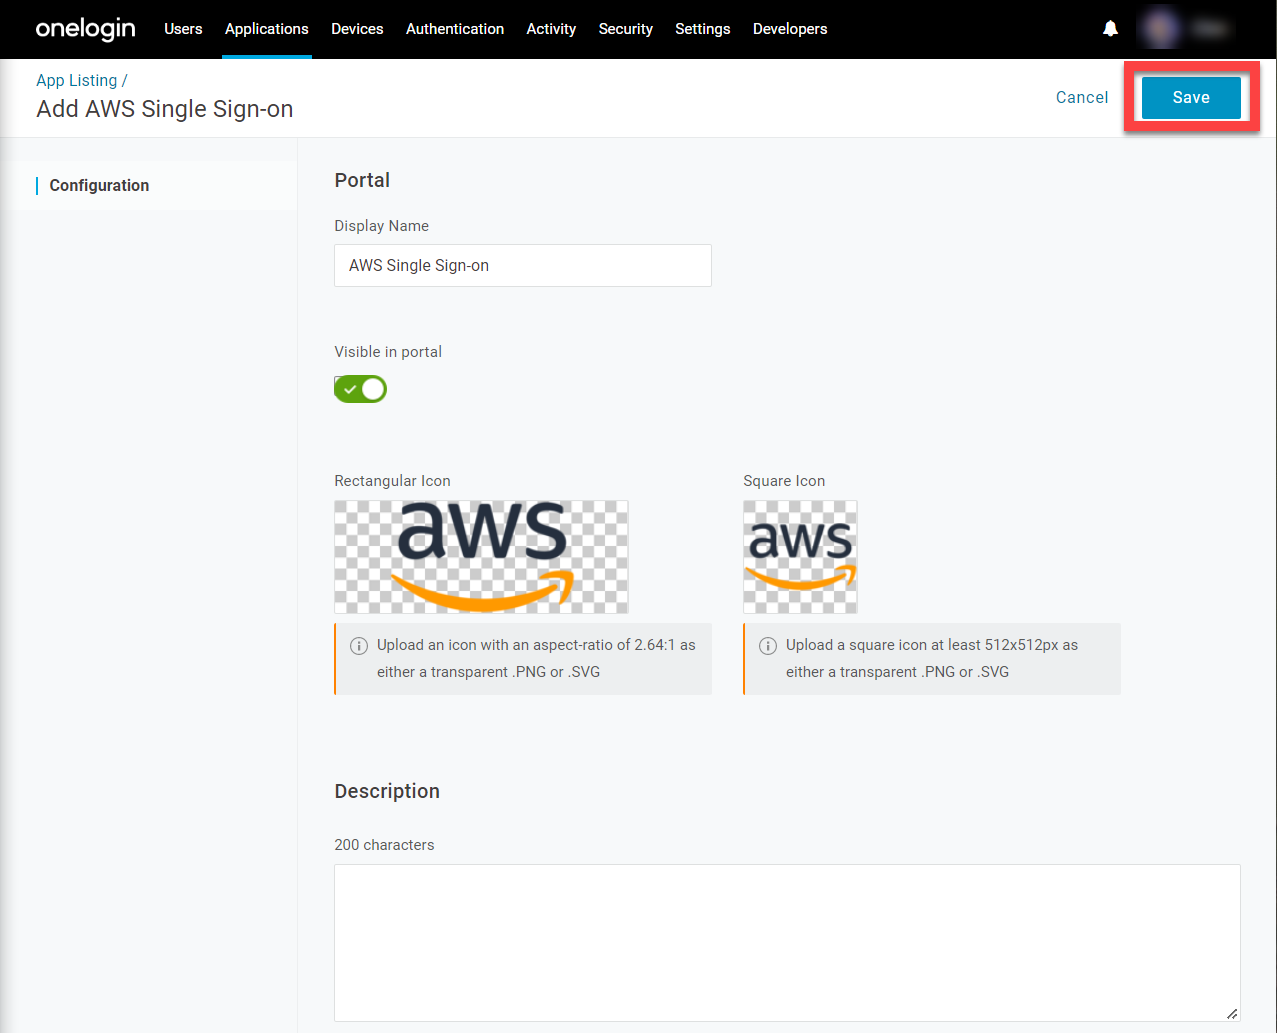
- Customize the app's display information if desired, then click Save.
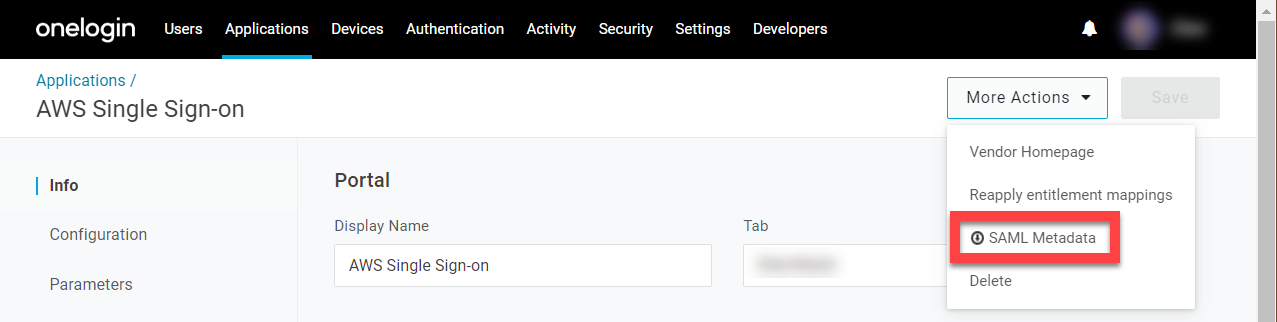
- In the More Actions menu, download the SAML metadata and store the file in a safe place.
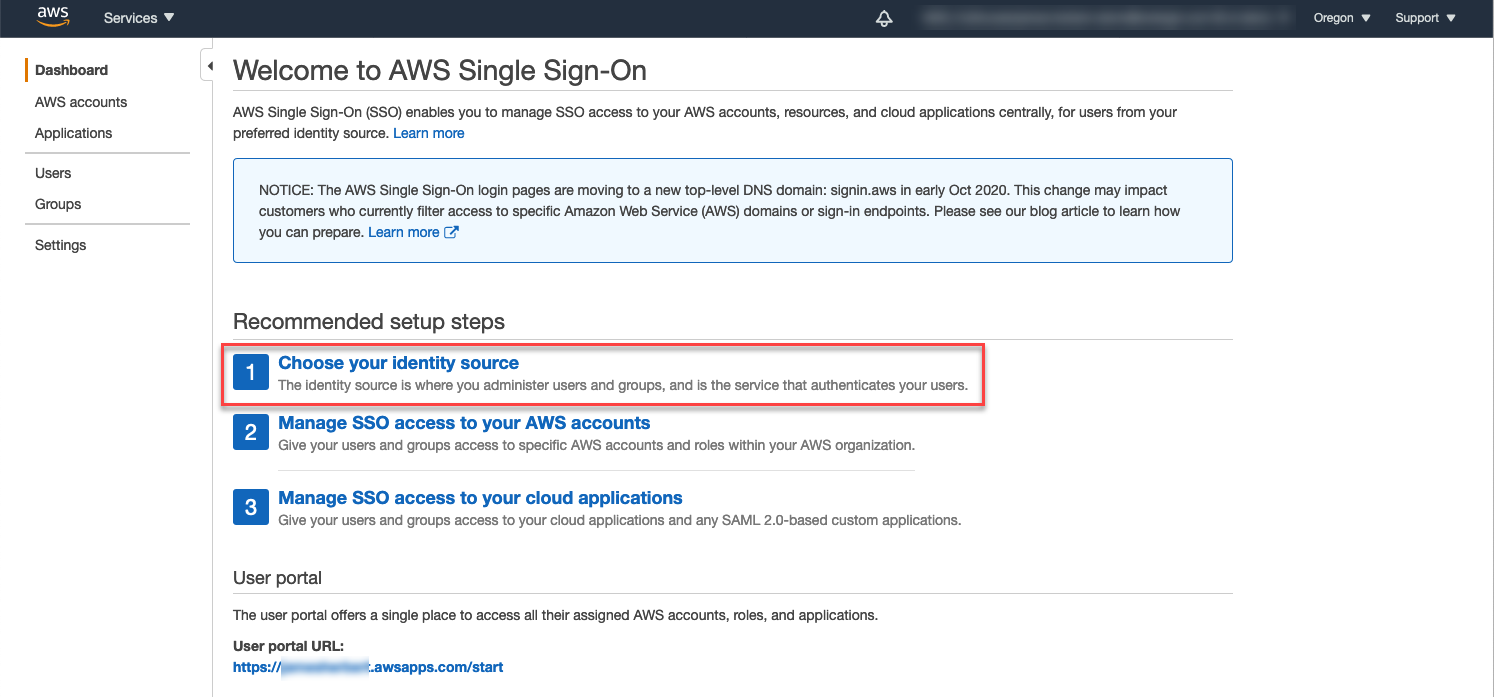
- Open your AWS Management Console in a new tab, go to the IAM Identity Center and click Choose your identity source.
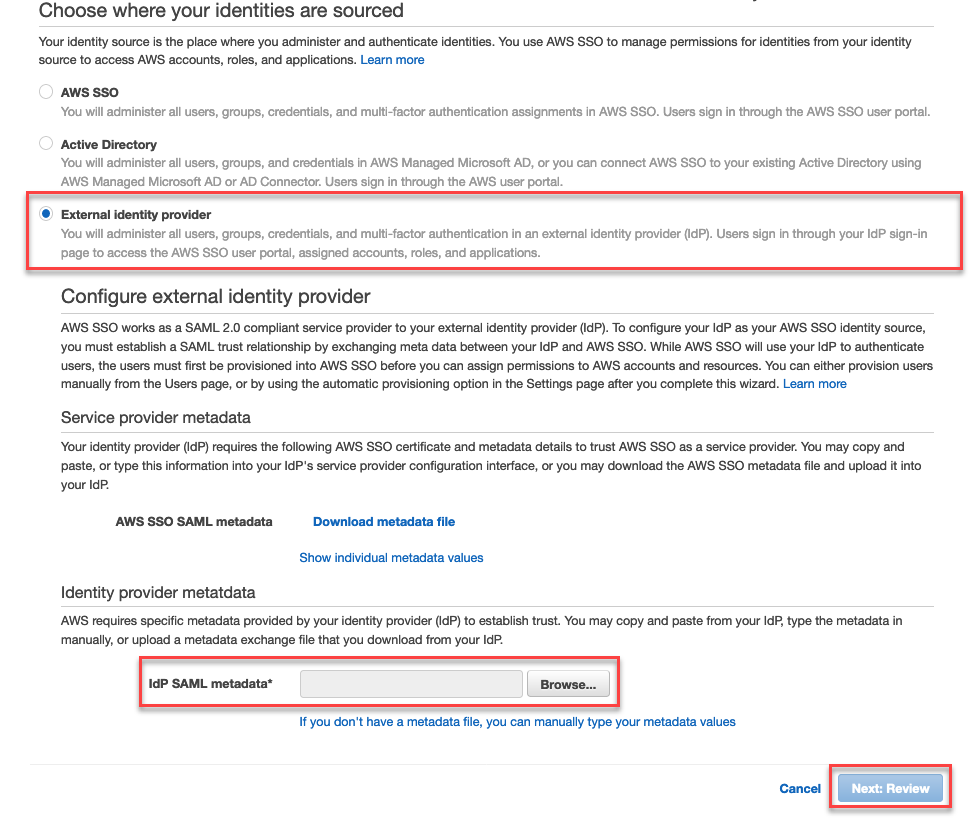
- Select External identity provider, upload the metadata XML file you previously downloaded from OneLogin, and click Next: Review.
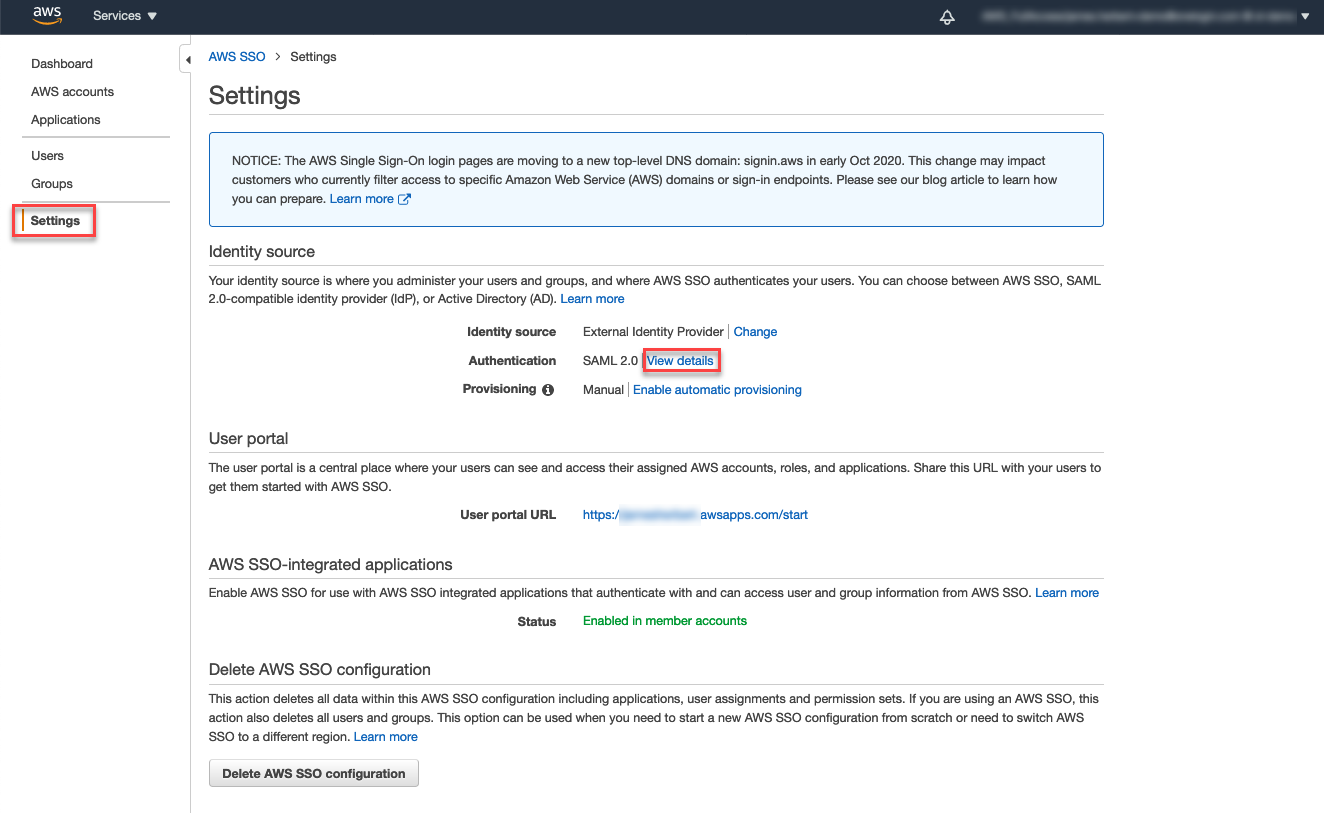
- Go to your Settings and click View Details in the Authentication row under Identity source.
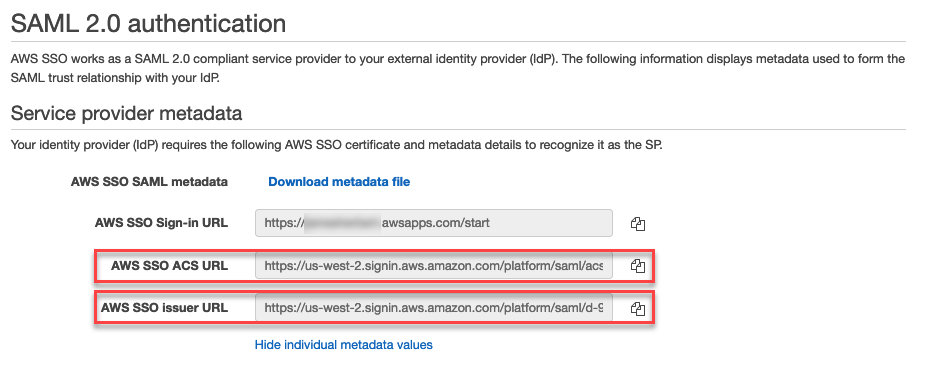
- Copy the AWS SSO ACS URL and the AWS SSO Issuer URL and paste them in a safe location.
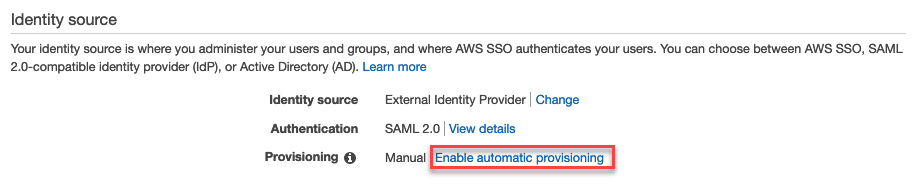
- Return to your settings and click Enable automatic provisioning in the Provisioning row.
- Copy the SCIM endpoint and Access token and paste them in your safe location. Remove the trailing / at the end of the URL.

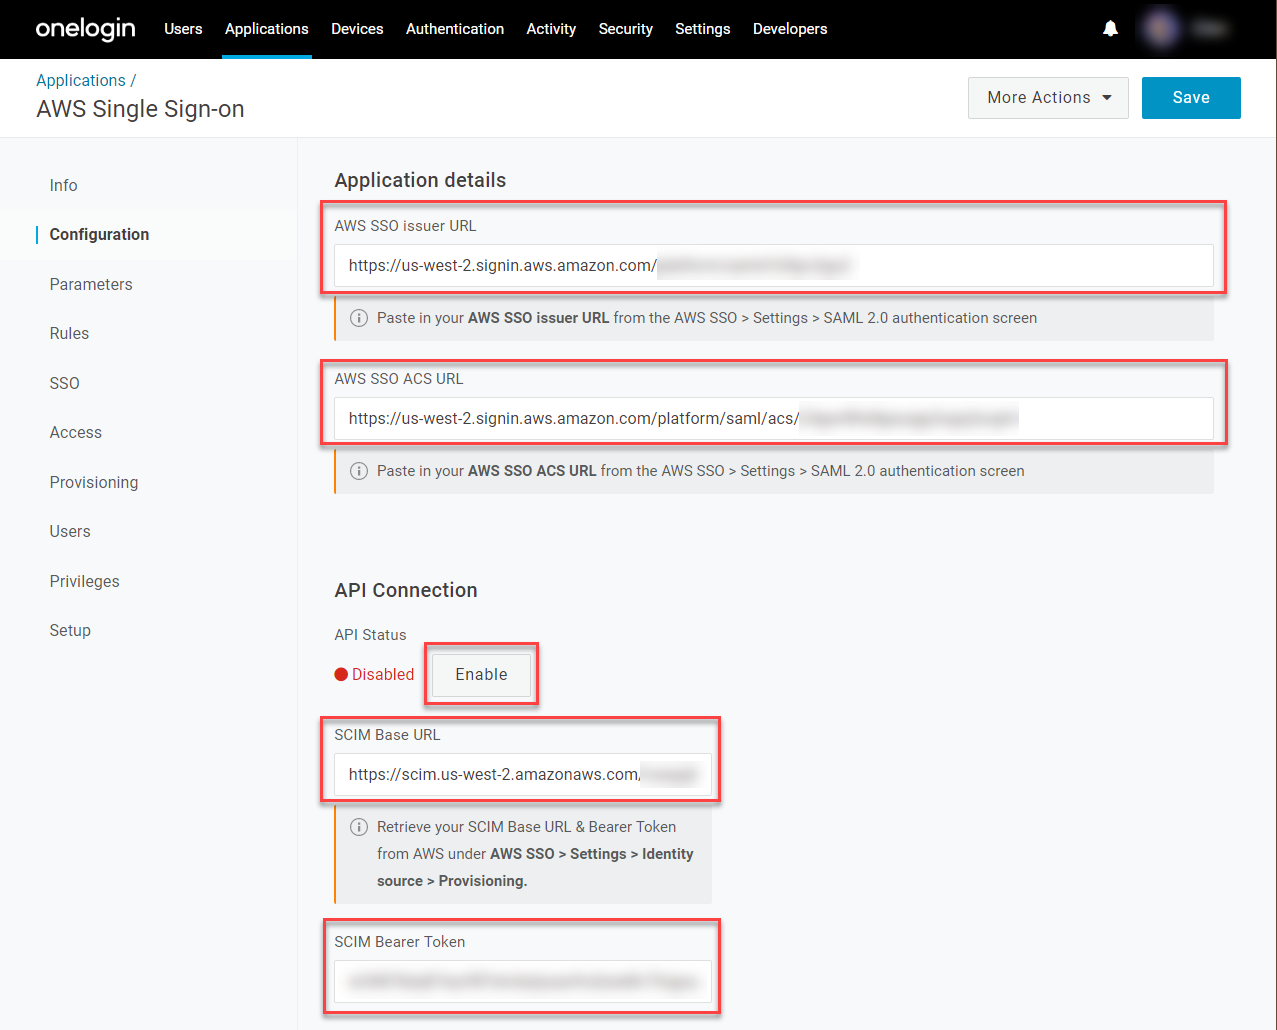
- Return to the OneLogin tab with your AWS app settings and go to Configuration.
- Under Application Details, paste the AWS SSO issuer URL and AWS SSO ACS URL values that you copied from Amazon into their respective fields.
- Under API Connection, paste your SCIM endpoint into the SCIM Base URL field and your Access Token into the SCIM Bearer Token field, then click Enable.
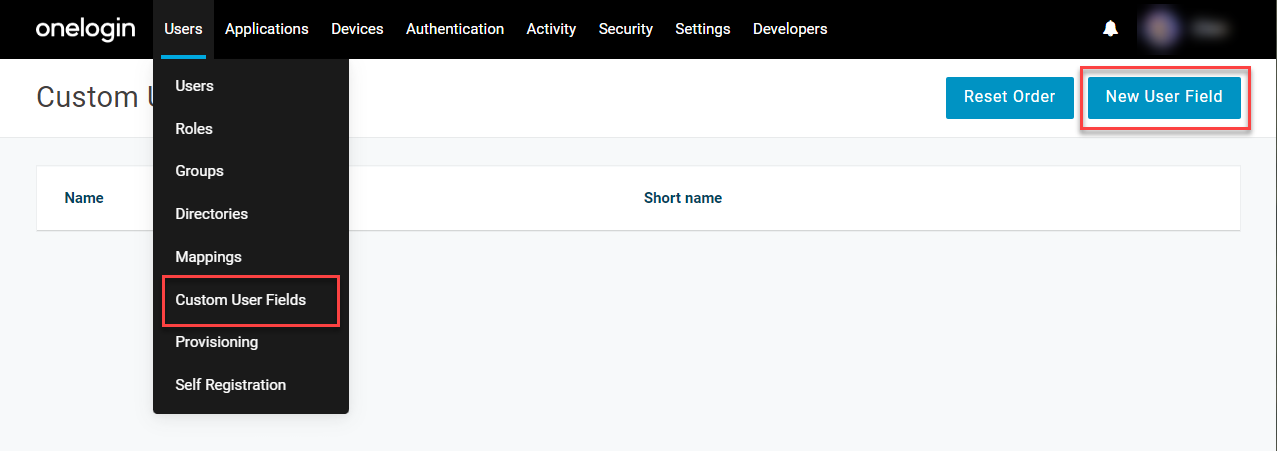
- Go to Users > Custom Fields and create a New User Field.
- Set the Name to
cost-centerand give it a Shortname of your choice.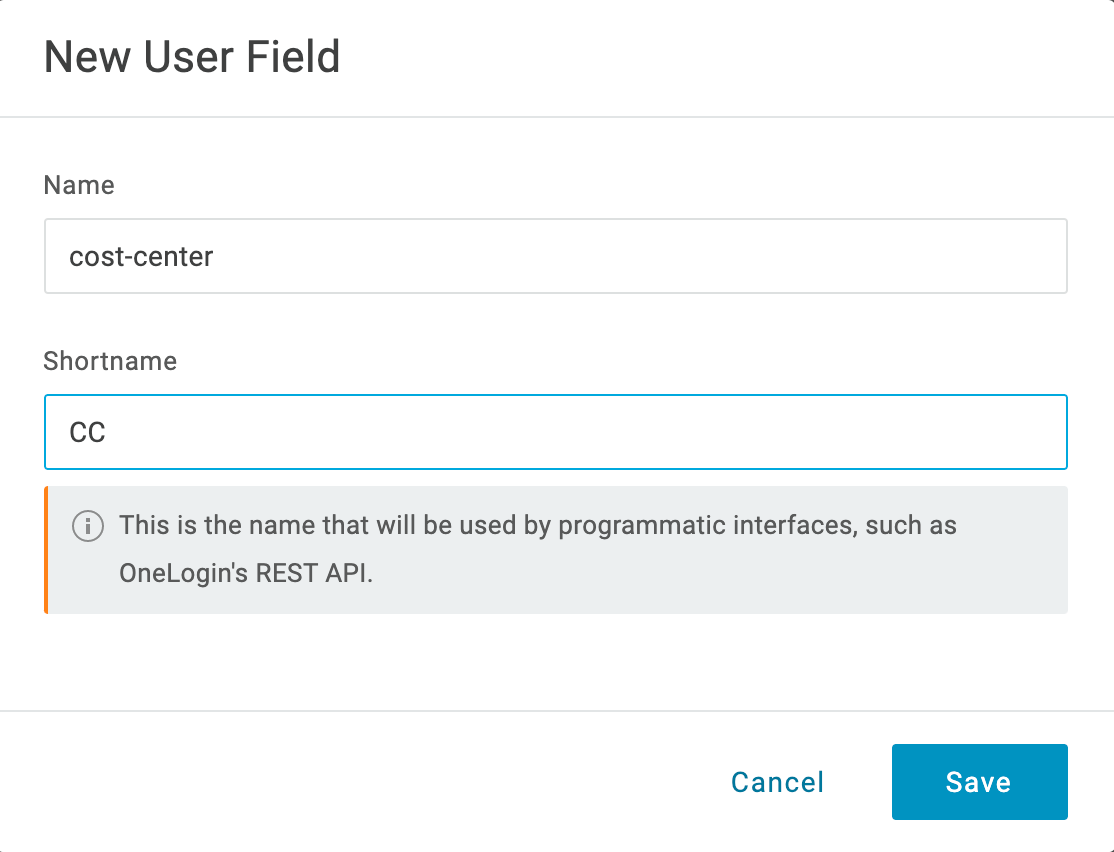
- Return to Applications, open the AWS app you configured, and go to Parameters. Click + to create a custom parameter for configuring Attribute Based Access Control (ABAC) control through session tags.
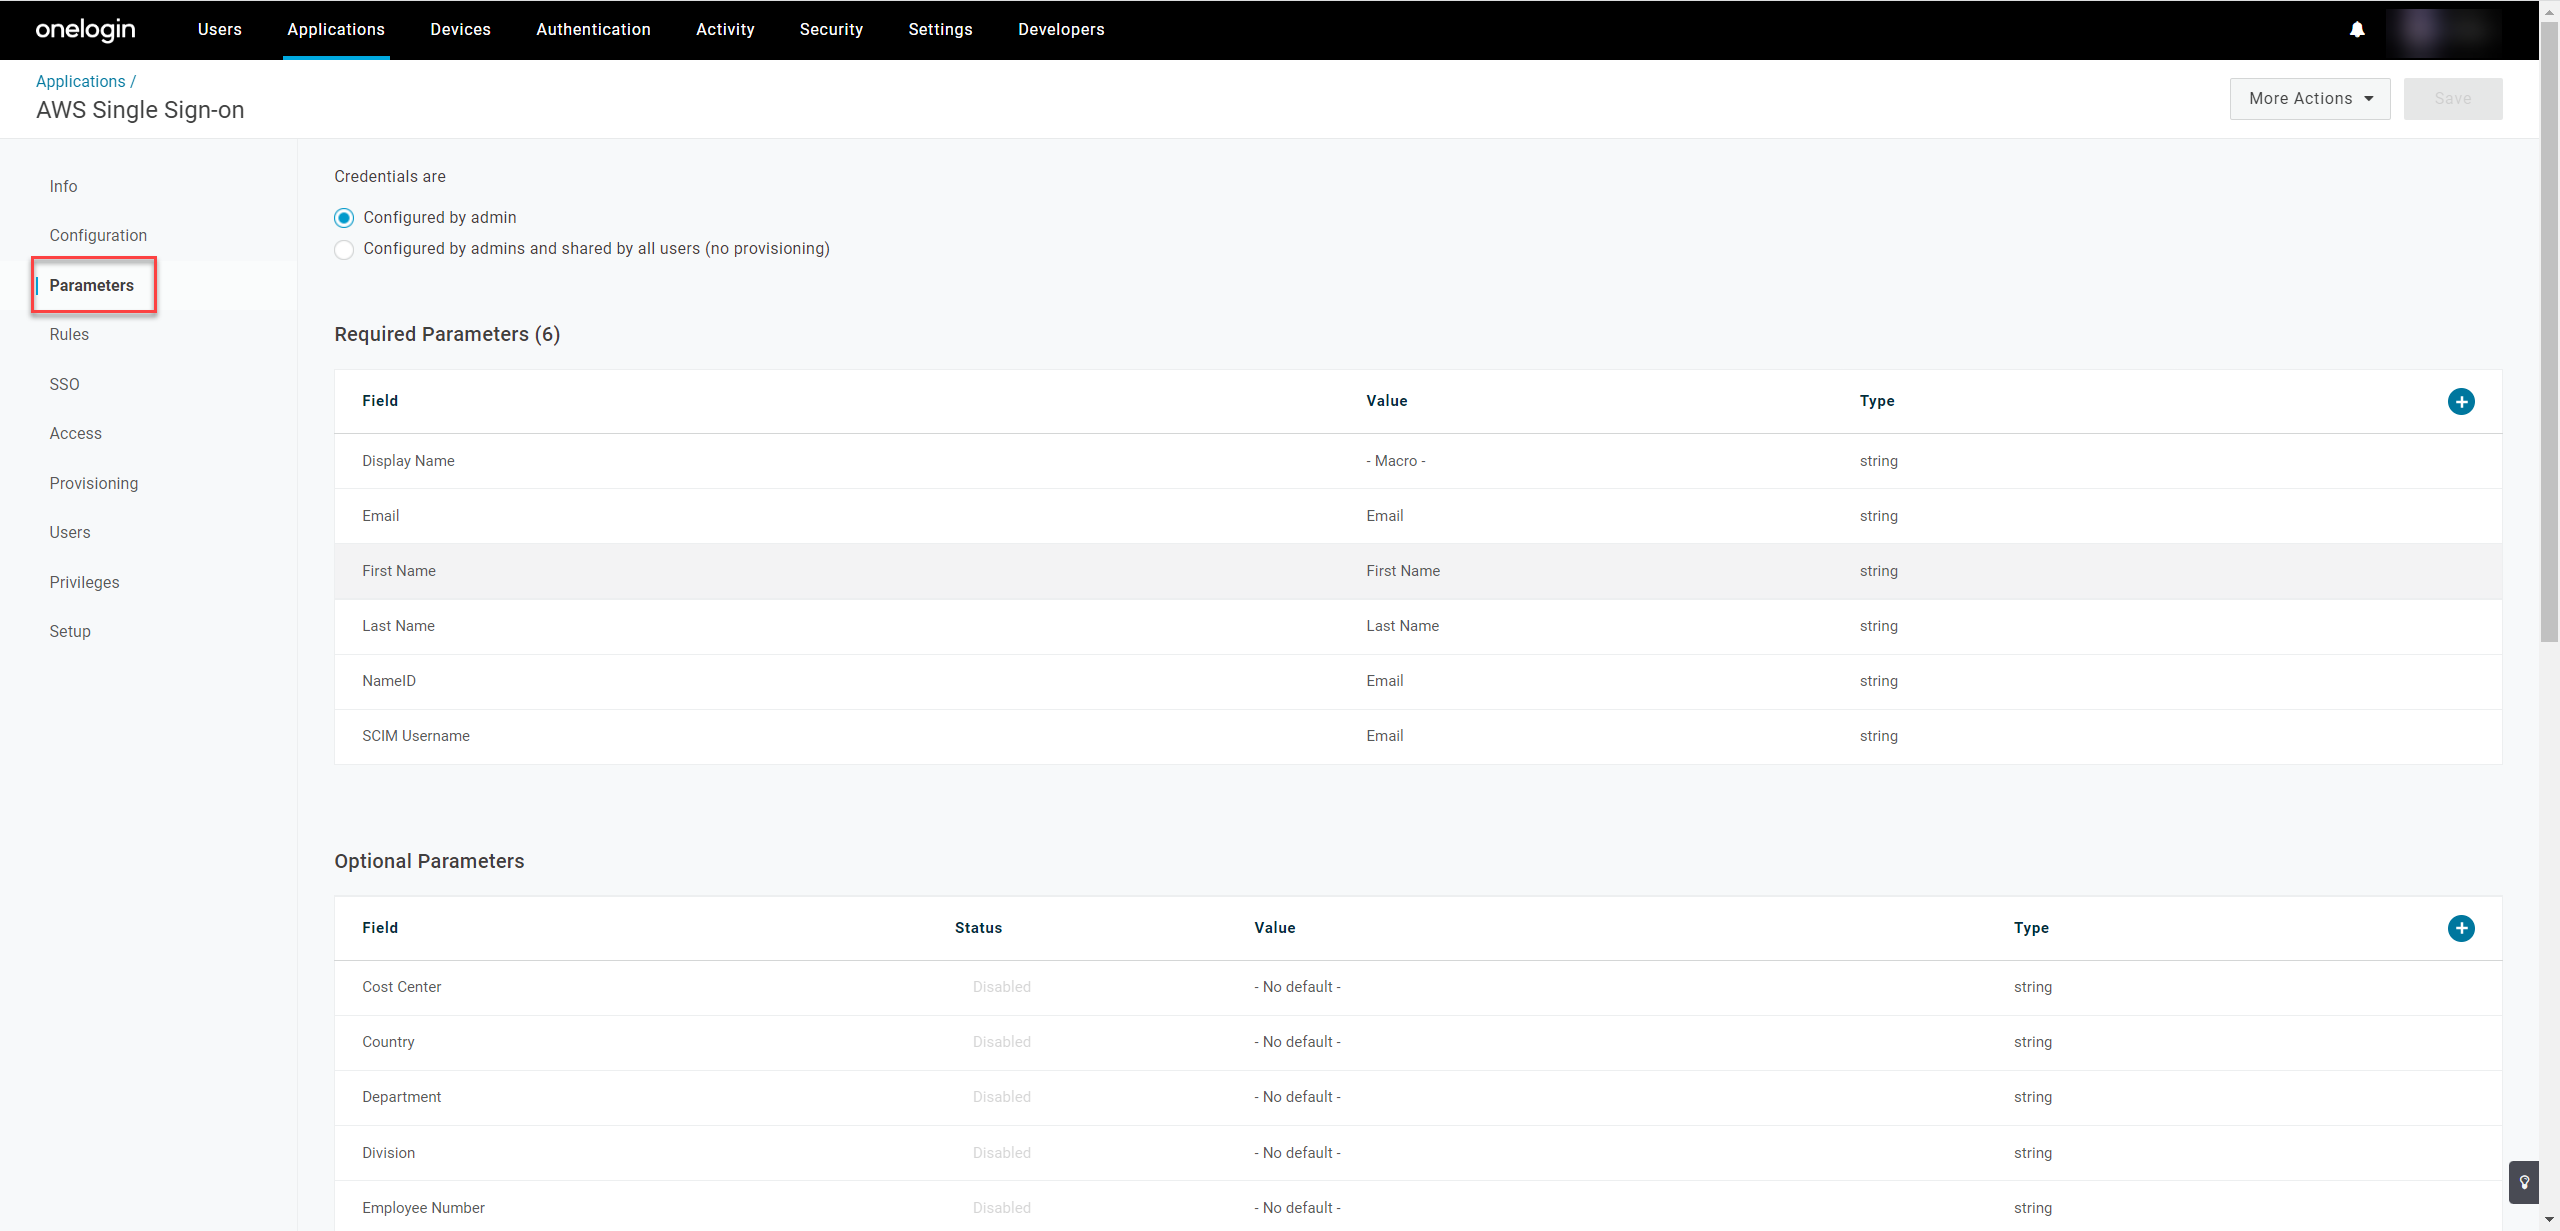 User groups can't be automatically fetched from AWS and must be created in OneLogin and pushed to AWS; for more information on provisioning user groups in OneLogin, see Introduction to User Provisioning.
 - Enter
https://aws.amazon.com/SAML/Attributes/AccessControl:cost-centeras the Field name, verify that Include in SAML assertion is checked, and click Save.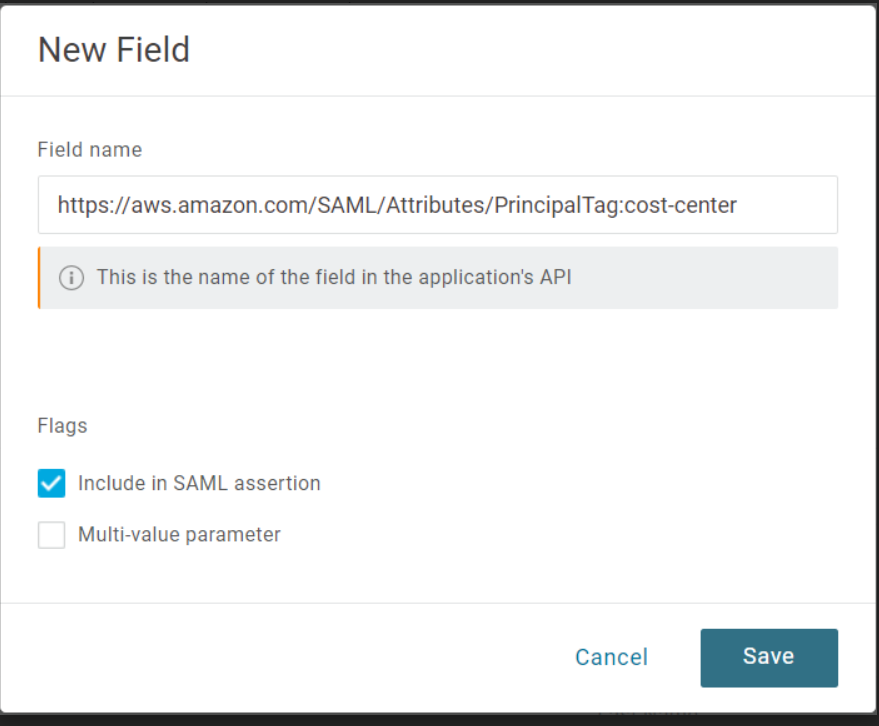
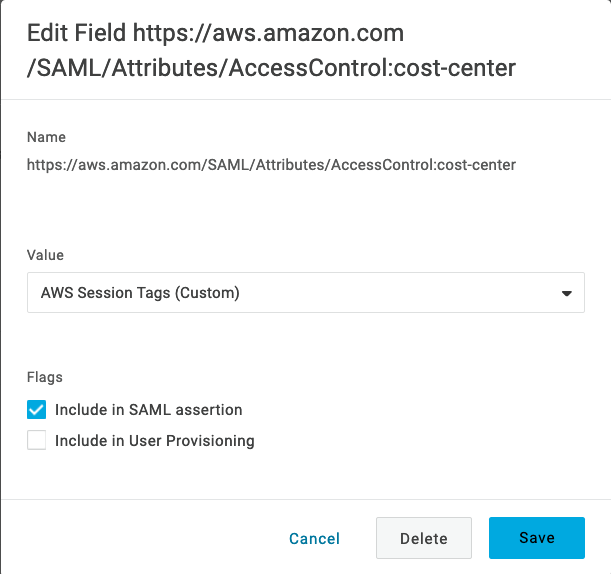
- In the Value dropdown, we recommend using AWS Session Tags (Custom) so that the value for the session tag can be defined at the user level. Alternatively, you can select Macro and enter the value of the session tag to be passed for all users, effectively defining the session tag value at the app level.
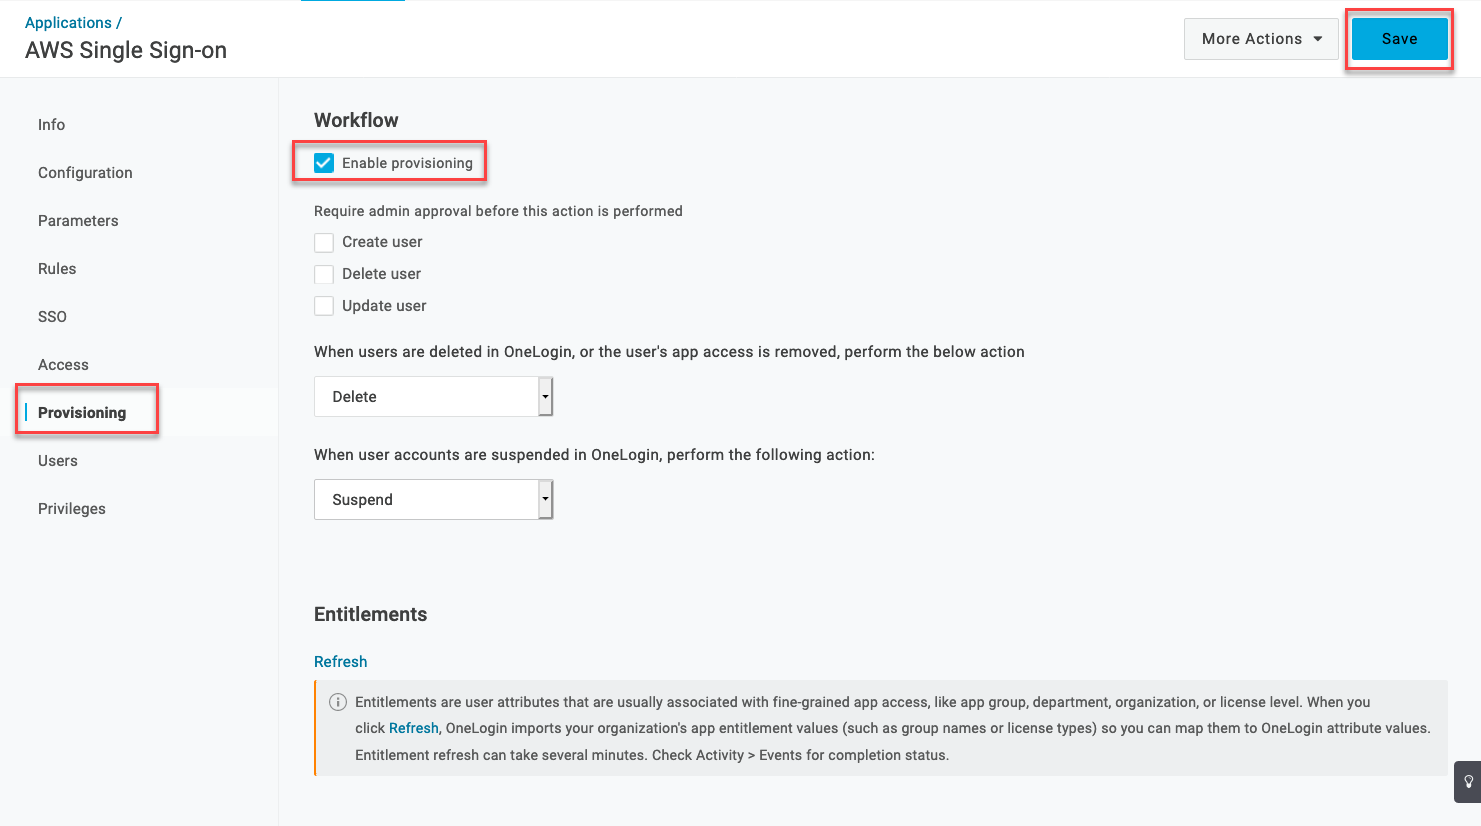
- Go to the Provisioning tab, check Enable provisioning, and click Save.
- Assign the application to a user, open it from their OneLogin portal, and verify that AWS successfully grants them access. Your setup is complete.