The OneLogin directory connector for Microsoft Entra ID (previously known as Azure Active Directory) allows you to migrate users, user details, and statuses into OneLogin, essentially treating Entra ID as your cloud-to-cloud user directory of record.
External Resources
Adding a new Entra ID Connector
-
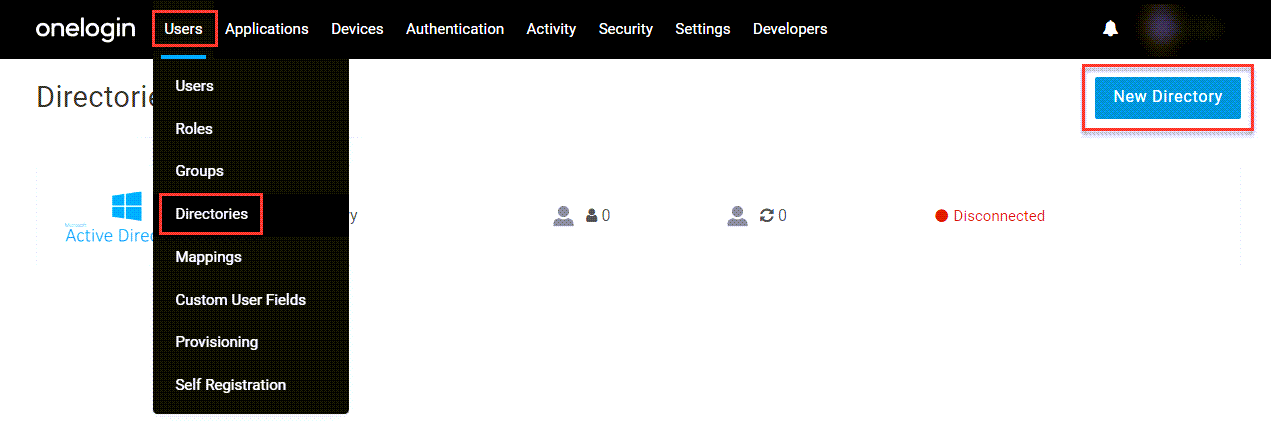
In your OneLogin admin portal, go to Users > Directories and select New Directory.
- From Select a Directory Type, choose Azure Active Directory.

-
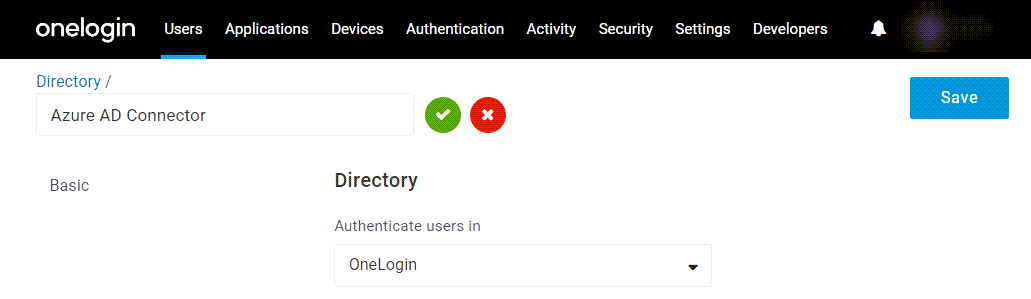
Give the directory an applicable name and select whether you would prefer OneLogin or another directory to manage your user authentication. This is where you intend to manage and store encrypted passwords and other user authentication details. If you choose another integrated directory, you must configure OneLogin to export new users to that directory.
Note: In order to authenticate users against Entra ID, you must set up Entra as a trusted identity provider (TIdP). This will redirect users to authenticate against Entra ID when they access resources that are protected by OneLogin.
-
Save your changes to enable additional configuration fields.
-
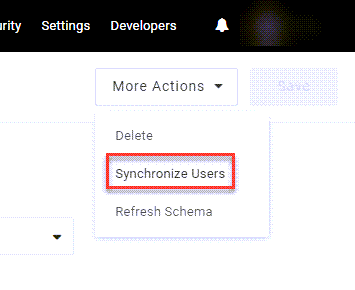
Configure the directory connector as described below. When ready, go to More Actions and select Synchronize Users to initiate your first user import. Once it completes, OneLogin will continue to synchronize changes at the rate selected in your configuration.
Configuring an Entra ID Connector
Basic Configuration
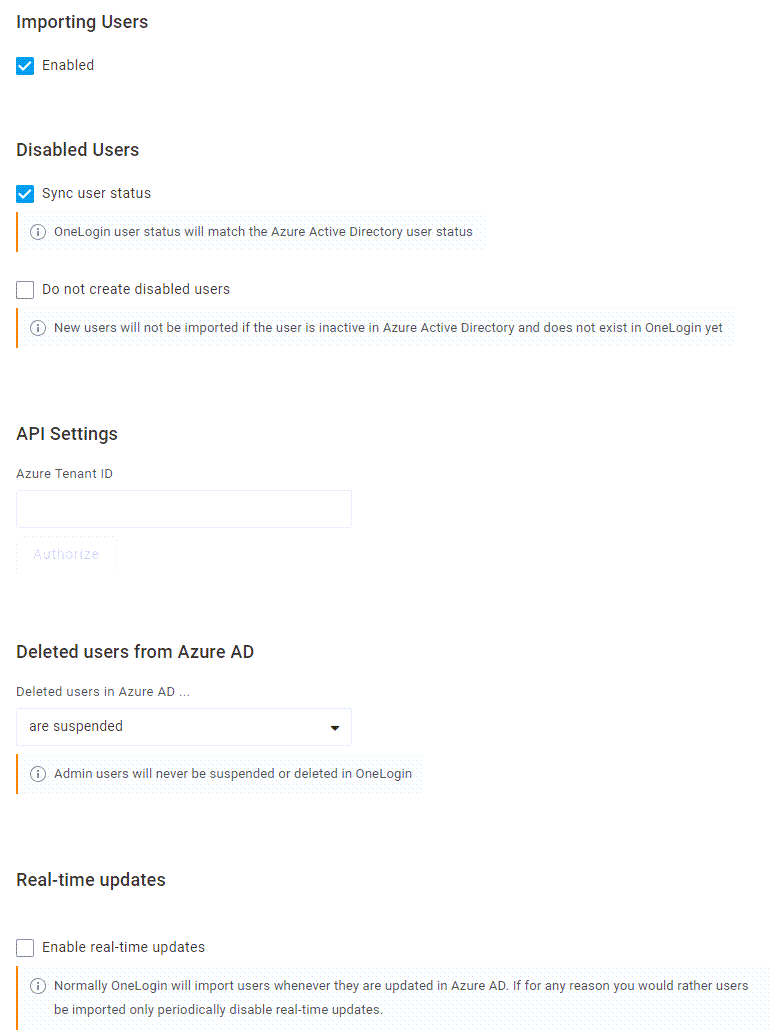
| Importing Users | Enabled by default. To prevent OneLogin from importing your Entra ID users, deselect this option. |
|---|---|
| Disabled Users | Choose how OneLogin should handle users who are disabled in Entra. |
| API Settings | Enter your Microsoft Entra tenant ID, Save your connector, and click Authorize to run the authentication process. When prompted, select an Entra ID role. The minimum role requirements are User Administrator and App Administrator. |
| Deleted users from Azure AD | Choose how OneLogin should handle users who have been deleted in Entra. |
| Real-time updates | Enabled by default. This option allows OneLogin to reflect Entra ID updates whenever they occur. Disable it if you prefer OneLogin to only periodically import changes. |
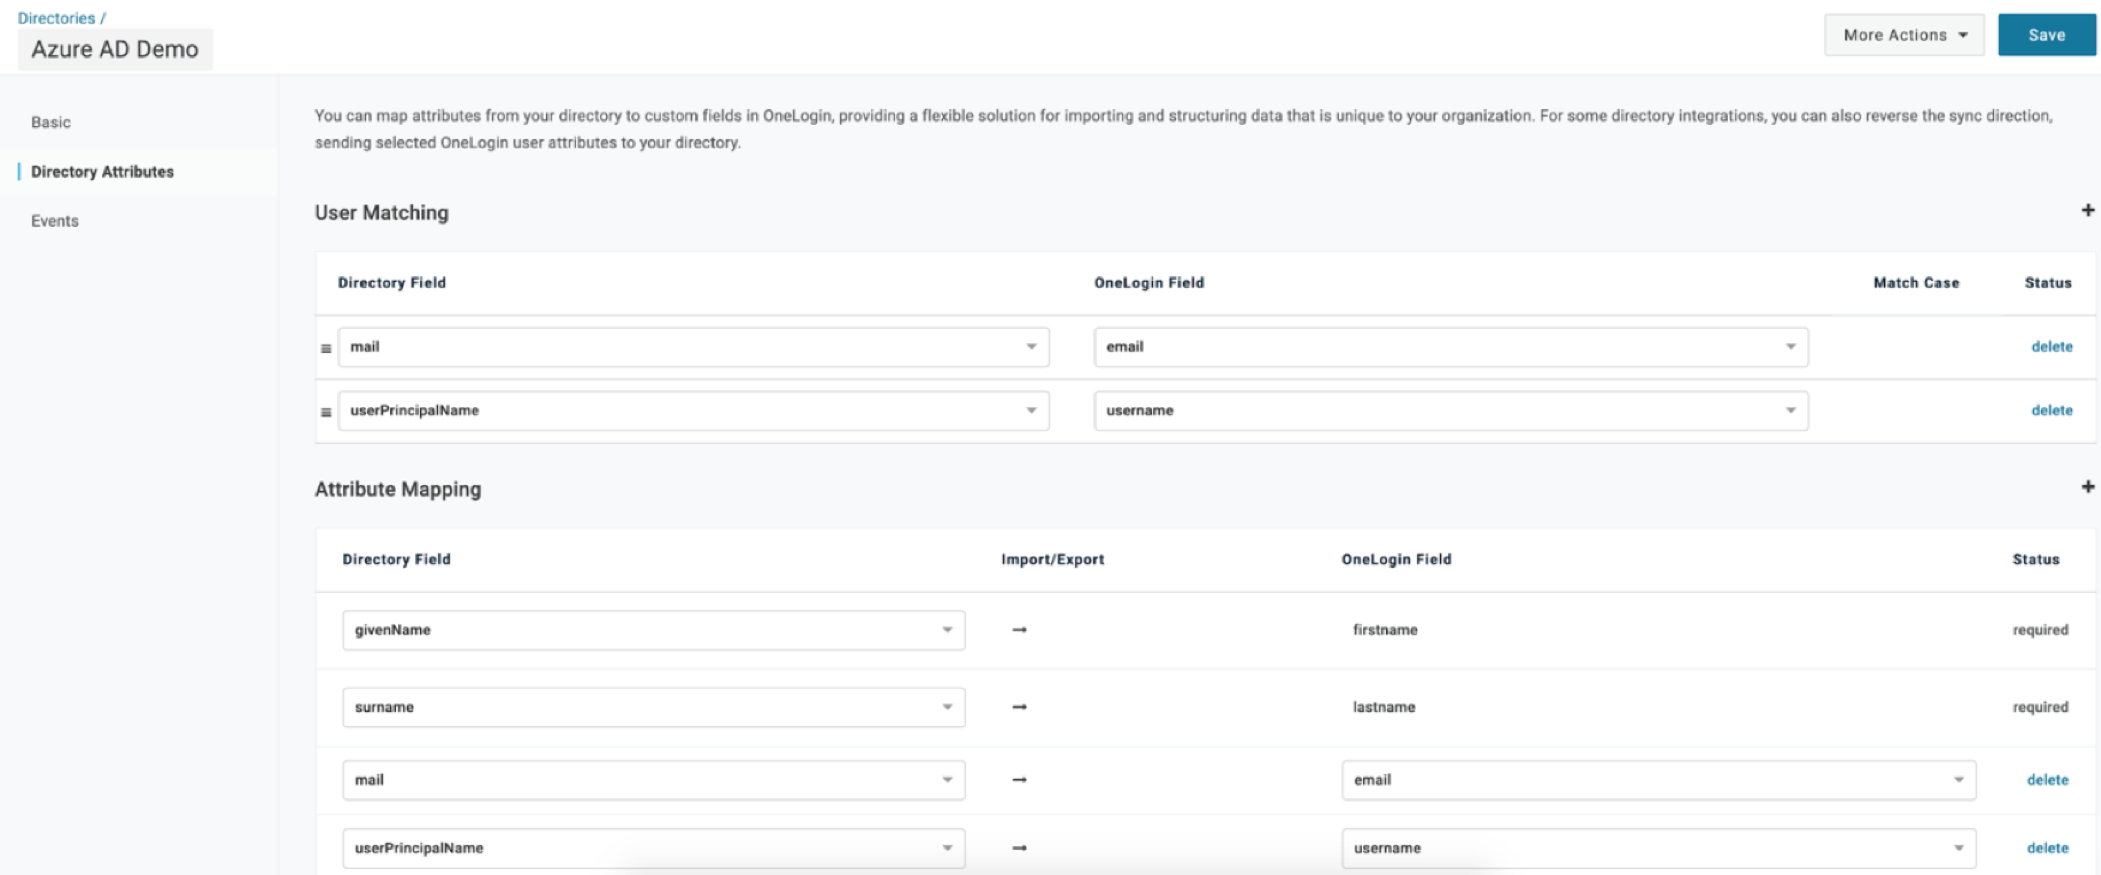
Directory Attributes
This page will become available once you have successfully authenticated with Entra ID. Map your preferred Entra fields in the left column to their matching OneLogin attributes in the right column. Some OneLogin fields are required and cannot be removed. To add additional attributes, click + and select any OneLogin attribute or custom field you have configured. After making any changes to your attributes in either OneLogin or Entra, go to Refresh Schema in the More Actions menu to propogate those changes.
Events
This page keeps a running record of all actions performed by the directory connector. It's useful for tracking changes, verifying user information, or confirming whether lengthy tasks, such as full user imports, have successfully completed.