This topic describes how to configure OneLogin to provide SSO for ServiceNow using SAML.
If you want to set up SSO for ServiceNow with form-based authentication, see Adding a Form-Based Application.
Setting Up SSO in OneLogin, Part 1
- Go to to Apps > Add Apps.
- Search for ServiceNow Multi Tenant and select it.
-
On the Add App page - Configuration tab, select SAML2.0 - user provisioning under Connectors.
You can change the Display Name.
Click Save to display additional configuration tabs.
- Select the Parameters tab map
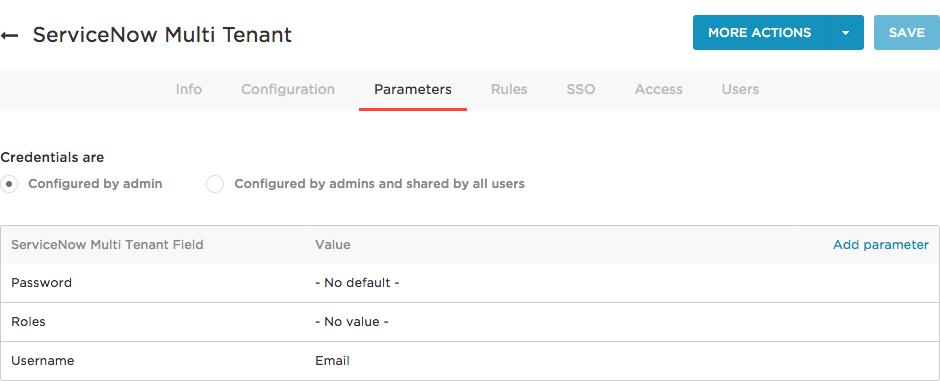
Default mappings for SSO are as follows:
Password -> - No Default -
Role -> - No Value -
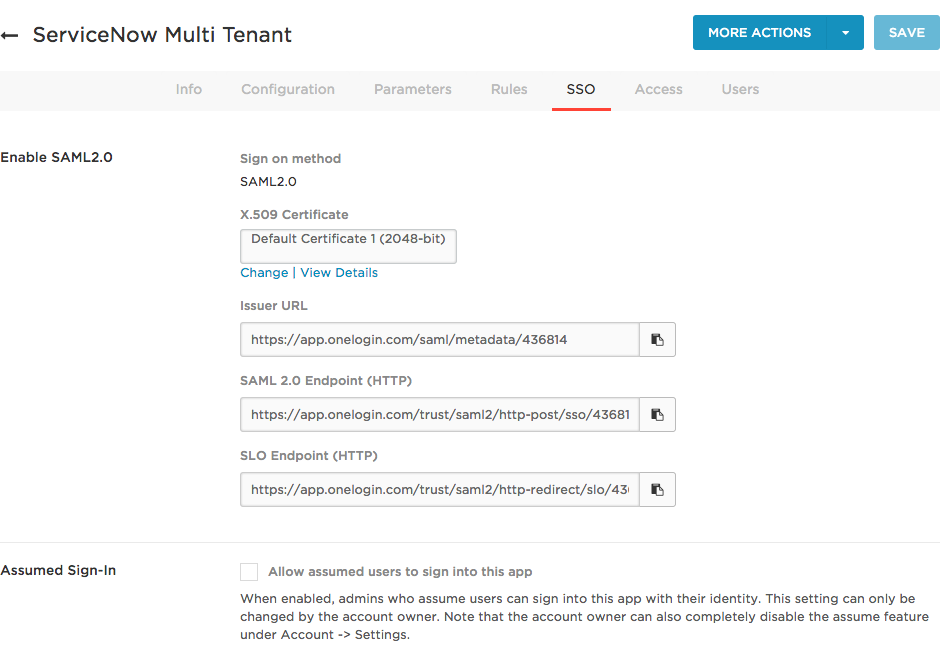
Username -> Email - On the SSO tab, copy the SAML Issuer URL which you will provide to ServiceNow.
Setting up SSO in ServiceNow
- Log in to the ServiceNow admin dashboard.
-
Activate the Integration - Multiple Provider Single Sign-On plugin.
- Go to System Definition > Plugins.
-
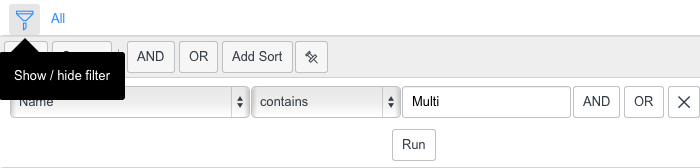
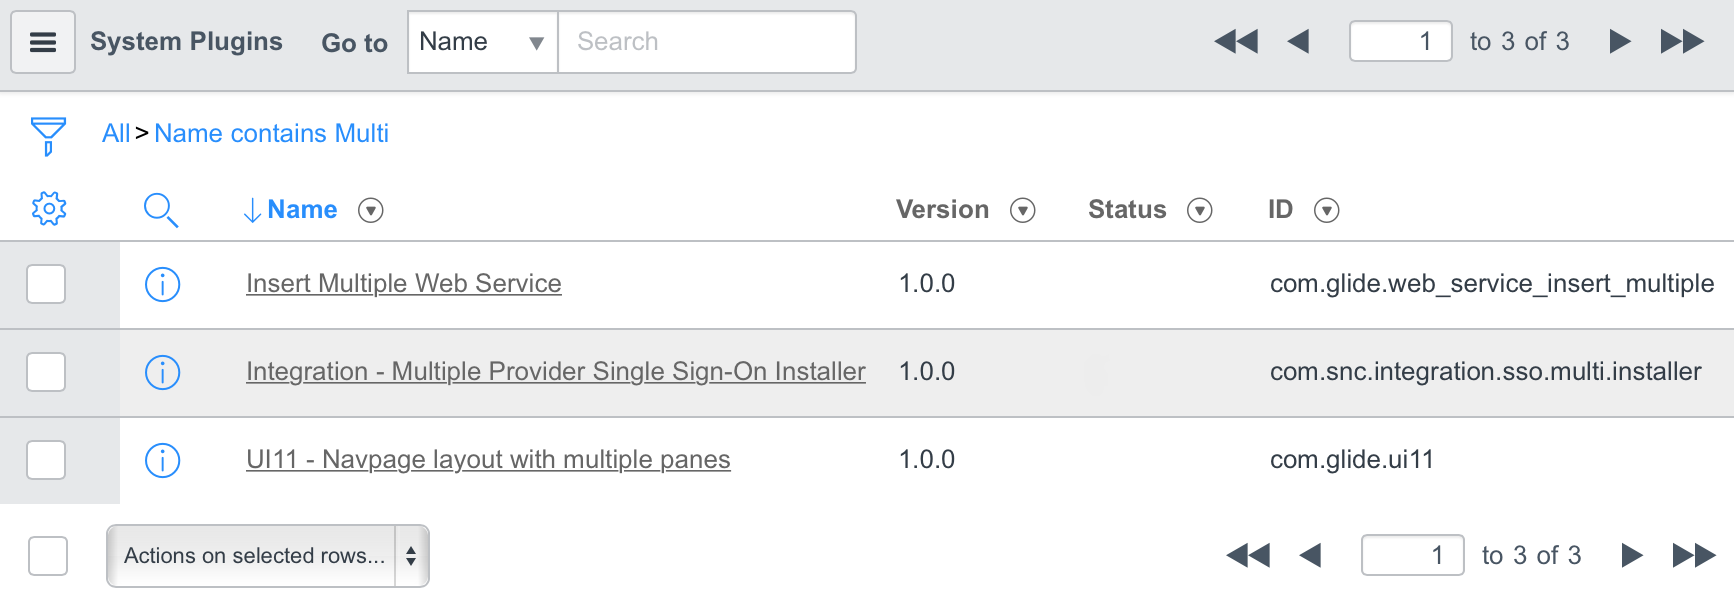
Search for Integration - Multiple Provider Single Sign-On Installer.
You can manually scroll through the list of plugins or use the Show/Hide Filter icon and search using a keyword, like Multi.
-
Select the plugin.
- Click the Activate/Upgrade link.
-
Click the Activate button.
This adds the plugin, labeled as Multi-Provider SSO, as an option on your sidebar.
-
Set up Multi-Provider SSO.
For ServiceNow product documentation, see http://wiki.servicenow.com/index.php?title=Multiple_Provider_Single_Sign-On
- Go to Multi-Provider SSO > Administration in the sidebar.
- Select Properties.
-
On the Multiple Provider SSO Properties page, set Enable multiple provider SSO to Yes.
-
If you want to enable debug messages, set Enable debug logging for multiple provider SSO integration to Yes.
This will slow down performance and use disk space.
- In The field on the user table that identifies a user..., enter email.
- Click Save.
- Create the OneLogin identity provider.
- Go to Multi-Provider SSO > Identity Providers in the sidebar.
- Click New.
- Select SAML2 Update1.
-
When prompted to Import Identity Provider Metadata, provide your Issuer URL.
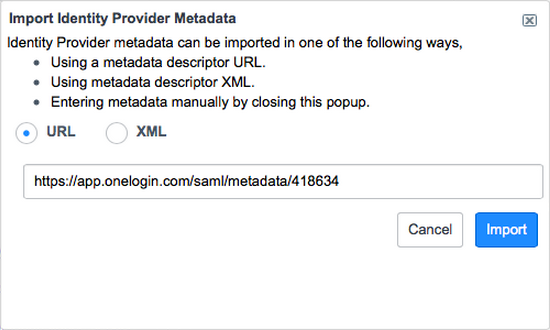
- Click Import.
- Select Active.
- Select Default.
- Click Update.
-
Right-click on your newly created Identity Provider and select Copy sys_id.
You will provide the copied Identity Provider Sys ID value when you complete the SSO configuration in OneLogin.
Setting Up SSO in OneLogin, Part 2
- In the OneLogin portal, go to to Apps > Company Apps > ServiceNow Multi Tenant (or whatever you named it).
- On the Configuration tab, enter your ServiceNow SSO connection information.
- In the URL field, enter the URL for your ServiceNow account.
-
In the Login URL field, enter your ServiceNow login URL, including the sys_id string that you copied in ServiceNow.
Use the syntax
https://subdomain.service-now.com/login_with_sso.do?glide_sso_id=your_sys_id
- Click Save.
OneLogin and ServiceNow should now be connected through SAML.
Troubleshooting Email Mismatch
In some cases, the ServiceNow admin email may not match the OneLogin admin email. This can be remedied by doing the following:
- Go to Users > Account_Owner.
- Select the Applications tab.
- Select ServiceNow to open the Edit Login pane.
- Overwrite the default ServiceNow login fields with the correct credentials.
Setting Up Deep Linking into ServiceNow
ServiceNow supports deep linking into the application itself, but this function is not available through self-service. Please contact your ServiceNow support team to enable this feature.