Prerequisites:
-
An AWS account
-
An active OneLogin account
Step 1: Configure Amazon Managed Grafana workspace
-
Log in to your AWS Account and search for Amazon Managed Grafana on the console.
-
In the Amazon Managed Grafana Console, create a new workspace by providing a name and an optional description.
-
Select SAML as the authentication method and Service Managed as the Permission Type.

-
Choose your preferred Account Access method and add Data Sources.

-
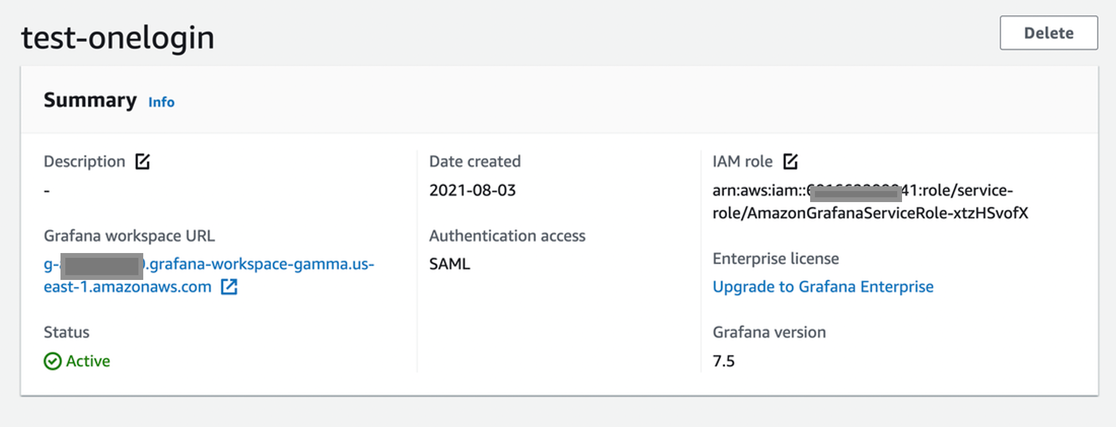
Click Create Workspace to provision your Amazon Managed Grafana Workspace.
-
Amazon Managed Grafana Workspace will be provisioned in 2-3 minutes. Once provisioned, note the Workspace URL which contains your Amazon Managed Grafana workspace unique ID and the AWS region. These 2 values are needed to configure the Amazon Managed Grafana SAML connector in OneLogin. There's an indicator on the screen that SAML authentication isn't configured yet and is set to Pending User Input.

Step 2: Configure Amazon Managed Grafana connector app in OneLogin
-
Log in to your OneLogin portal as an administrator.
-
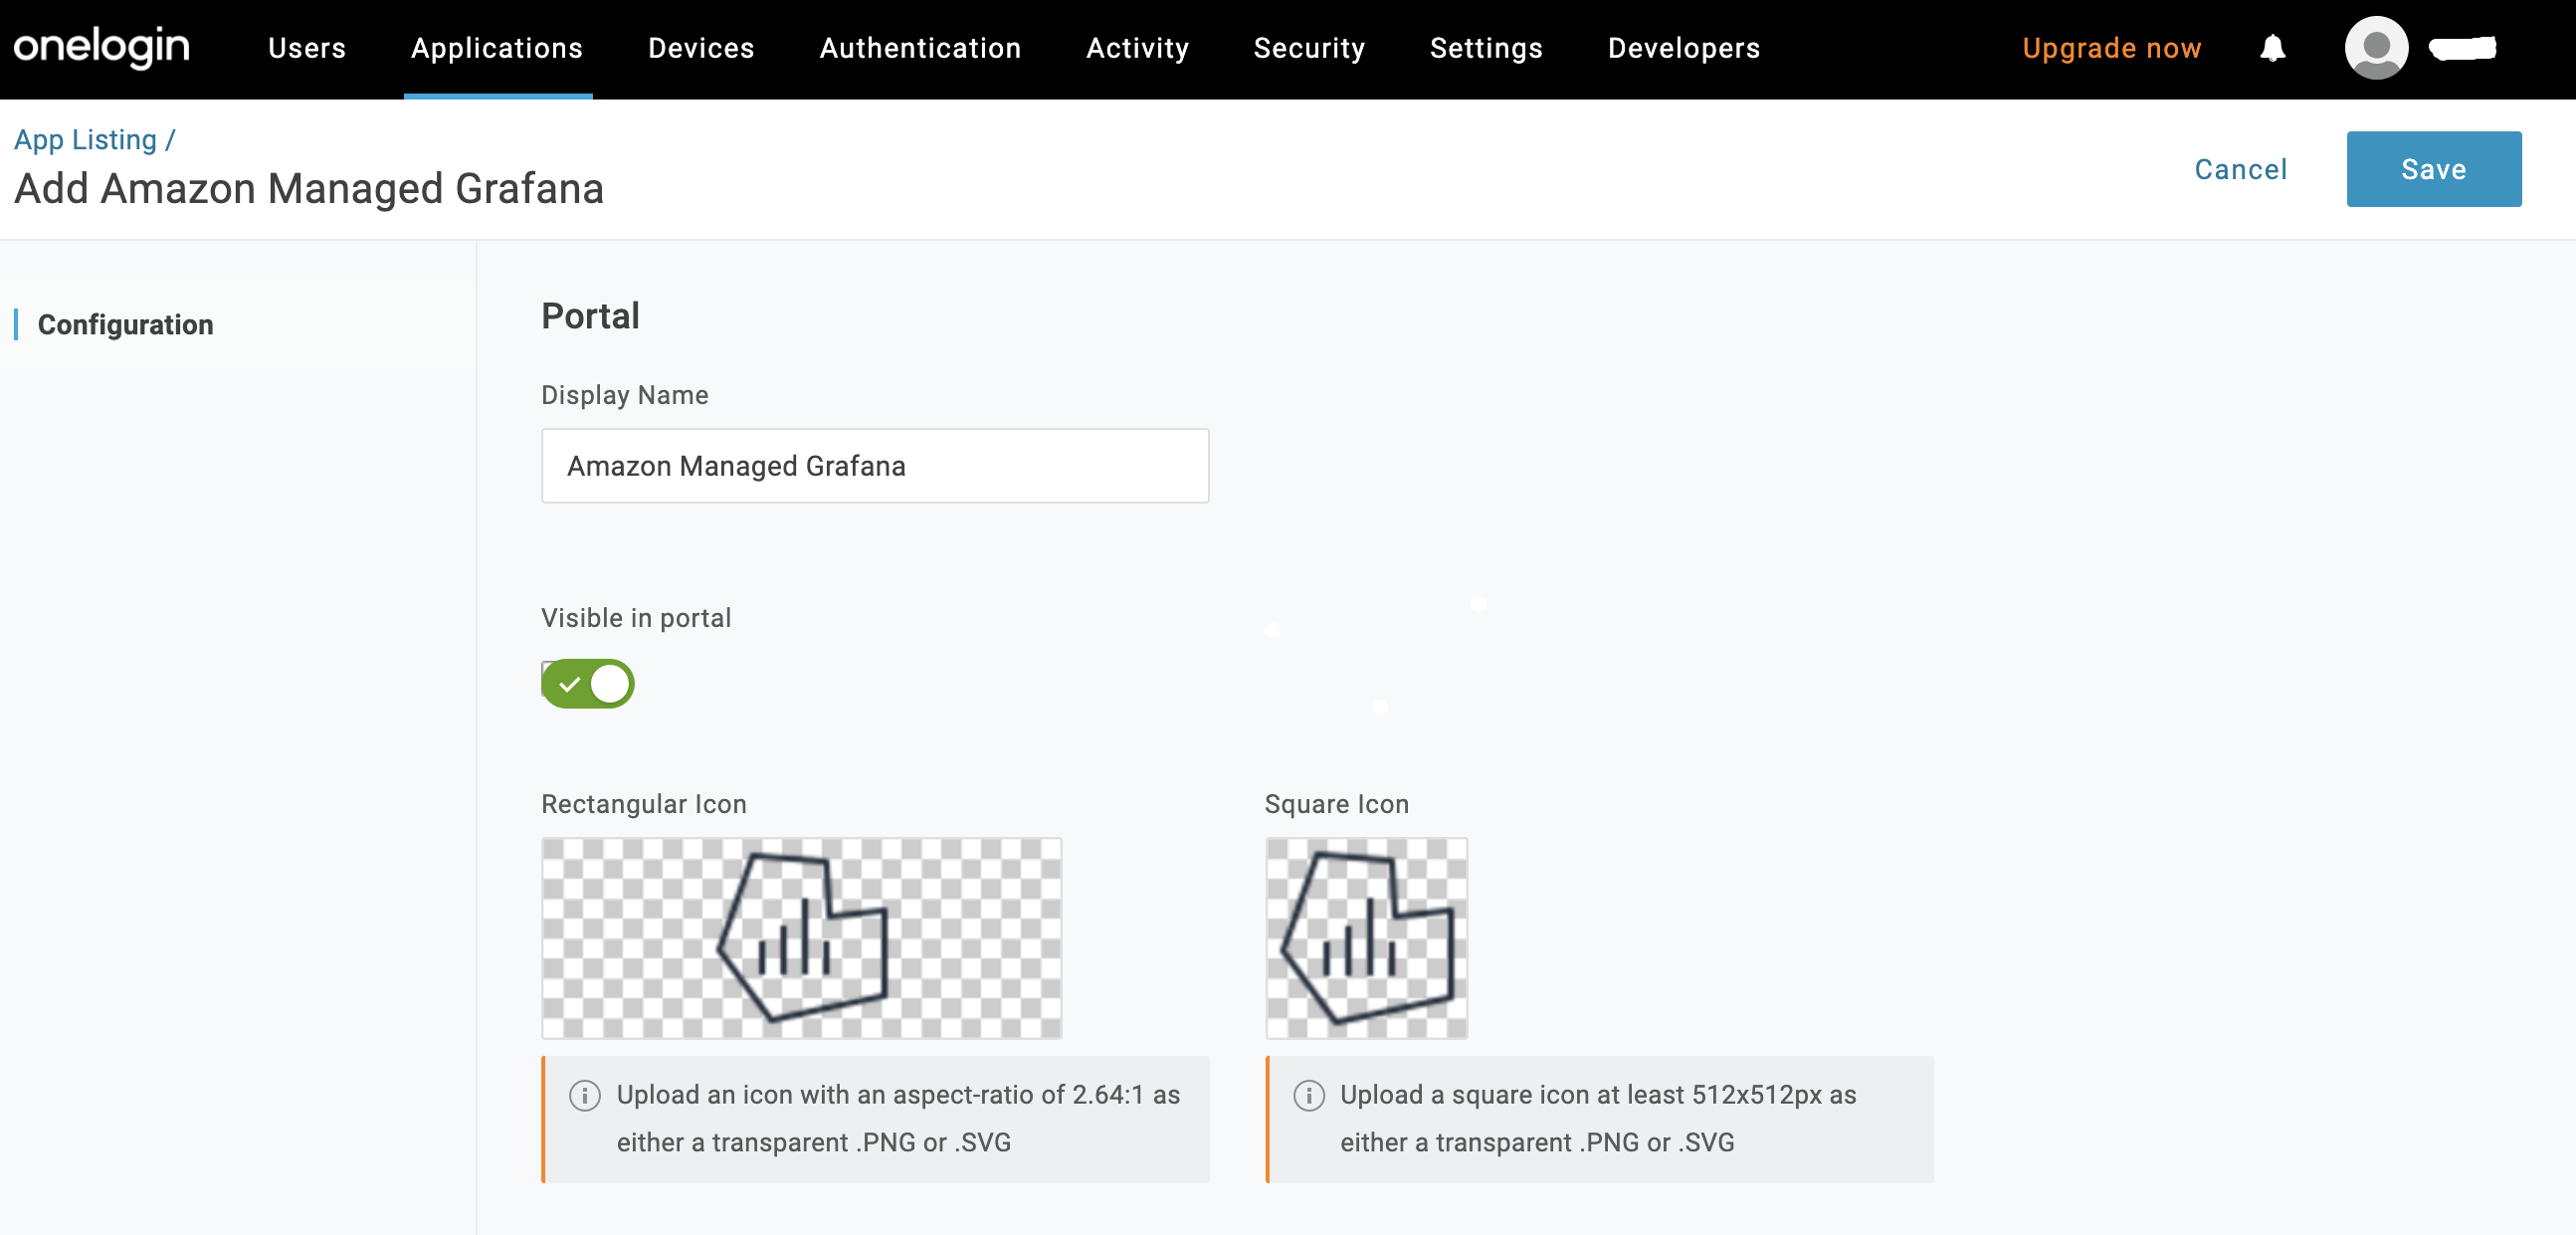
Go to Applications > Applications > Add App and search for Amazon Managed Grafana app.
-
Assign a Display Name of your choice and click Save.
-
Navigate to Configuration to paste the Amazon Managed Grafana Workspace ID for Namespace and region which was noted in the previous step during Amazon Managed Grafana configuration on AWS. Navigate to the Configuration tab and enter your Grafana Workspace URL from your Amazon Managed Grafana Console.

-
You can leave the
adminRoleparameter as the default No Default and populate it using the Rules tab, if an admin requires a corresponding value in Amazon Managed Grafana. In this example, the Assertion attribute role would be set toadminRolein Amazon Managed Grafana, with a value oftrue. You can point this value to any attribute in your tenant. Click the + to add and configure parameters to meet your org's requirements.
-
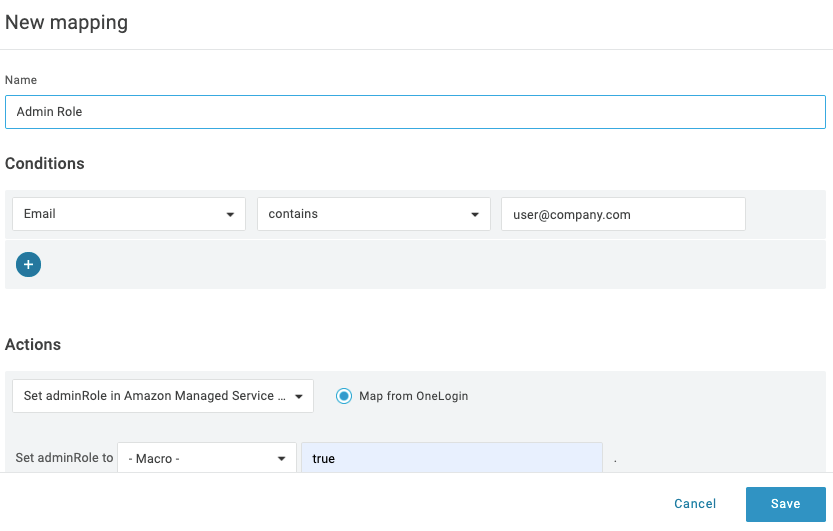
Click on the Rules tab choose Add Rule, and give your Rule a name. In this example, we provide one user with admin privileges. In the Conditions field (the if statement, we add Email contains [email address]. In the Actions field (the then statement), we select Set AdminRole in Amazon Managed Grafana & select Macro in the Set adminRole to dropdown, with a value of true. Your org may choose different rules to resolve different use cases.
Click Save. Go to More Actions and select Reapply entitlement mappings.
Note: You must reapply mappings any time you create or update rules.
To learn more about creating Rules, see Rules.
-
Note the Issuer URL, which is used to configure the SAML setup for Amazon Managed Grafana in the AWS Console. Click Save.

-
Go to the Access tab to assign the OneLogin roles that should access the Amazon Managed Grafana app and select an app security policy.

-
Now, let’s log in to AWS console to complete the SAML configuration.
Step 3: Configure the SAML setup & Roles on Amazon Managed Grafana (admin /viewer).
-
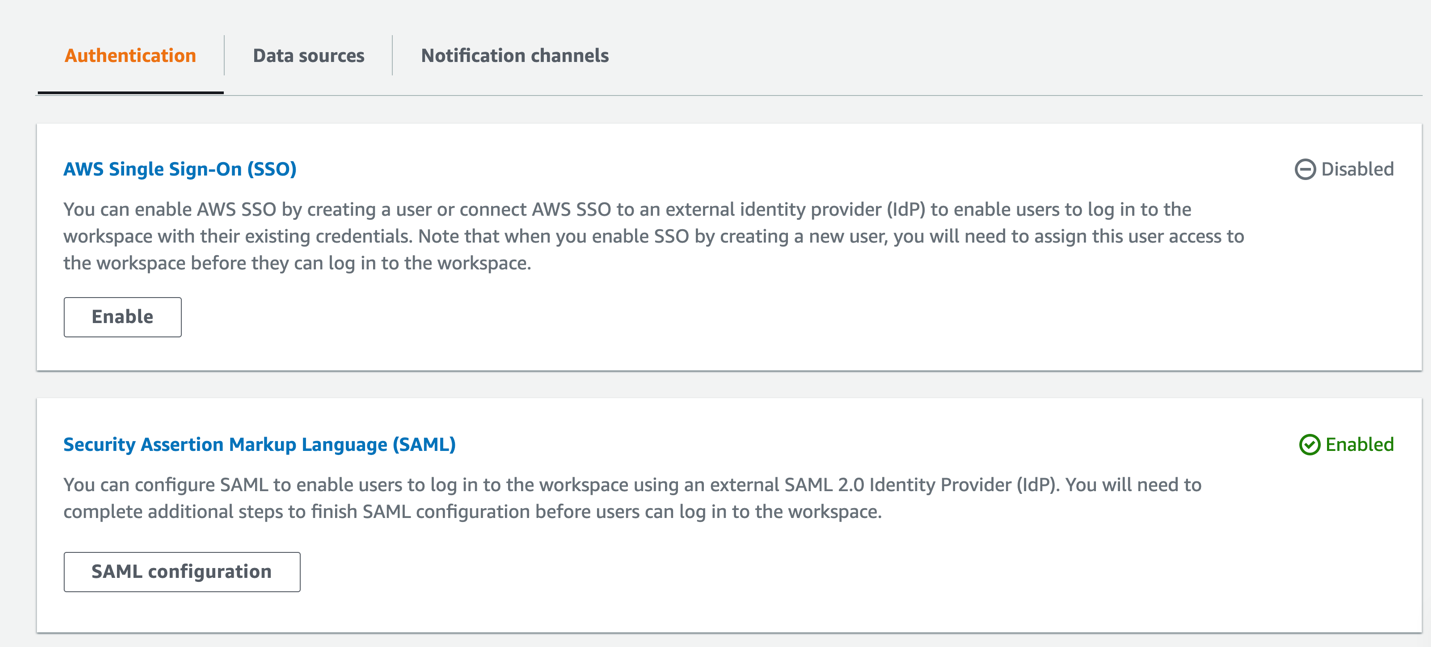
Navigate to Amazon Managed Grafana in AWS to configure the SAML setup and select SAML Configuration.
-
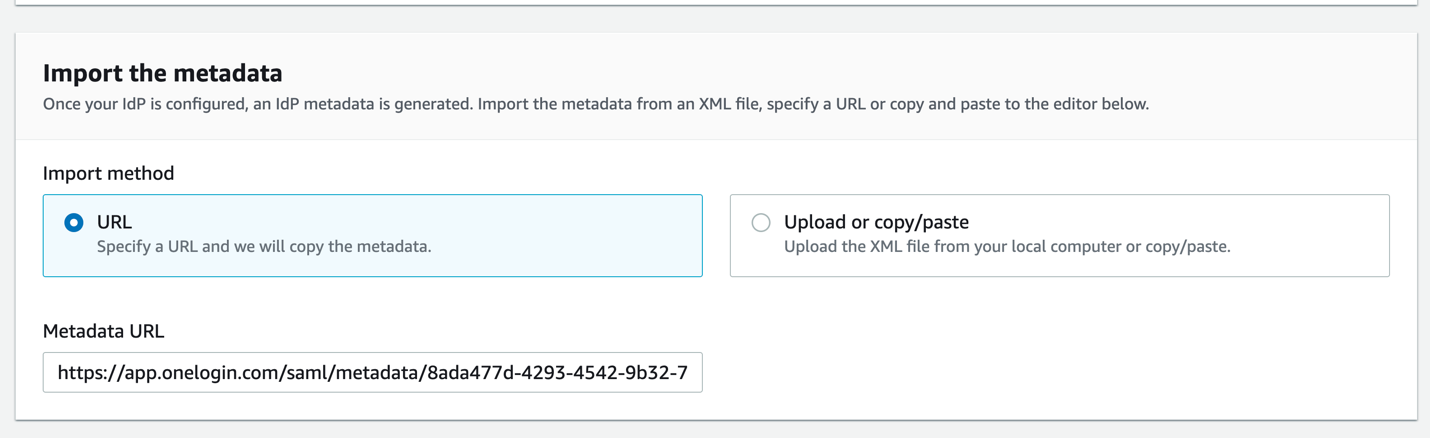
Import the Metadata by providing the Issuer URL which you copied from your OneLogin Console in the previous step.
-
In this example,
adminRoleis the field name andtrueis the value set to match the configuration previously created in OneLogin. In order to grant an Admin role to the Amazon Managed Grafana console for your current user, pass the sameadminRoleparameter with a value oftrue. If you pass a different value or no value, it grants a Viewer role to the user.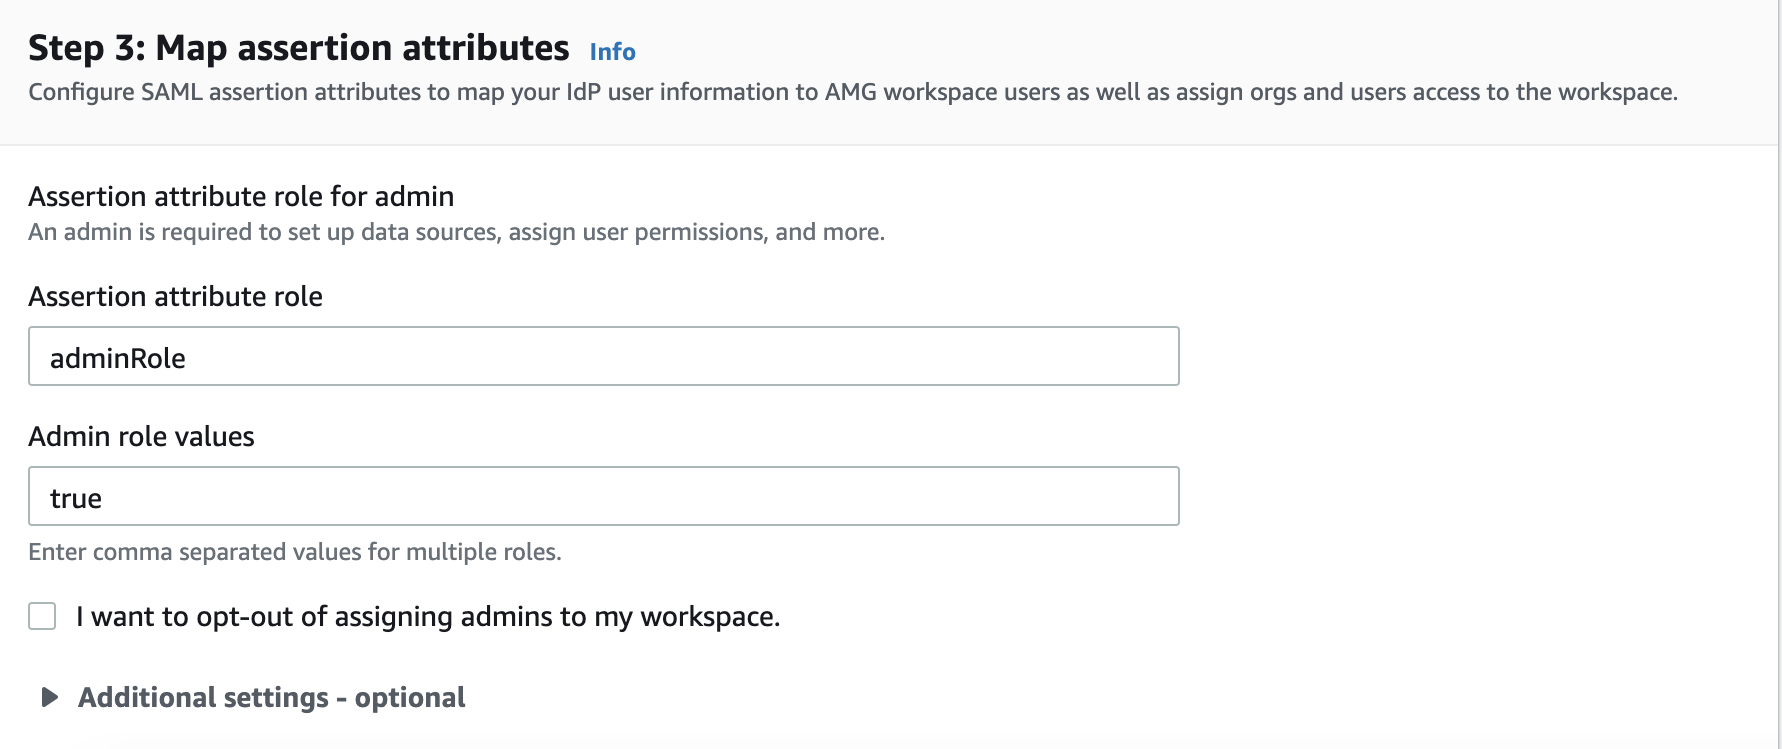
-
Save the SAML configuration.
Step 4: Access the Amazon Managed Grafana workspace
Now you can access your Amazon Managed Grafana workspace in either of the ways mentioned below:
-
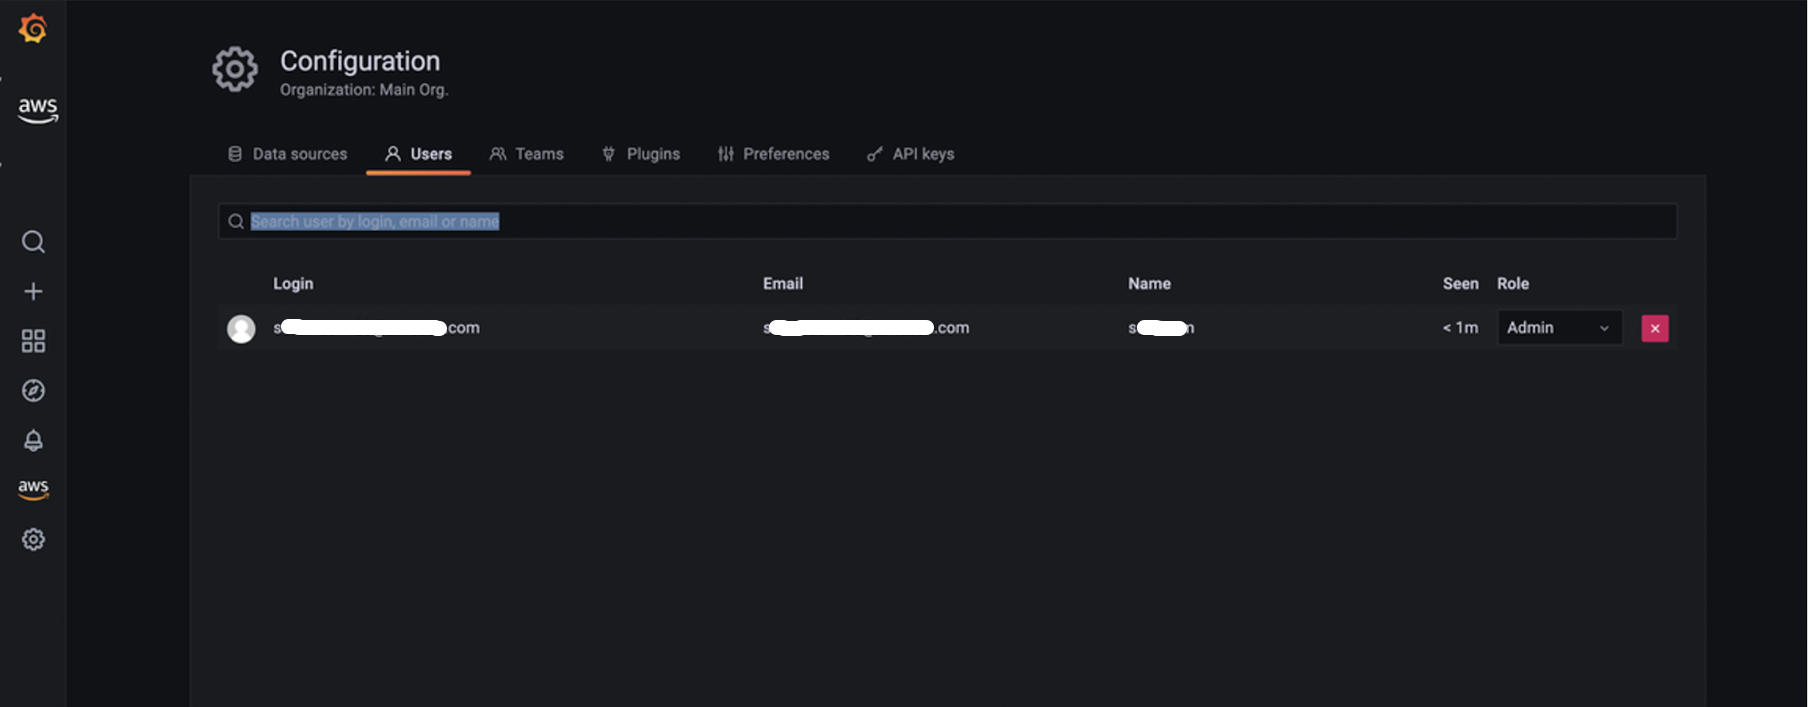
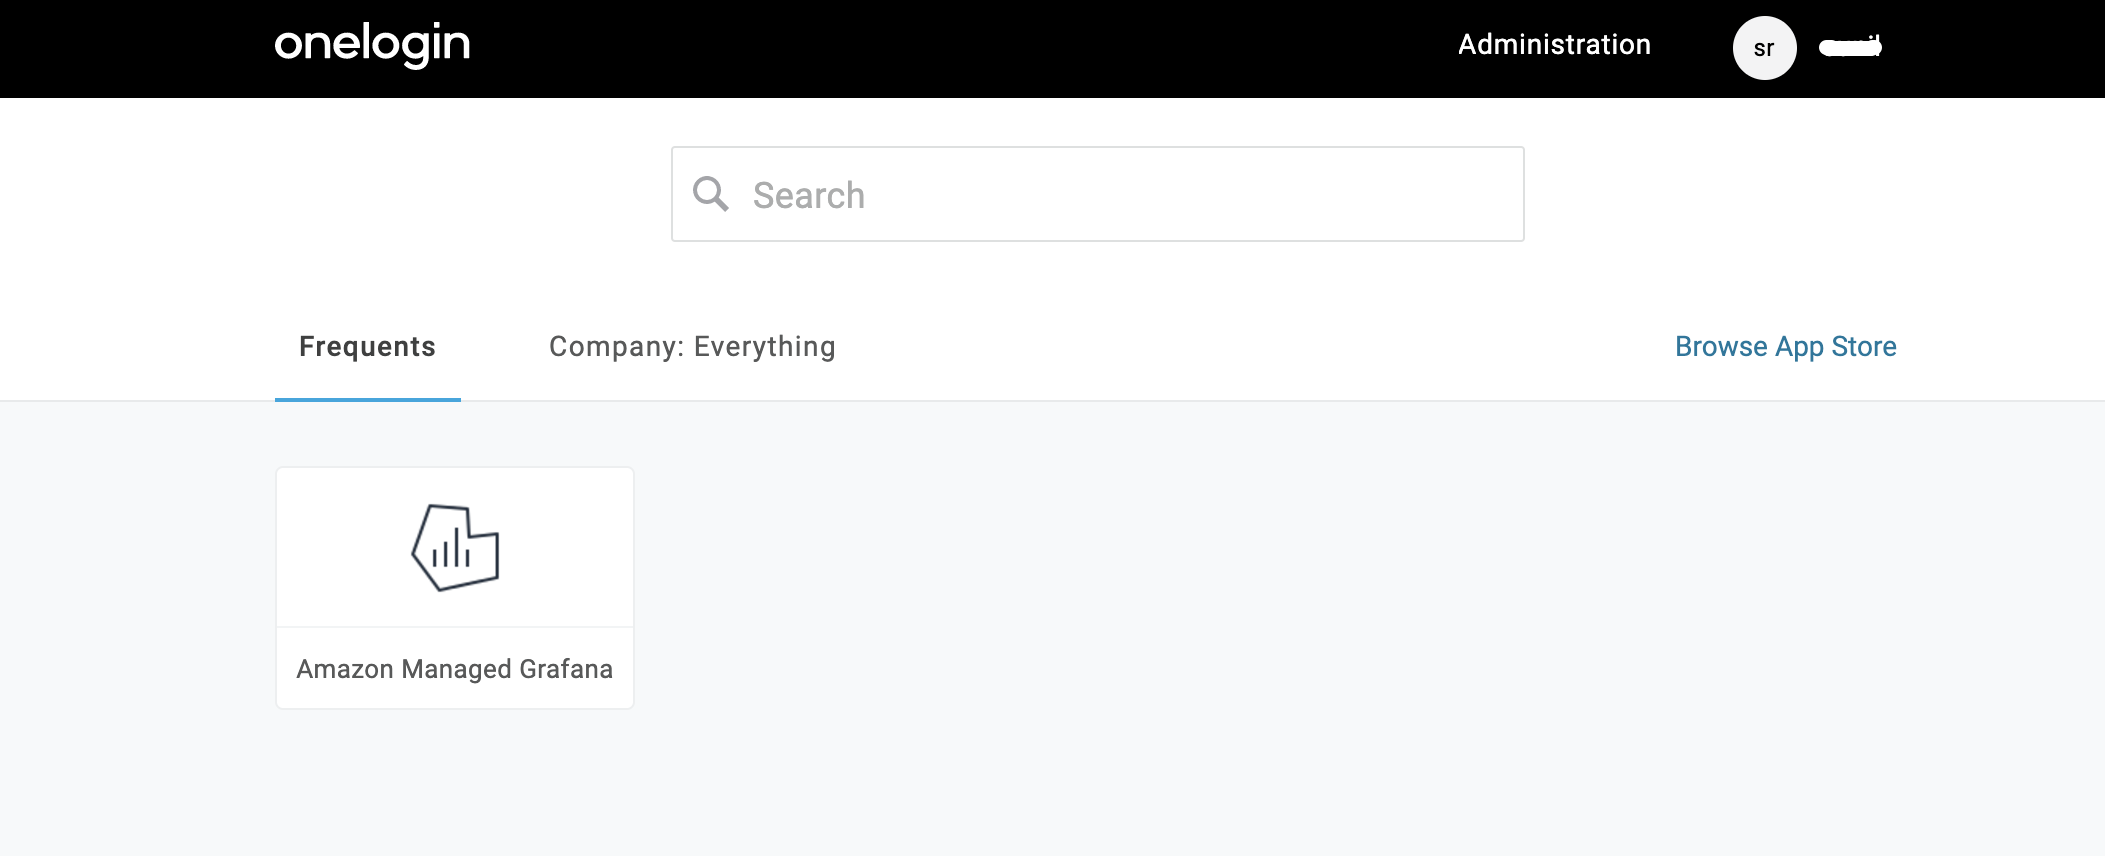
In your OneLogin user portal, choose the Amazon Managed Grafana application tile, which redirects you to your Amazon Managed Grafana workspace with either Admin or Viewer Role. In this example, since the Assertion attributes for the admin role matched, the user will be logged in as an Admin into Amazon Managed Grafana.

-
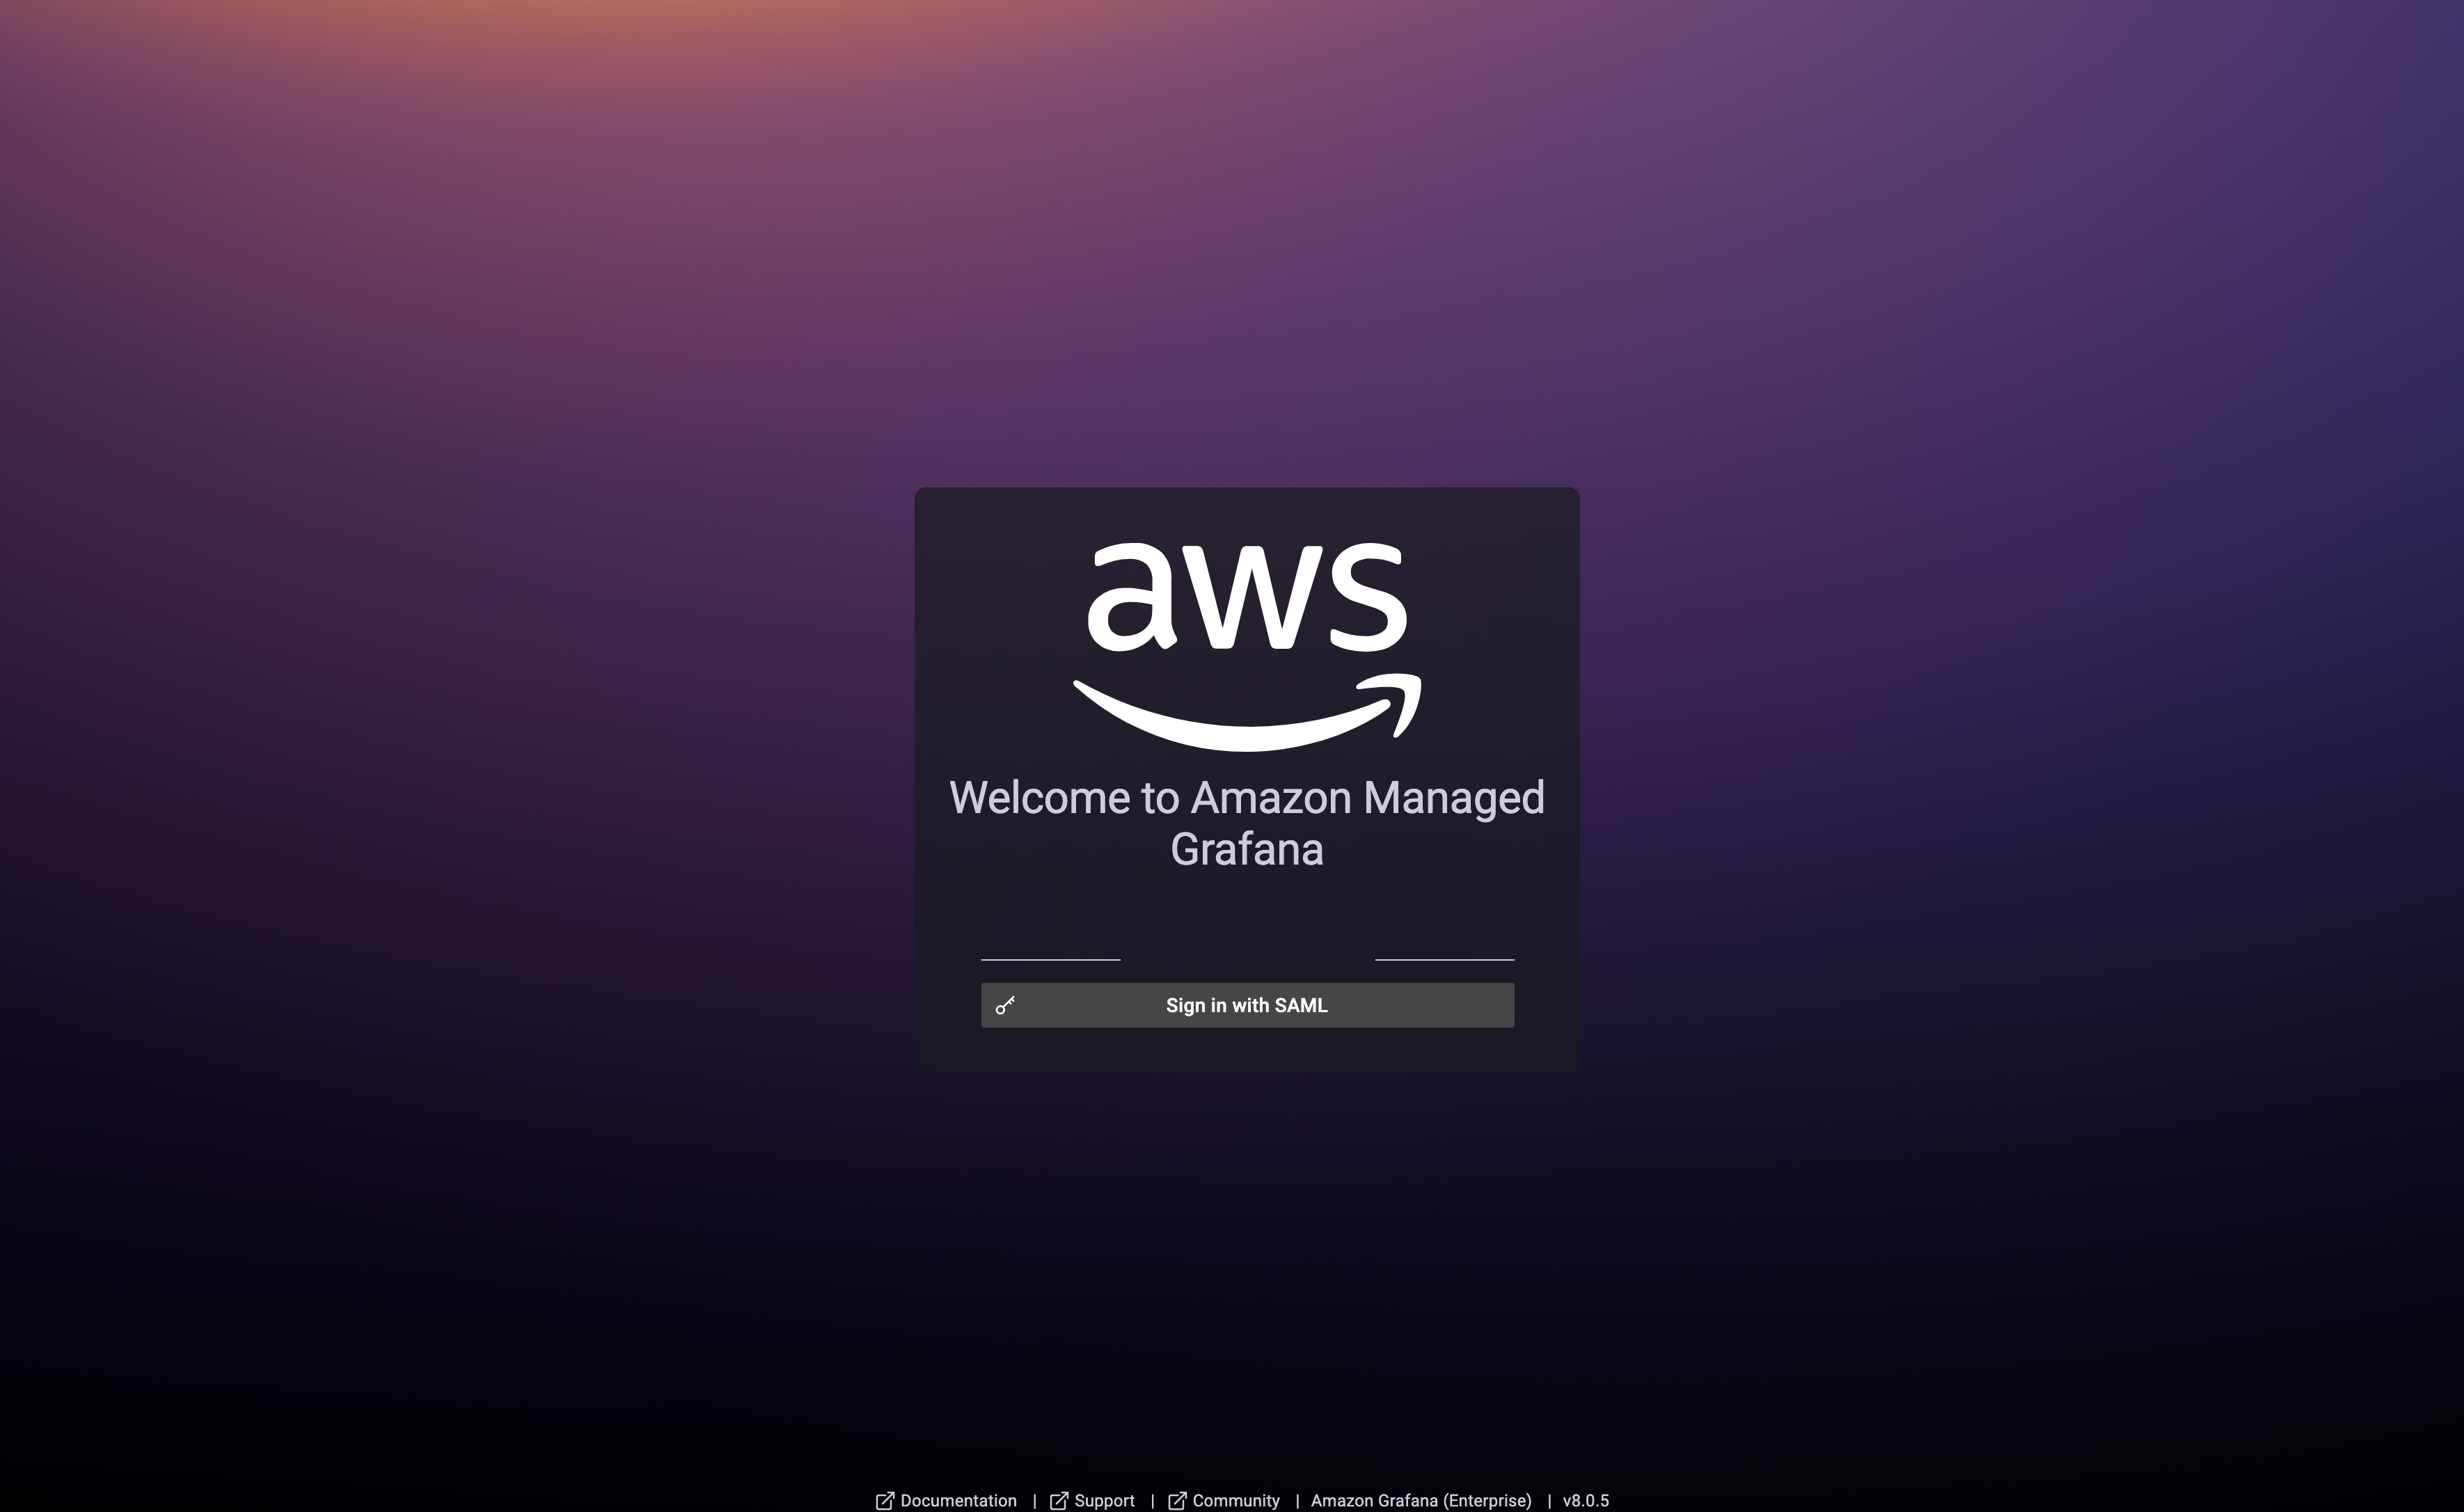
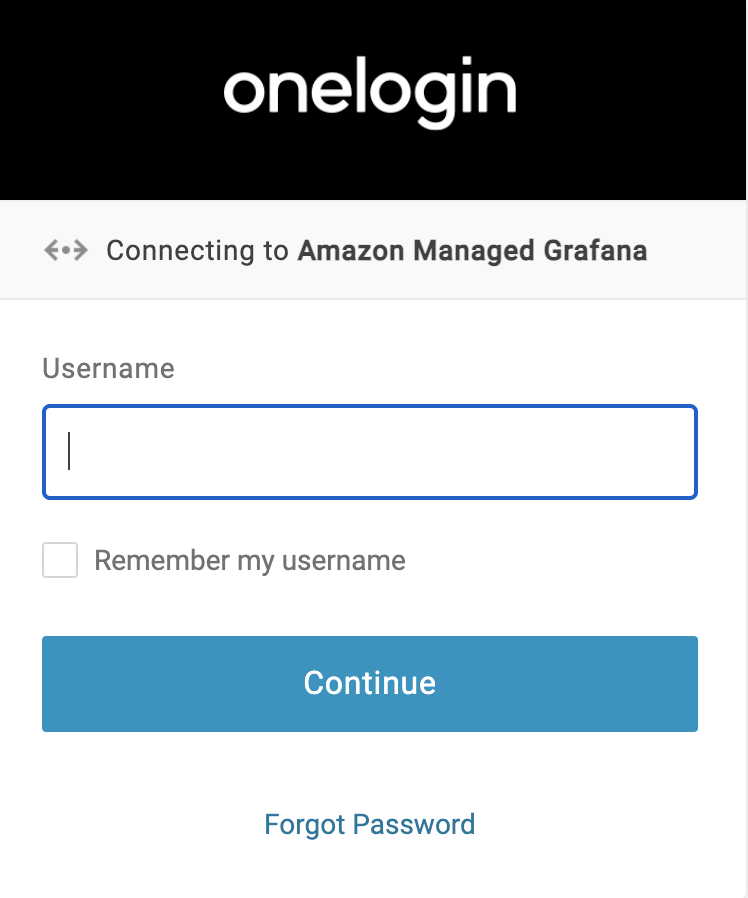
Bookmark and click on Grafana Workspace URL (the URL is on the Amazon Managed Grafana service). This redirects you to Sign-in with SAML and redirects you to enter your credentials in OneLogin. Upon successful authentication, you will be logged in to your Amazon Managed Grafana workspace with the appropriate role.