These steps will guide you through setting up the Single Sign-On functionality between OneLogin and Newton Software.
Setting Up OneLogin
Starting in the OneLogin admin dashboard portal, do the following:
- Go to to Apps > Add Apps.
- Search for Newton Software that is a SAML 2.0 connector and select it.
You may edit the Display Name if desired. - Click Save.
- Select the Configuration tab.
- Enter your account Client ID under Application Details.
This can be found at the end of your Newton Software login URL: https://newton.newtonsoftware.com/saml/acs/{clientid}
- Click Save.
- Select the Parameters tab.
- Ensure that Credentials are Configured by admin and that the mappings are as follows:
NameID (Subject) -> Email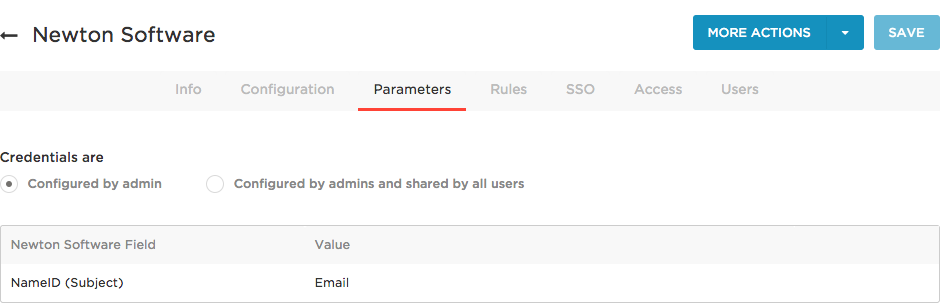
- Click Save.
- Select the SSO tab.
- Copy down the SAML 2.0 Endpoint (HTTP).
- Copy down the Issuer URL.
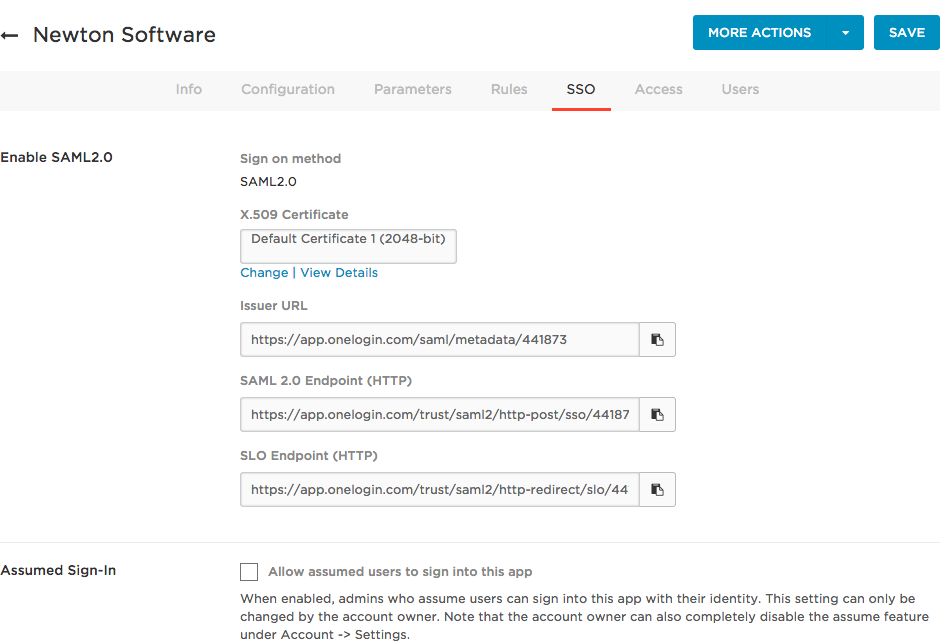
- Click View Details.
- Select the Clipboard Icon to copy the entirety of the X.509 Certificate string.
The Issuer URL, SAML Endpoint, and Certificate will be sent to your Newton Software support team to confirm the connection.
Troubleshooting Email Mismatch
In some cases, the Newton Software account admin email may not match the OneLogin admin email. This can be remedied by doing the following:
- Go to Users > Account_Owner.
- Select the Applications tab.
- Select Newton Software to open the Edit Login pane.
Here you may overwrite the default fields for your Newton Software login and insert the correct information to match your OneLogin credentials with your Newton Software credentials.