To avoid user interruptions, it's important to update your OneLogin certificate in Office 365's when it expires. To do this, you'll generate a new certificate in OneLogin, then use Microsoft PowerShell to copy the new certificate to Microsoft Office. This method is required, as SAML and single sign-on (SSO) settings do not appear in the Microsoft 365 Admin Portal.
Prerequisites
- Windows PowerShell 5.1 or higher
- The Microsoft Graph PowerShell module, version 2.x or higher
OneLogin
-
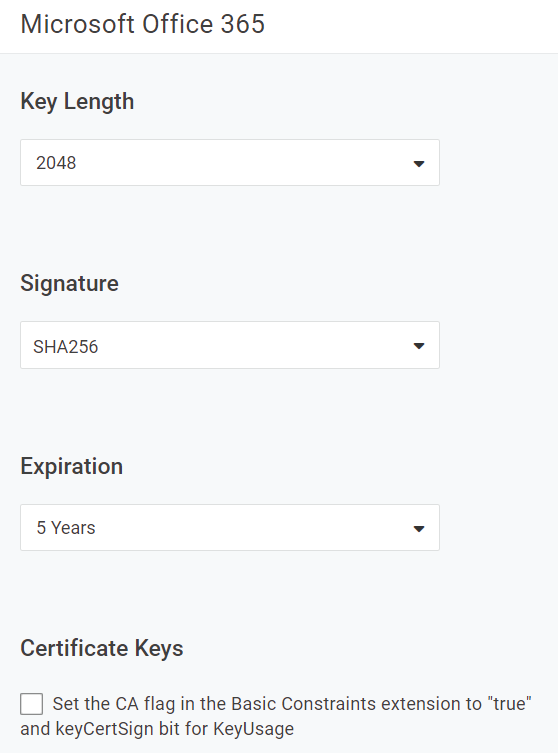
In your OneLogin admin portal, create a new certificate with the following recommended criteria:
Key Length
At least 2048
Signature
SHA256
Expiration
5 Years
Certificate Keys
Do not select.
-
Once generated, use the clipboard icon to copy the entirety of your new certificate and paste it into a temporary text file for later use.
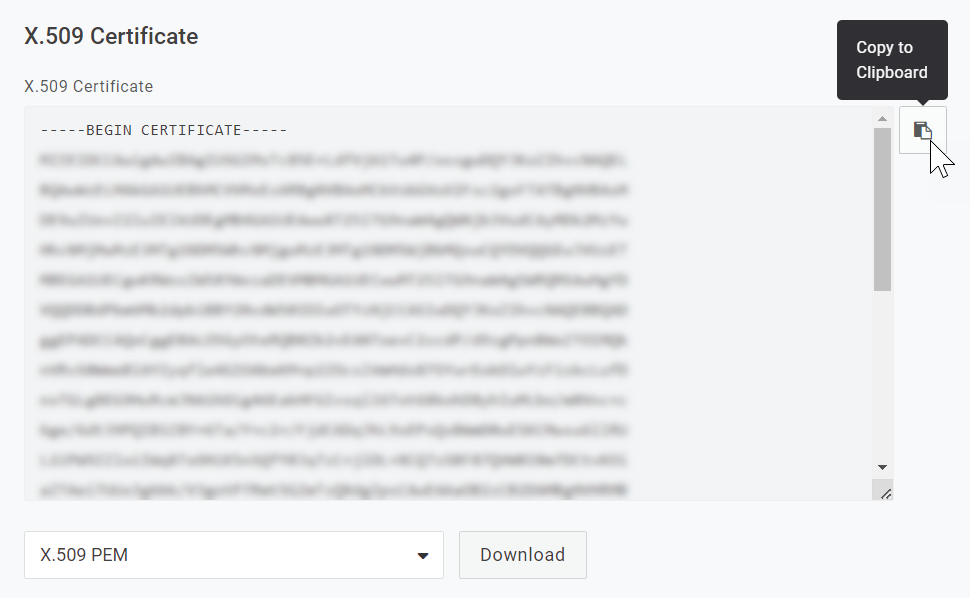
Tip! To avoid potential errors, we recommended avoiding spaces in both the file name and its directory, such as
C:\Temp\OL-O365-New-Cert.txt. -
Go to your Applications and locate the Office 365 V2 app. In its SSO settings, choose Manual configuration and select Change under your X.509 Certificate. Use the dropdown menu to replace the current certificate with the new certificate created at the beginning of this process.
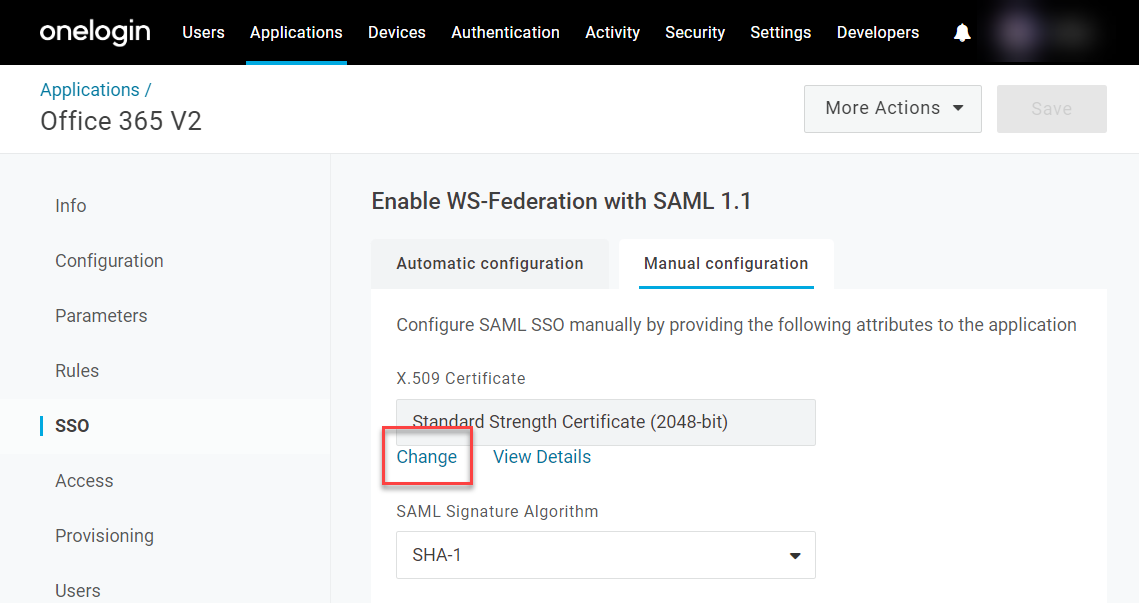
-
Set the SAML Signature Algorithm to SHA-256 and Save your changes.
PowerShell
-
Open PowerShell as an administrator.
-
Modify the PowerShell execution policy by setting the Execution Policy to Remote Signed by running
Set-ExecutionPolicy RemoteSigned. Answer A to confirm the change to the Execution Policy. -
Install the PowershellGet Module for Windows PowerShell (if it is not already installed) by running
Install-Module PowershellGet. Answer Y to install the NuGet Provider, and A to Answer Yes to All to install from PSGallery. -
Install the Microsoft.Graph Module for Windows PowerShell (if it is not already installed) by running
Install-Module Microsoft.Graph. -
Authenticate to Microsoft Graph with the appropriate permissions by running
Connect-MgGraph -Scopes "Domain.ReadWrite.All", "Directory.AccessAsUser.All", "Organization.ReadWrite.All", "Directory.ReadWrite.All". -
Enter your Microsoft global admin credentials when prompted.
-
Set PowerShell variables for each configuration item that will be used to update the certificate as follows:
[string]$newcert = Get-Content "certificate"
$domainId = "domain"
$currentFedConfig = Get-MgDomainFederationConfiguration -DomainId $domainId
For certificate, enter the full file path to the certificate previously downloaded, and for domain, enter your Office 365 domain. For example, if your domain is example.com and you used the file path in the previous example, you would set the variables like this:
[string]$newcert = Get-Content "C:\Temp\OL-O365-New-Cert.txt" $domainId = "example.com" $currentFedConfig = Get-MgDomainFederationConfiguration -DomainId $domainId -
In case of later issues, make a note of the current federation configuration by running the command:
$currentFedConfig | Format-List -
Update the federation configuration to use the new certificate with this command:
Update-MgDomainFederationConfiguration -DomainId $domainId -InternalDomainFederationId $currentFedConfig.Id -signingCertificate $newcert -
Use this command to check that the federation configuration has been updated to use the new certificate:
Get-MgDomainFederationConfiguration -DomainId $domainId | Format-ListYou should see that the “SigningCertificate” parameter now contains the new certificate.
-
Finally, disconnect from the Graph connection using
Disconnect-MgGraph. Your update is complete!