This topic describes how to configure OneLogin to provide SSO for NetSuite using SAML.
NetSuite Administration Panel
- Log into NetSuite as an administrator.
- Create a test role and assign a test user to it or copy an existing role with users who will be test subjects, ensuring that your users have accounts in OneLogin.
- Navigate to Setup > Company > Enable Features and select SuiteCloud on the Enable Features version near the bottom right.

- Scroll to the Manage Authentication section and check SAML Single Sign On, making sure Token-Based Authentication is selected.

- Navigate to Setup > Manage Roles, then create and name a new role.
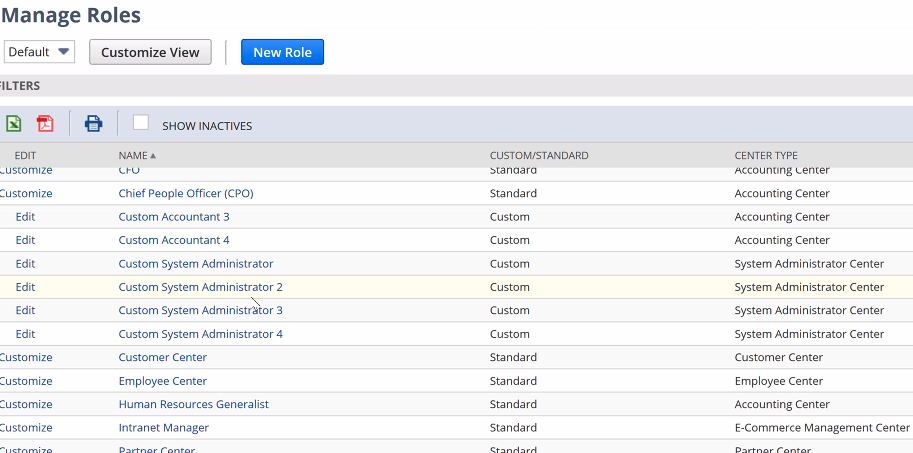

- Navigate to the permissions section and click Edit, then select the Setup dropdown near the top of the page and add SAML Single Sign On, ensuring that your user has Full Level access. Click Save.
Optional: if the option to Set Up SAML Single Sign On is available, use it.
Optional: create one or more additional test users to experiment with different setups.
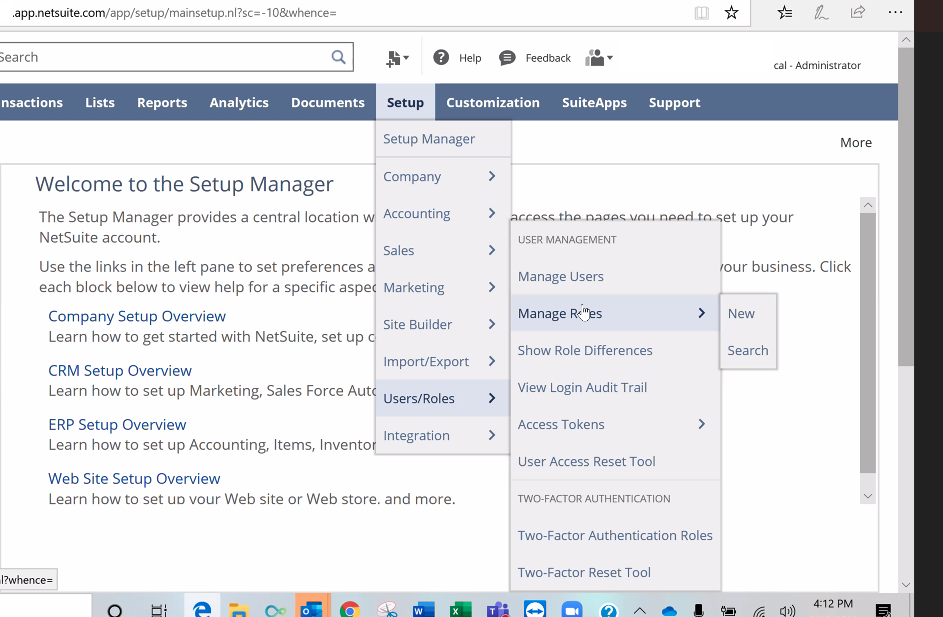
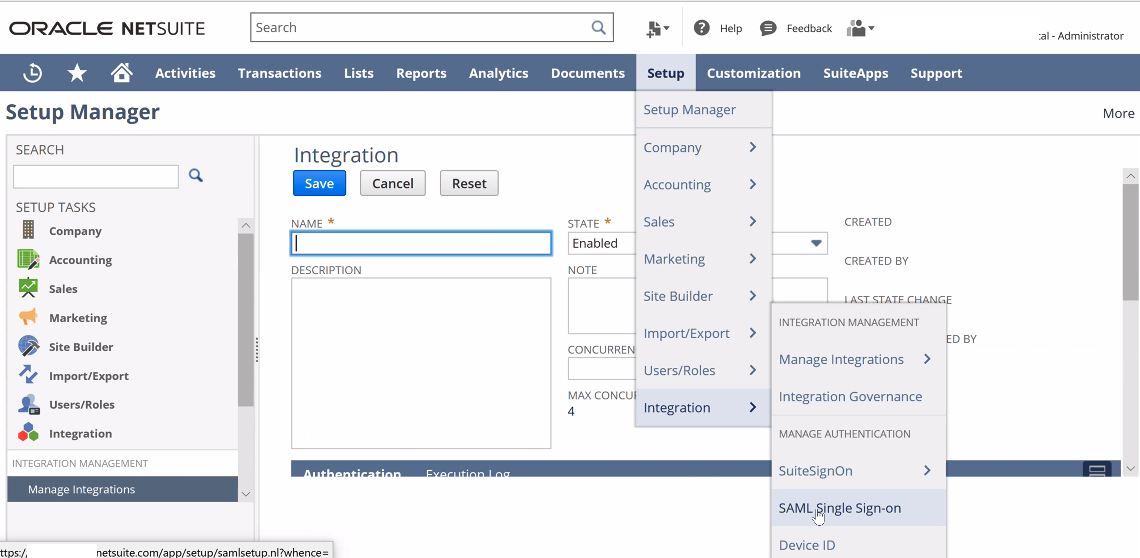
- Navigate to the top bar and click Set Up > Integration > SAML Single Sign and set it to On. The SAML setup page appears.
- Copy the SLO Endpoint (HTTP) from the SAML Single Sign-on page and paste it somewhere safe.
Note: the Set up Identity Provider value will be generated by OneLogin in the second half of this document. You'll return to complete it. - Navigate to Set Up > Company > Company Information and copy the Account ID Number and Customer Center Login. Paste them somewhere safe.
OneLogin
Log into your OneLogin account as an administrator.
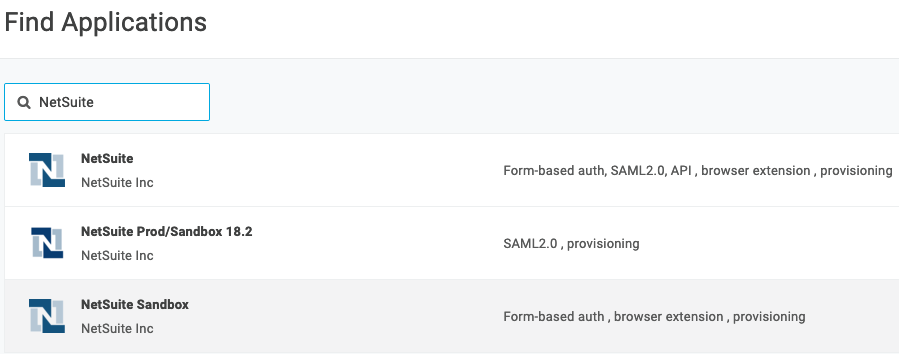
- Navigate to Applications > Applications > Find Application, then search for NetSuite and choose it.
- Change your organization's Netsuite information if you wish, then click Save.
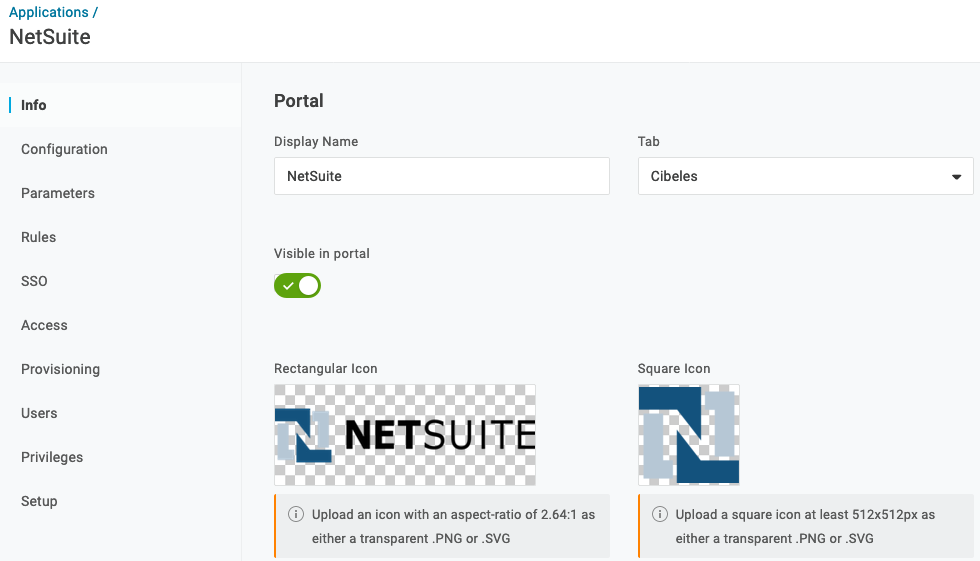
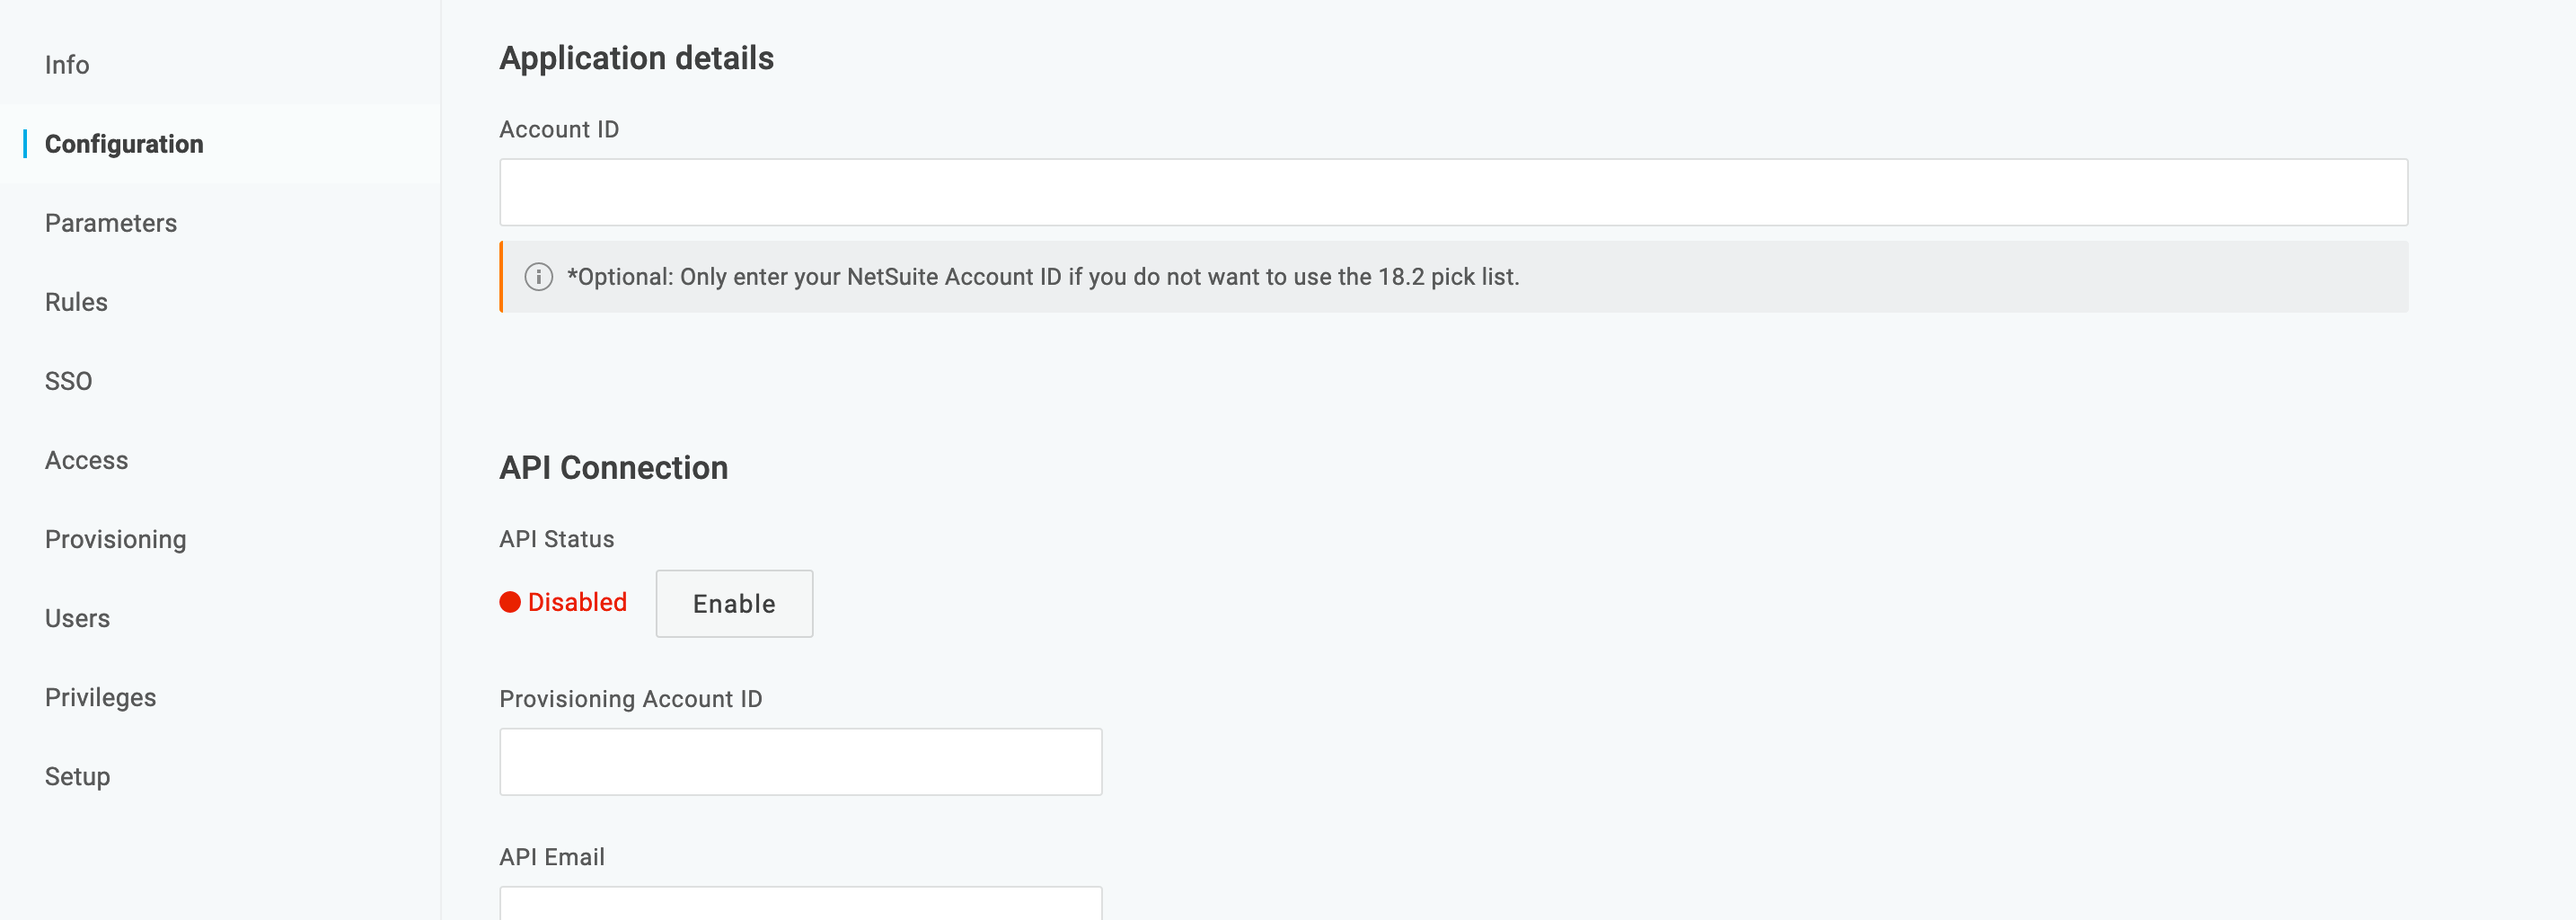
- Use the Account ID Number you copied earlier as your Account ID on the Configuration tab.
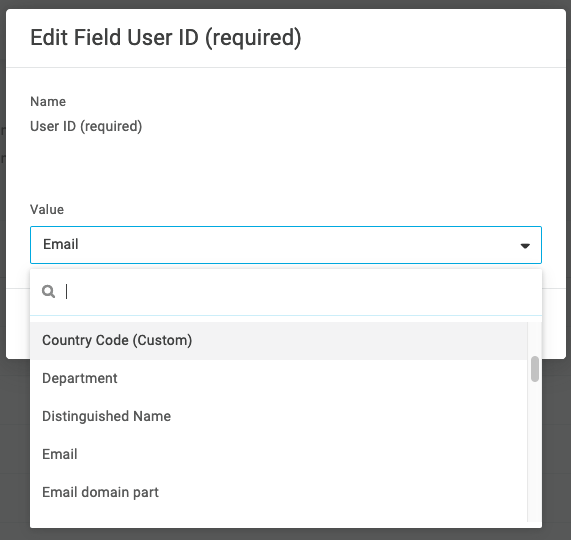
- Navigate to Parameters and ensure that the User ID in OneLogin matches the User ID in NetSuite, which it should by default. If it doesn't, click on it and edit the field User ID.

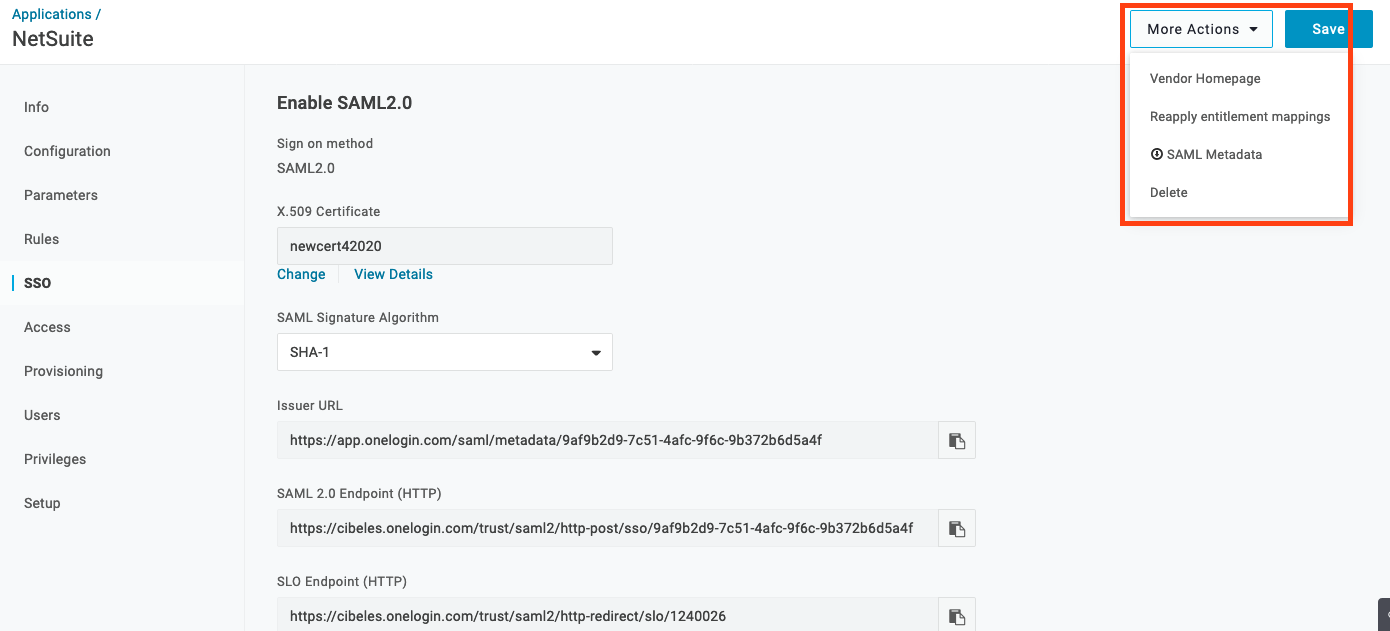
- Navigate to the SSO tab and click the More Actions dropdown, then click SAML Metadata to download a file containing a value you'll need in the NetSuite administration panel.
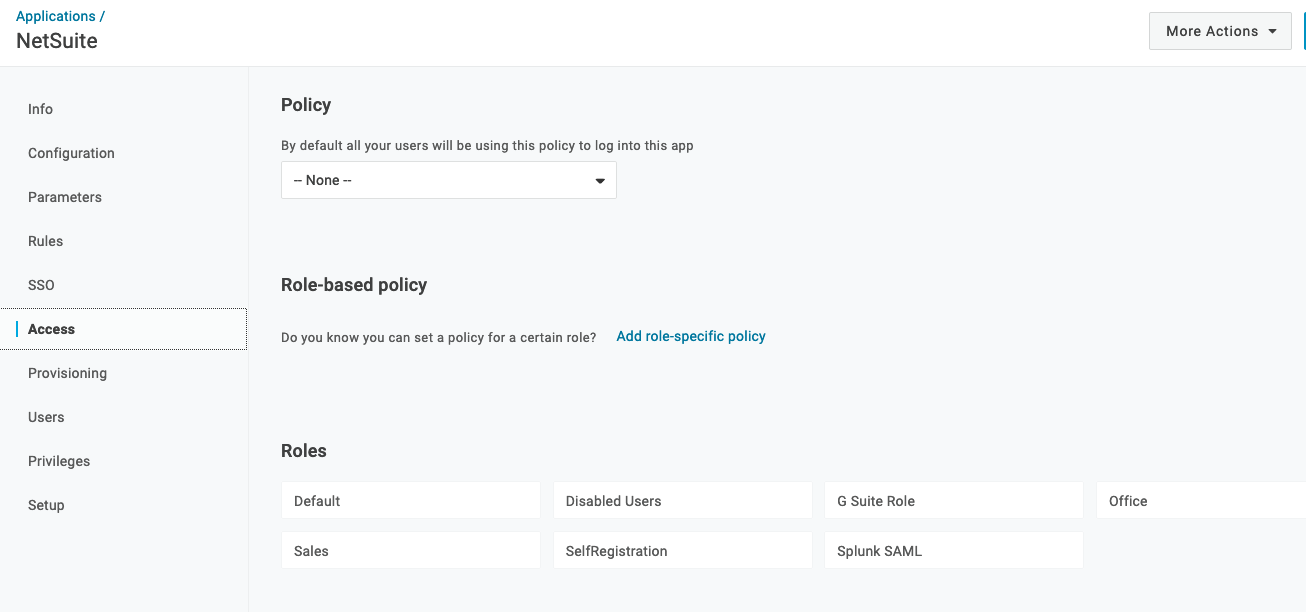
- Navigate to the Access tab and ensure that the Role that needs access to NetSuite is enabled. Note: all SSO enabled roles must be custom roles. Default NetSuite roles do not allow SSO permissions to be added.
- Return to the NetSuite administration panel and paste the entire metadata file contents into the Set up Identity Provider value.
- Log into the test user account you created earlier and ensure that the OneLogin > NetSuite connection has been made.