This topic describes how to configure OneLogin to provide SSO for AirWatch using SAML.
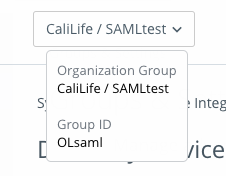
Note: before starting this process, ensure you have your AirWatch Group ID, which is found on the AirWatch Organization Group tab listing under Group ID.
OneLogin
- Navigate to Administration > Applications > Applications, then click the Add App button and and select AirWatch (Custom Domains). Rename the app if you wish, then click Save.
- Navigate to the Configuration tab and choose Airwatch as your Type.
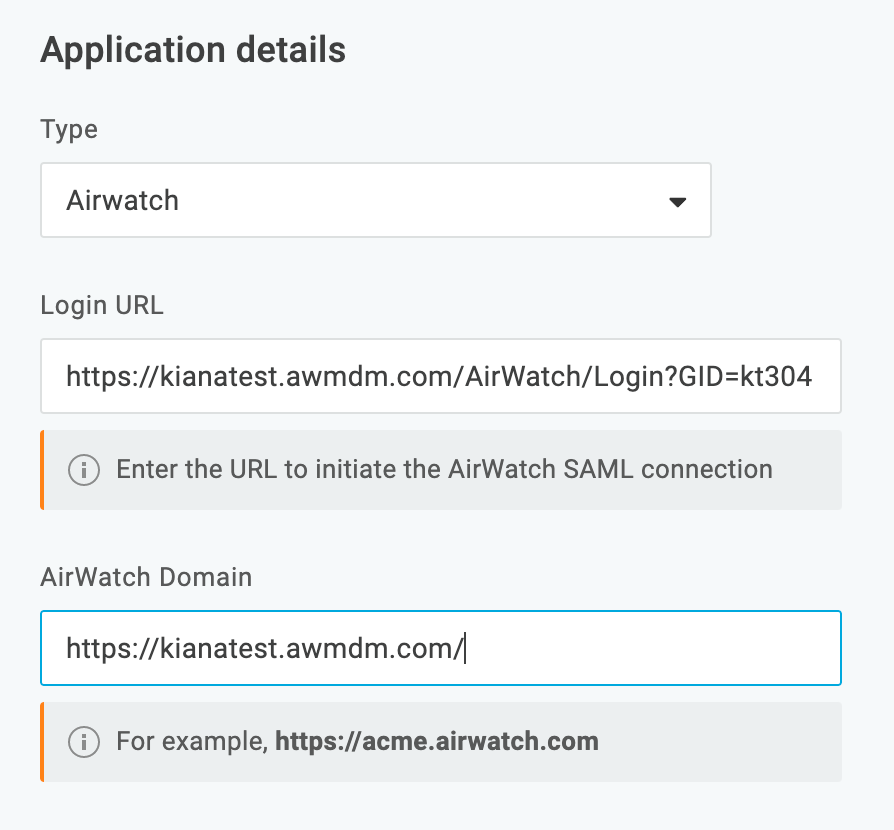
- Choose Login URL, then enter it using the following formula: https://{yourairwatchdomain}/AirWatch/Login?GID={GID}"}
- Add your AirWatch domain, then click Save.
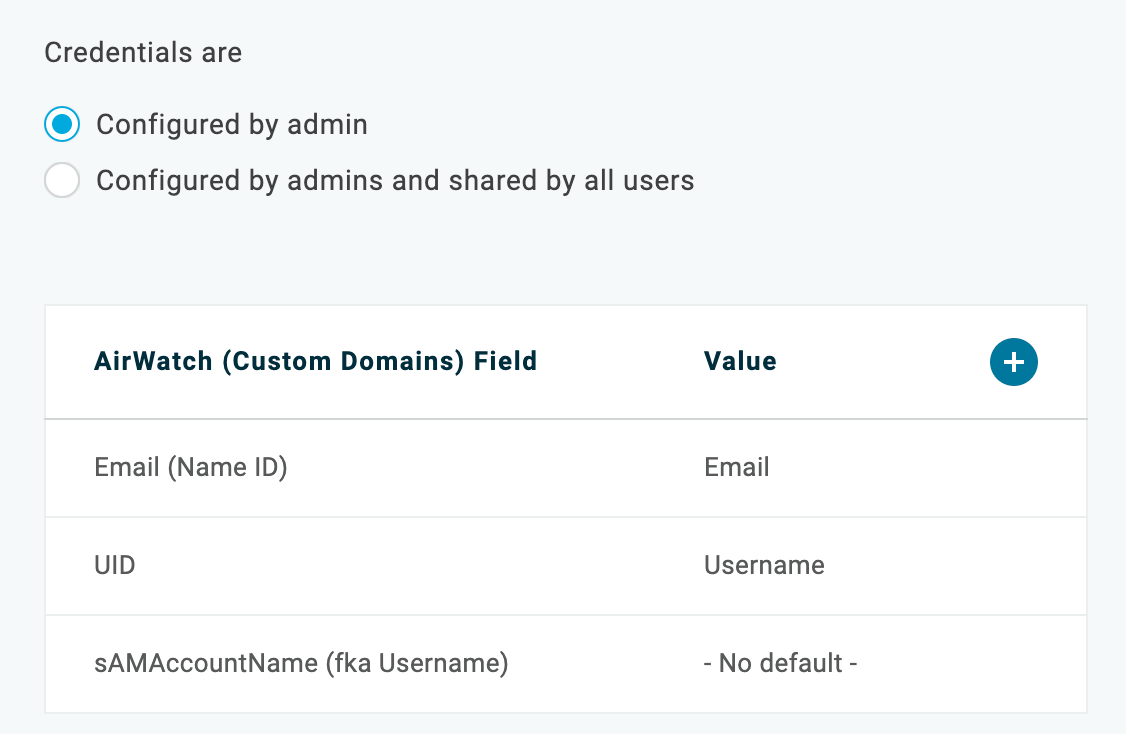
- Navigate to the Parameters tab and ensure that the UID parameter is mapped to username. Click Save.
- Navigate to the SSO tab, then copy down the Issuer URL and SAML 2.0 Endpoint and paste them in a safe place for later retrieval.
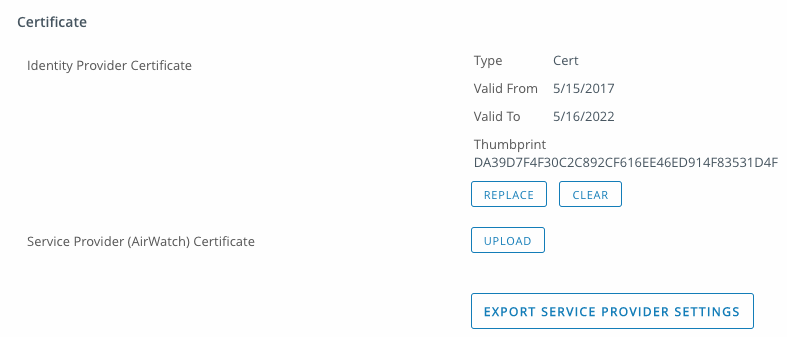
- Choose View Details under the X.509 Certificate dropdown. Scroll down to Download, then store the certificate in a safe place on your computer.
AirWatch
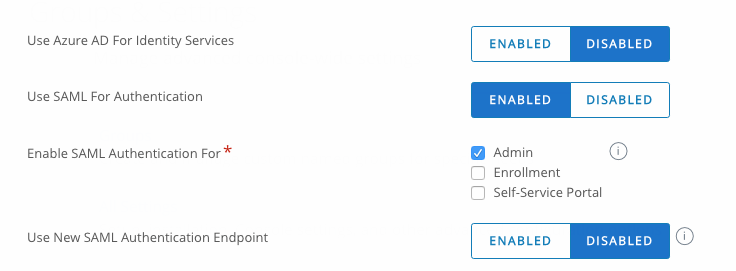
- Navigate to the AirWatch administration panel and enable SAML for Authentication, then ensure that Enable SAML Authentication for includes Admin, Enrollment, and Self-Service Portal.
- Navigate to the SAML section and use the following values:
- Identity Provider ID - Issuer URL from the OneLogin admin portal
- Request Binding Type - POST
- Identity Provider Single Sign-On URL - SAML 2.0 Endpoint from the OneLogin admin portal
- NameID Format - Unspecified
- Authentication Request Security - None
- Response Binding Type - POST
- Authentication Response Security - None
- Certificate - x.509 certificate (in .pem format) downloaded from OneLogin
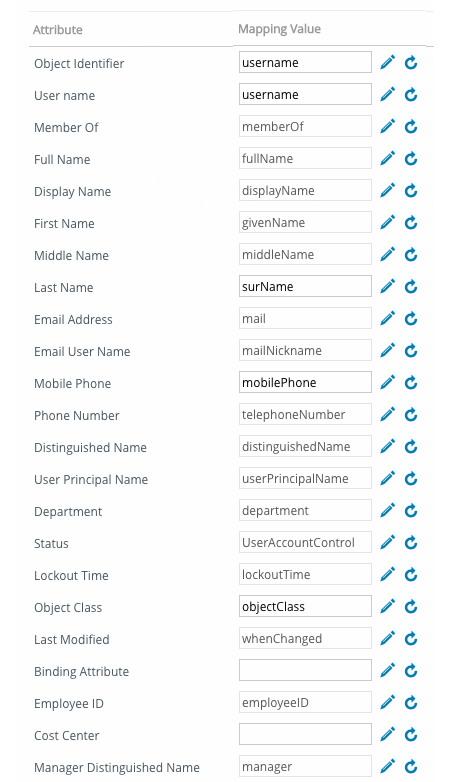
- Navigate to the User section and ensure that the Attributes match the following:
- Object Identifier - uid
- Username - cn
- Last Name - surName
- ObjectClass - objectClass
OneLogin
- Navigate back to OneLogin and add the AirWatch app to a test user, then assume the user and log in to test the connection.