This topic describes how to configure OneLogin to provide SSO for Oracle Fusion using SAML.
Note: before beginning this process, ensure you are a Full Admin or Full Security Authentication Admin in Oracle Fusion Full Admin and a super user in OneLogin.
OneLogin
- Navigate to Administration > Applications > Applications, then click the Add App button, search for Oracle Fusion in the search box, and select Oracle Fusion with SAML 2.0.
- Slide the Visible in Portal option to Off, then rename the app if you wish and click Save.
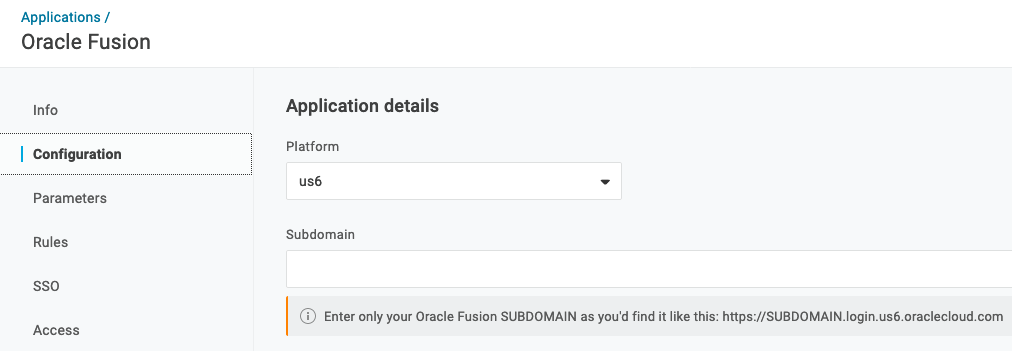
- Navigate to the Configuration tab complete the following values:
- In the Platform section, use the dropdown to select the value that appears in the bolded section in your URL. For example, https://mysubdomain.login.US2.oraclecloud.com/
- In Subdomain, enter your subdomain without the rest of the URL.
- Navigate to the Parameters tab and note the Value that will be sent to Oracle Fusion, then click Save.

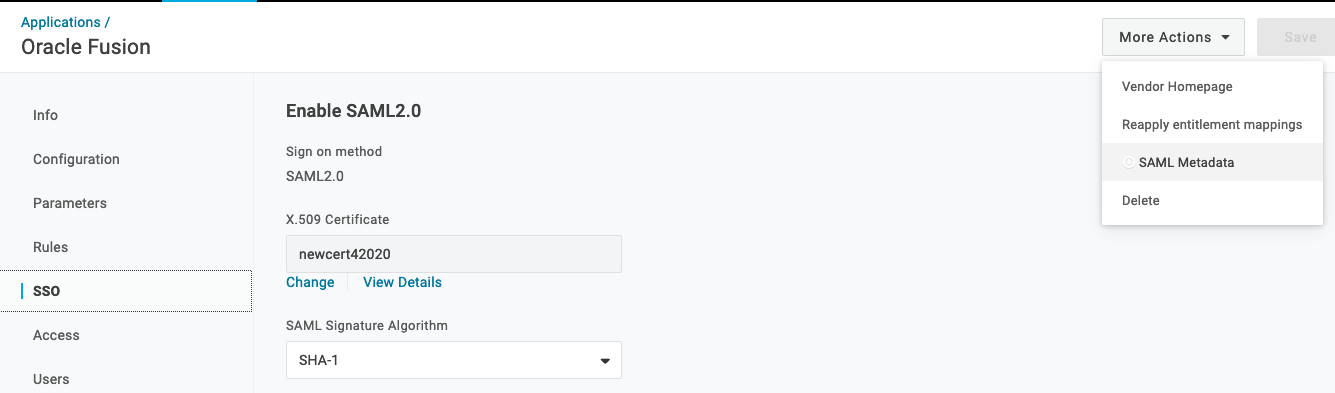
- In the upper-right hand corner, click the More Actions menu and click SAML Metadata, then note where the file is saved so you can access it later.
- Navigate to the SSO tab and change the SAML Signature Algorithm to SHA-256. Click Save.
- Go to the Access tab and select the Role to which you want to assign Oracle Fusion access. Click Save.
Oracle Fusion
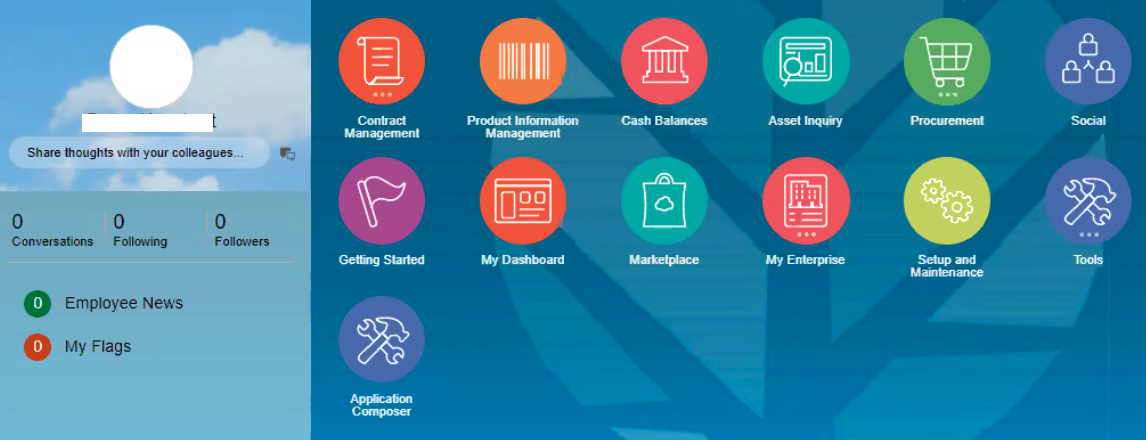
- Login to your application portal, then use Navigator or the search function to locate Security Console and choose it.
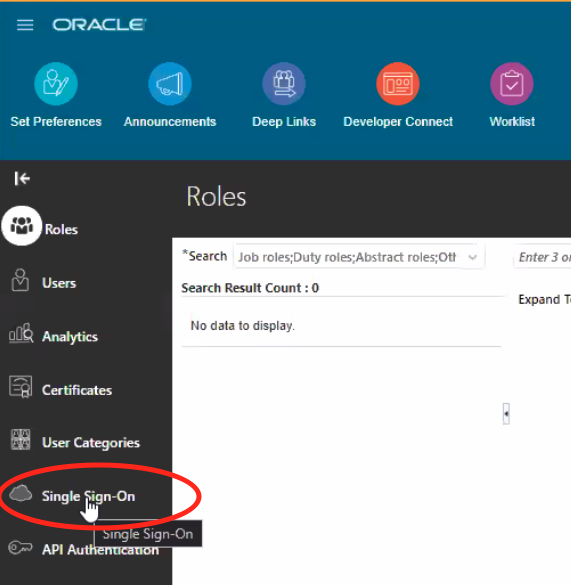
- Under Security Console, select Single Sign On, then choose Identity Provider and select Edit above it.
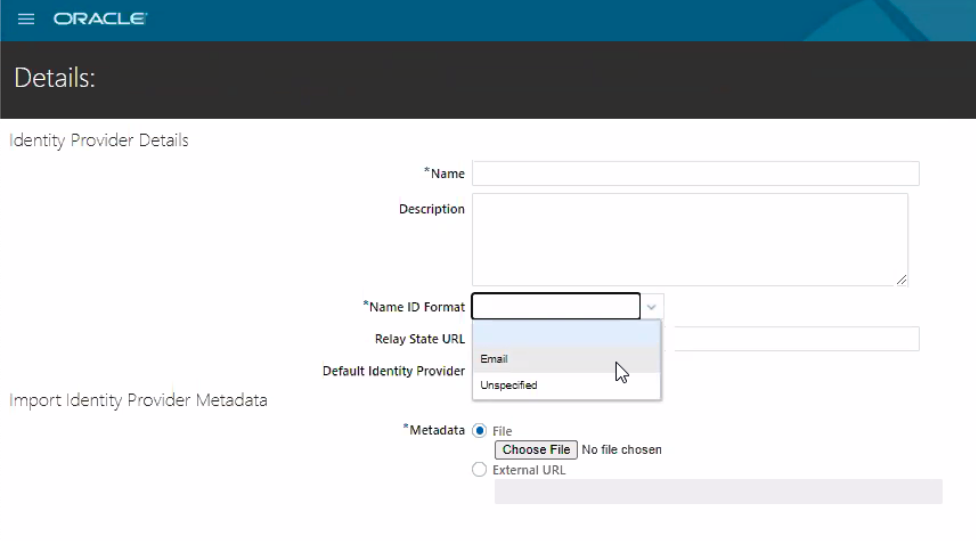
- Locate Identity Provider Details, then enter OneLogin as your identity provider name.

- If Email was the Value you noted in OneLogin, choose it as the Name ID Format, then upload the SAML Metadata file you downloaded from OneLogin earlier. Click Save.
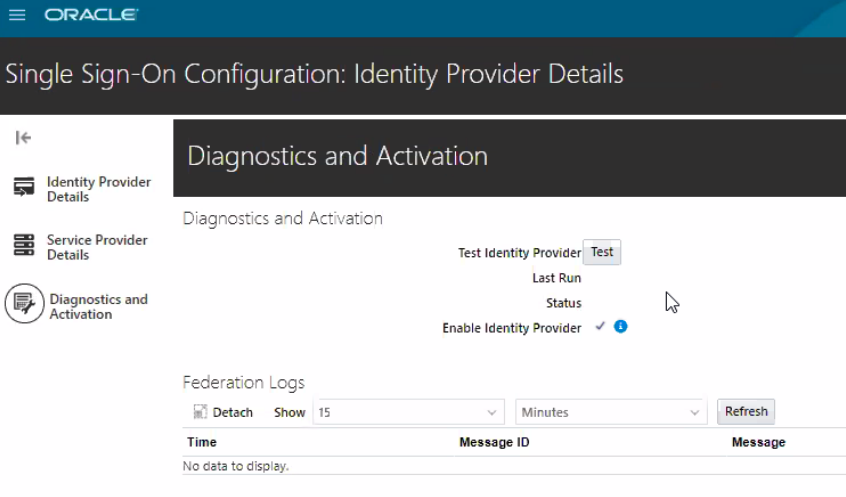
- Go to Diagnostics and Activation and click Test to complete the required SAML 2.0 test connection. Once it tests properly, select Enable Identity Provider.
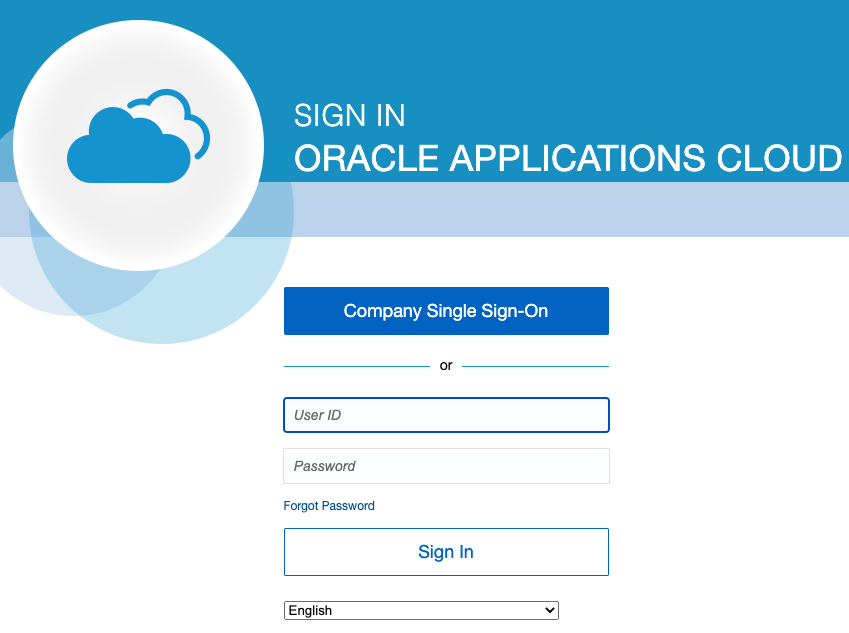
- Test the SSO login by navigating to the Oracle login screen and selecting Company Single Sign On.
Alternative Method
- Navigate to Administration > Applications > Applications, then click the Add App button, search for Oracle Fusion in the search box, and select Quicklink with SAML 2.0.
- Slide the Visible in Portal option to Off, then rename the app to Oracle Fusion and click Save.
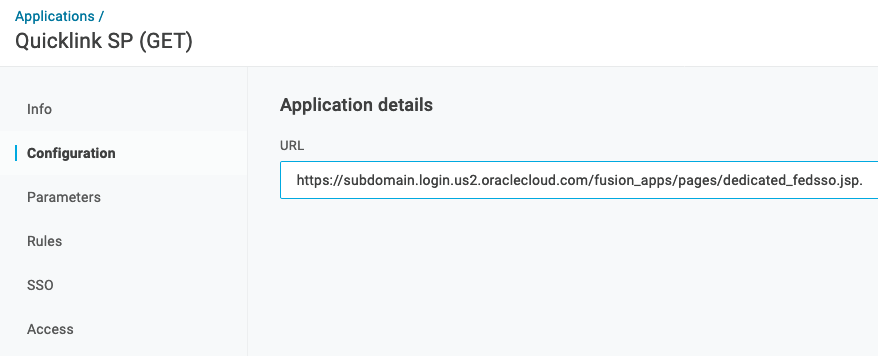
- Navigate to the Configuration tab and enter your unique URL (including your subdomain) in the URL section in this format:
https://{subdomain}.login.us2.oraclecloud.com/fusion_apps/pages/dedicated_fedsso.jsp
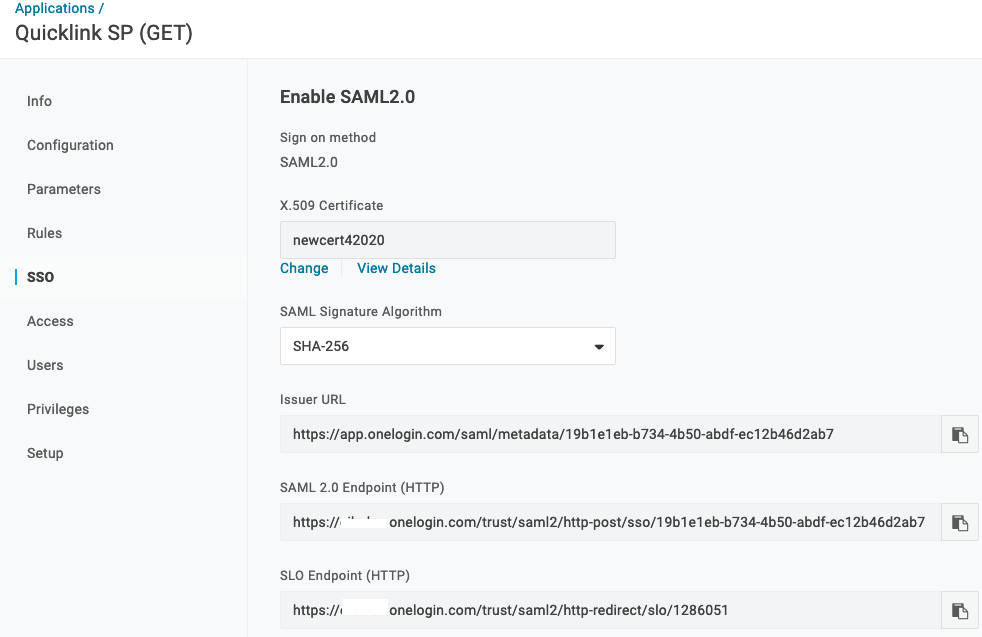
- Navigate to the SSO tab and change the SAML Signature Algorithm to SHA-256. Click Save.
- Go to the Access tab and select the Role to which you want to assign Oracle Fusion access. Click Save.
- Test your new setup in an incognito window.