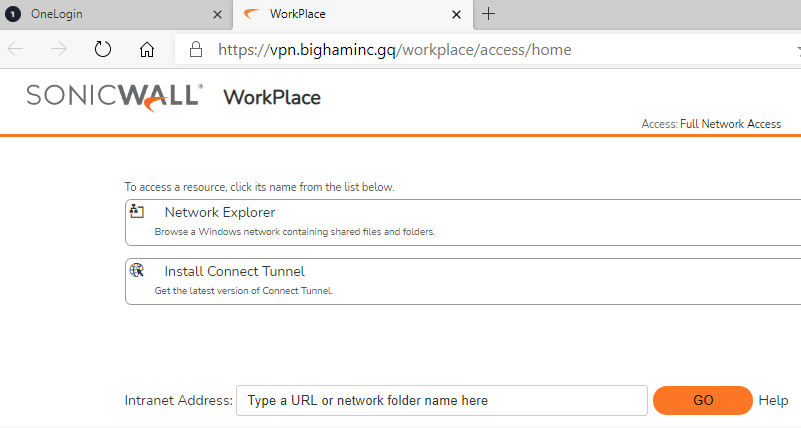
This topic describes how to configure OneLogin to provide SSO for SonicWall Secure Mobile Access (SMA) for Connect Tunnel and WorkPlace using SAML. For this article, we'll refer to it simply as SonicWall.
Note: before beginning this process, ensure you have Full Administrative Access in SonicWall and are a super user or above in OneLogin. In addition, identify a test user who has access to both SonicWall and OneLogin so you can test the connection when you're done.
SonicWall
- Log in to SonicWall as an administrator and note the unique URL (called Appliance by SonicWall) that is generated in your navigation bar. Save it somewhere safe for later.
OneLogin
- Go to Administration > Applications > Applications, then click the Add App button, search for SonicWall in the search box, and select SonicWall. Click Save.
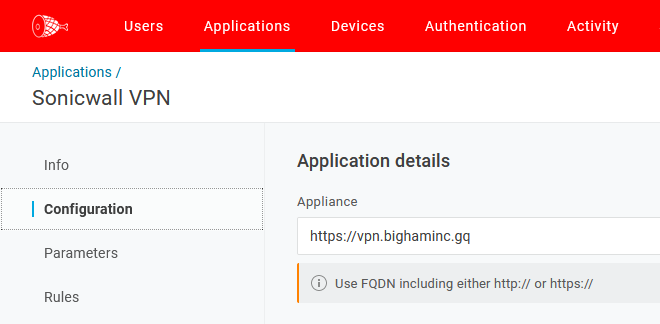
- Navigate to the Configuration tab and paste the Appliance in its respective field.
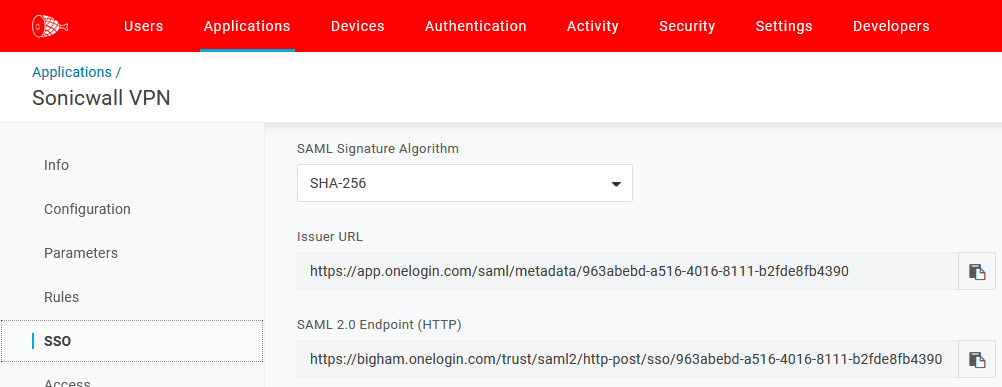
- Switch to the SSO tab and copy the Issuer URL, SLO Endpoint and SAML 2.0 Endpoint (HTTP) values, then paste them somewhere to be retrieved later.
- Under the X.509 certificate value, click View Details link and copy the X.509 certificate, then paste it somewhere safe.

- Go to the Access tab and select the Roles to which you want to assign SonicWall access. Click Save. For more information about Roles, click here.
- Return to your SonicWall instance.
SonicWall
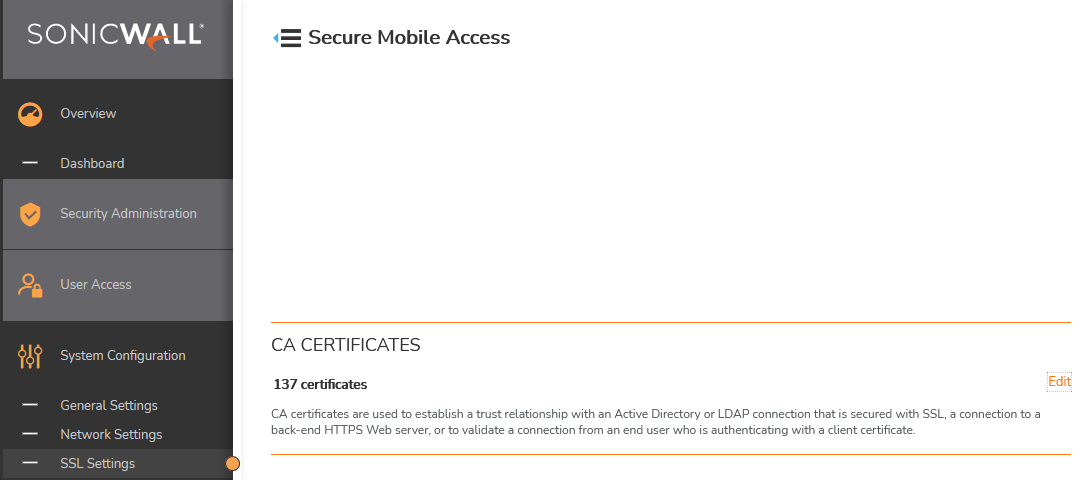
- Login to your SonicWall instance as an admin and navigate to System Configuration > SSL Settings > CA CERTIFICATES, then click the Edit button to the right of [your number of] Certificates.
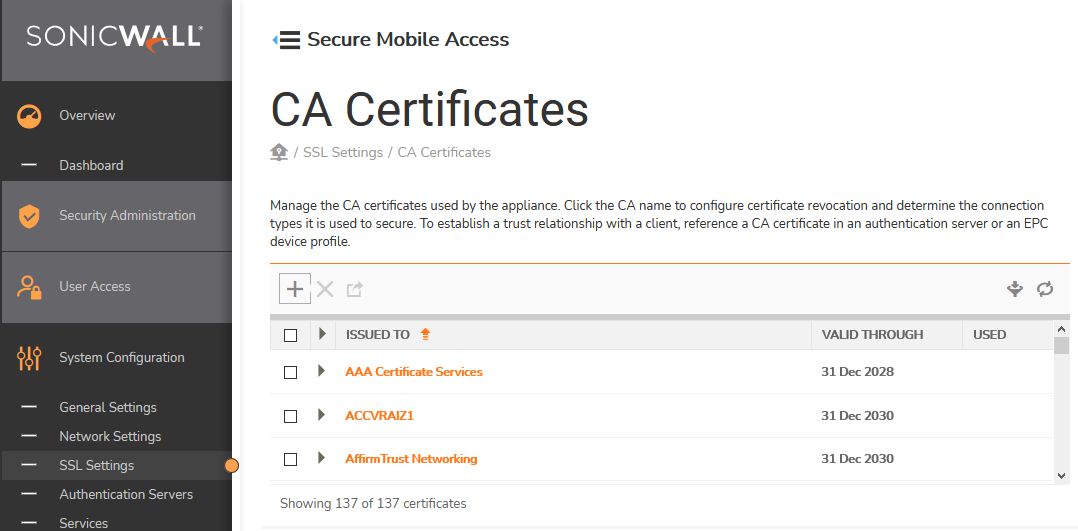
- Click the + button above the list of CA Certificates, then click the Browse button and select the OneLogin X.509 certificate you previously downloaded.
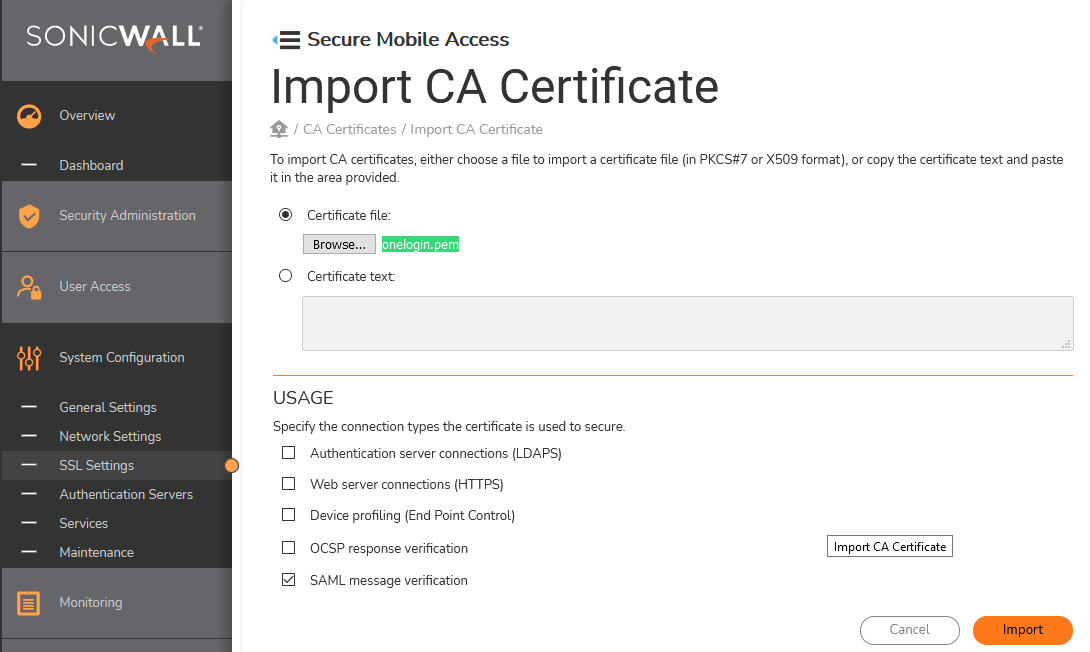
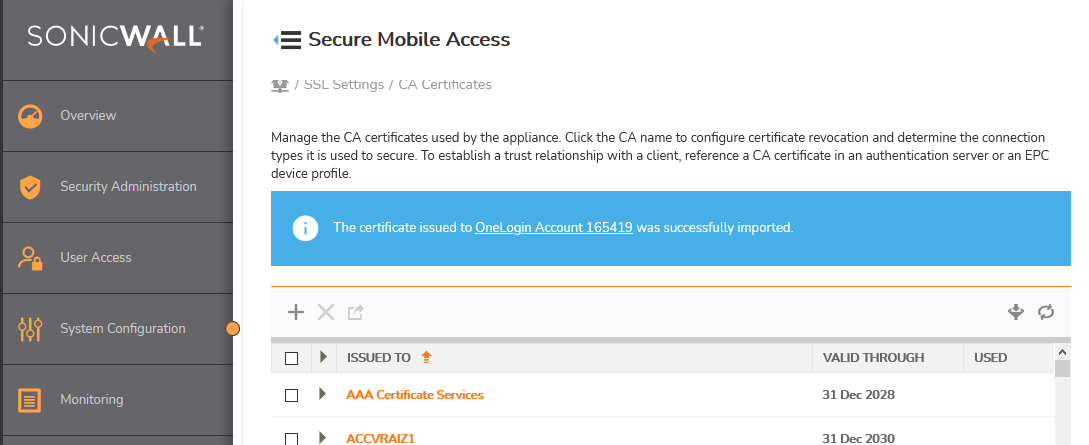
- Select SAML Message Verification under Usage and unselect all the other options, then click the Import button and wait until you're served a blue banner confirming the success of the import.
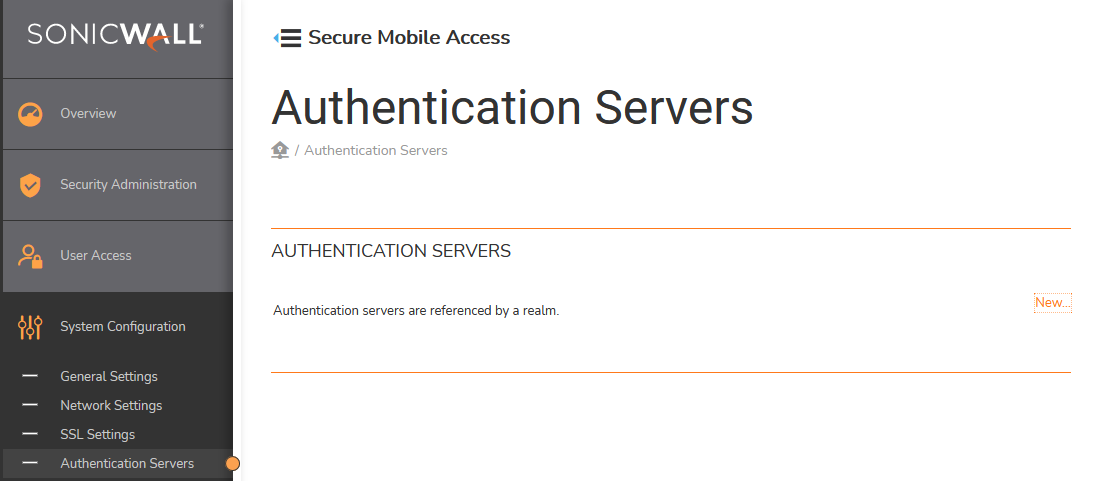
- Choose System Configuration and click the New button next to Authentication servers, then click SAML 2.0 Identity Provider under USER STORE and Username/Password under CREDENTIAL TYPE. Click Continue.

- Navigate to Edit Authentication Server and input the following values. When you're done, click Save.
| SonicWall value requested | Corresponding OneLogin value |
| Name | [n/a - you may name it however you like] |
| Appliance ID | The Appliance value from earlier in these instructions |
| Server ID | OneLogin Issuer URL |
| Authentication service URL | OneLogin SAML 2.0 Endpoint (HTTP) |
| Logout service URL (optional) | OneLogin SLO Endpoint (HTTP) |
| Trust the following certificate | Select the X.509 certificate you downloaded from OneLogin |
| Endpoint FQDN | The same URL value as your Appliance |

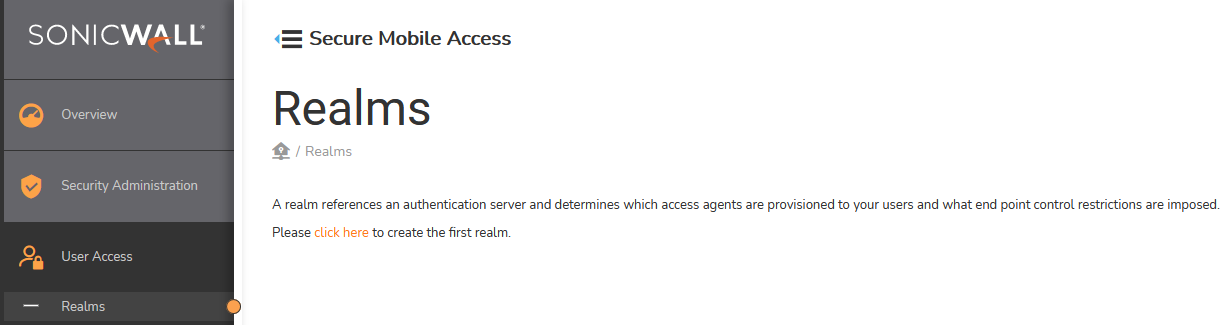
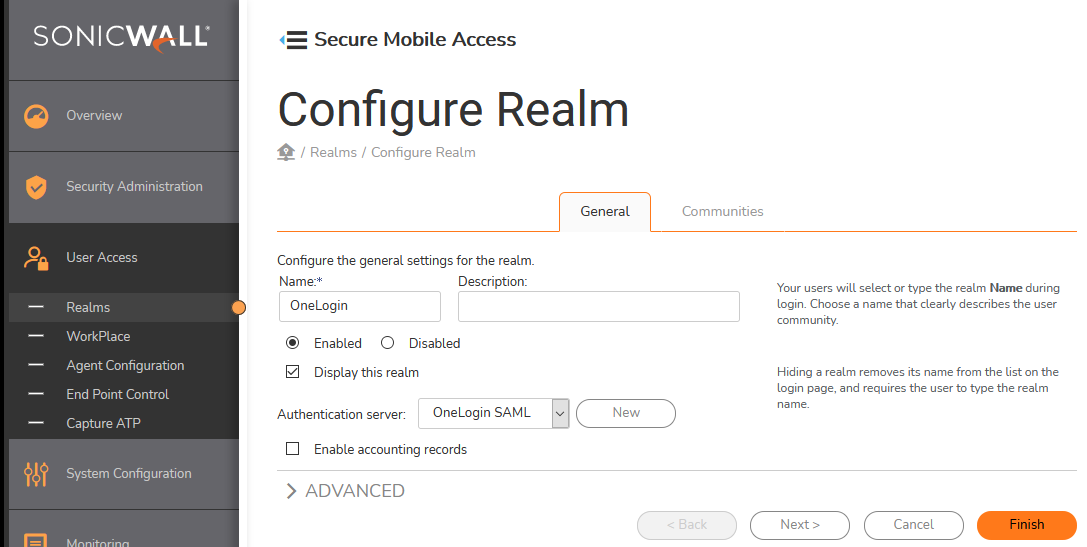
- Navigate to User Access > Realms and create a new Realm, then and select/apply the following three settings; other settings vary by customer needs. Click the Finish button when complete.
- Name: OneLogin
- Enabled: Selected
- Authentication server: OneLogin SAML
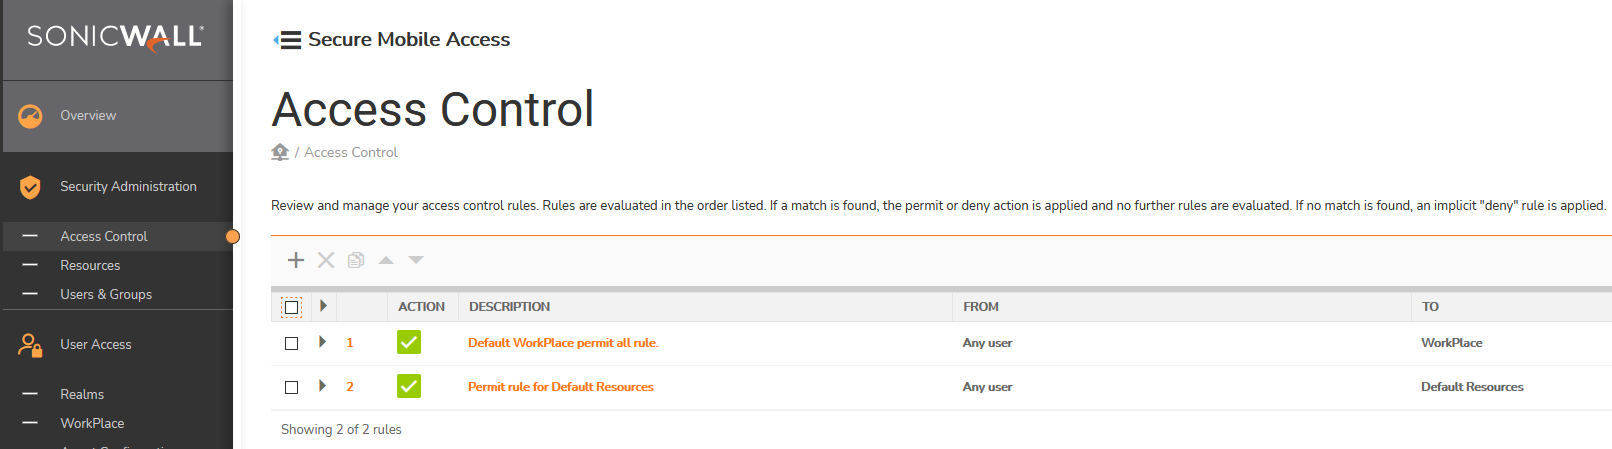
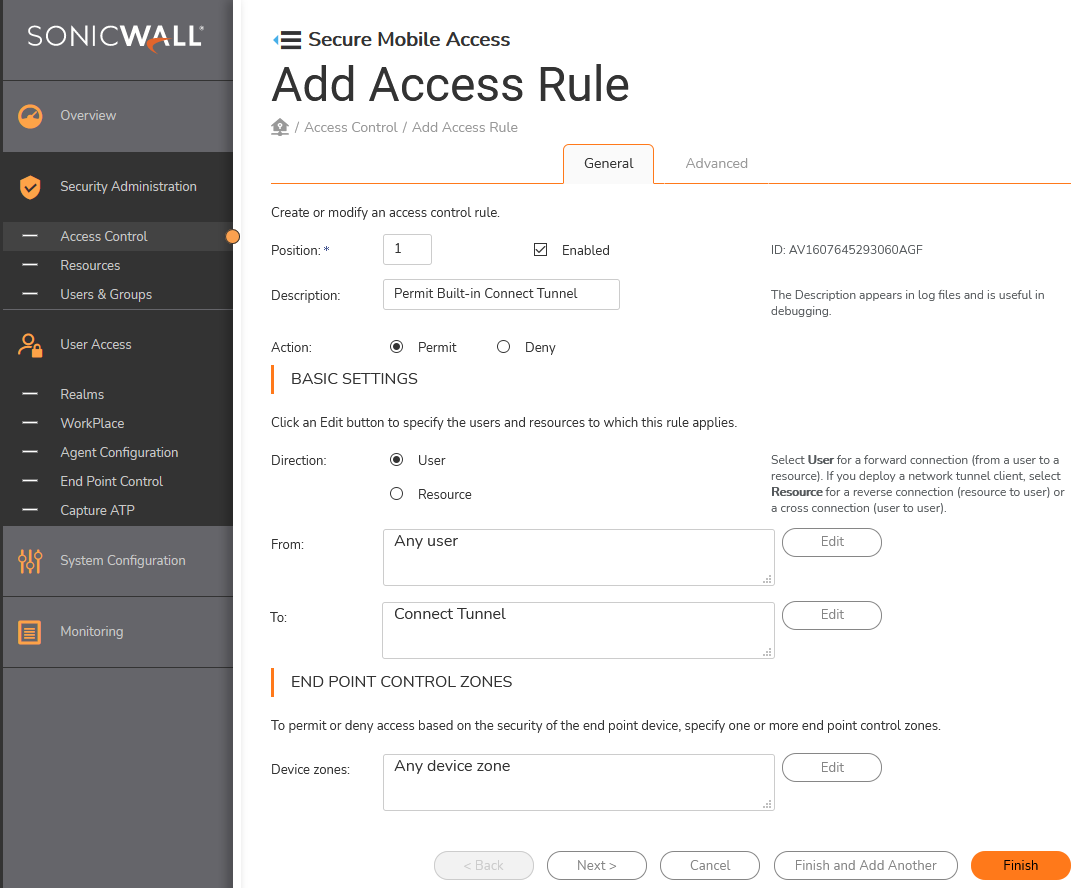
- Go to Security Administration > Access Control and click the + button to create an Access Rule, then choose to allow Connect Tunnel traffic and enter the following values; other settings vary by customer needs. Once you're done, click Finish.
- Description: e.g. Permit Built-in Connect Tunnel
- Action: Permit
- Basic settings > To: Connect Tunnel
- Save your SonicWall SMS configuration by clicking the Pending changes link at the top-right of your screen.


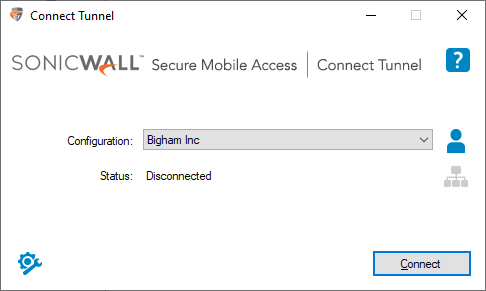
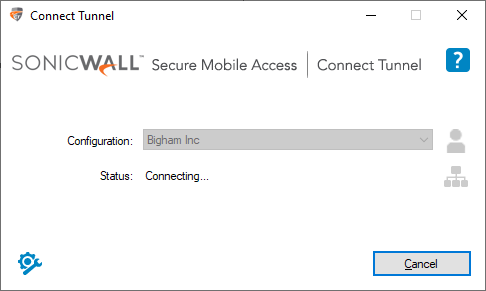
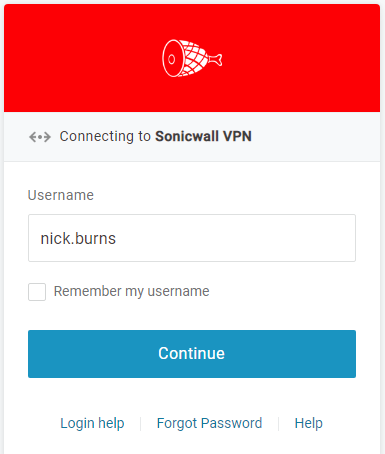
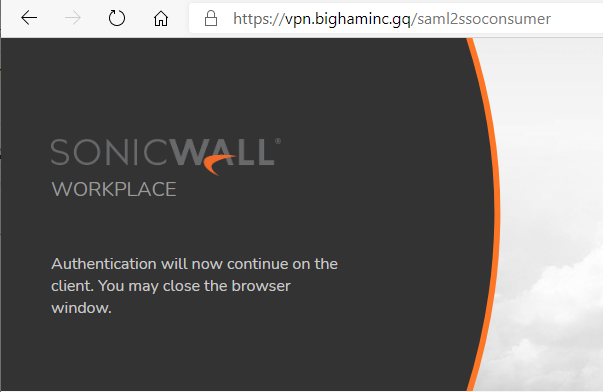
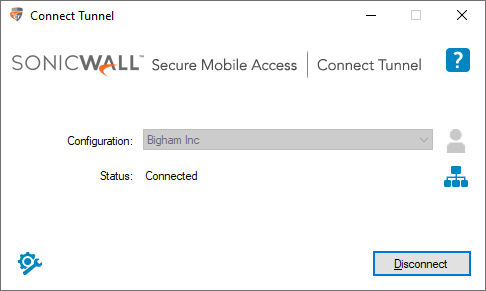
- Log into the test user account you identified earlier and ensure that the OneLogin > SonicWall connection has been made.