Overview
This document describes how to configure OneLogin to provide SAML SSO for an AWS ClientVPN. For more granular access control, you can optionally configure SAML group-specific authorization rules. The OneLogin AWS ClientVPN connector is preconfigured to send the OneLogin MemberOf attribute in the assertion and provides visibility into the group membership of authenticated users. This information can be used to create IP based access permissions based on OneLogin memberOf attribute.
Prerequisites
- AWS Account
- An Amazon VPC already configure
- A private certificate imported into AWS Certificate Manager (ACM)
- OneLogin Account
- Desktop (Windows or macOS) running the latest AWS Client VPN software
- You can download the software here
Configure OneLogin AWS Client VPN Connector
-
In the OneLogin admin portal, select Applications > Add App.
-
Once the Find Applications page loads, search for AWS ClientVPN and select the connector.

-
On the add connector page, edit the Display Name to anything that you would like or leave all of the defaults and click Save.

-
After the new connector is saved, click on the SSO tab and change the SAML Signature Algorithm to SHA-256. Click Save.
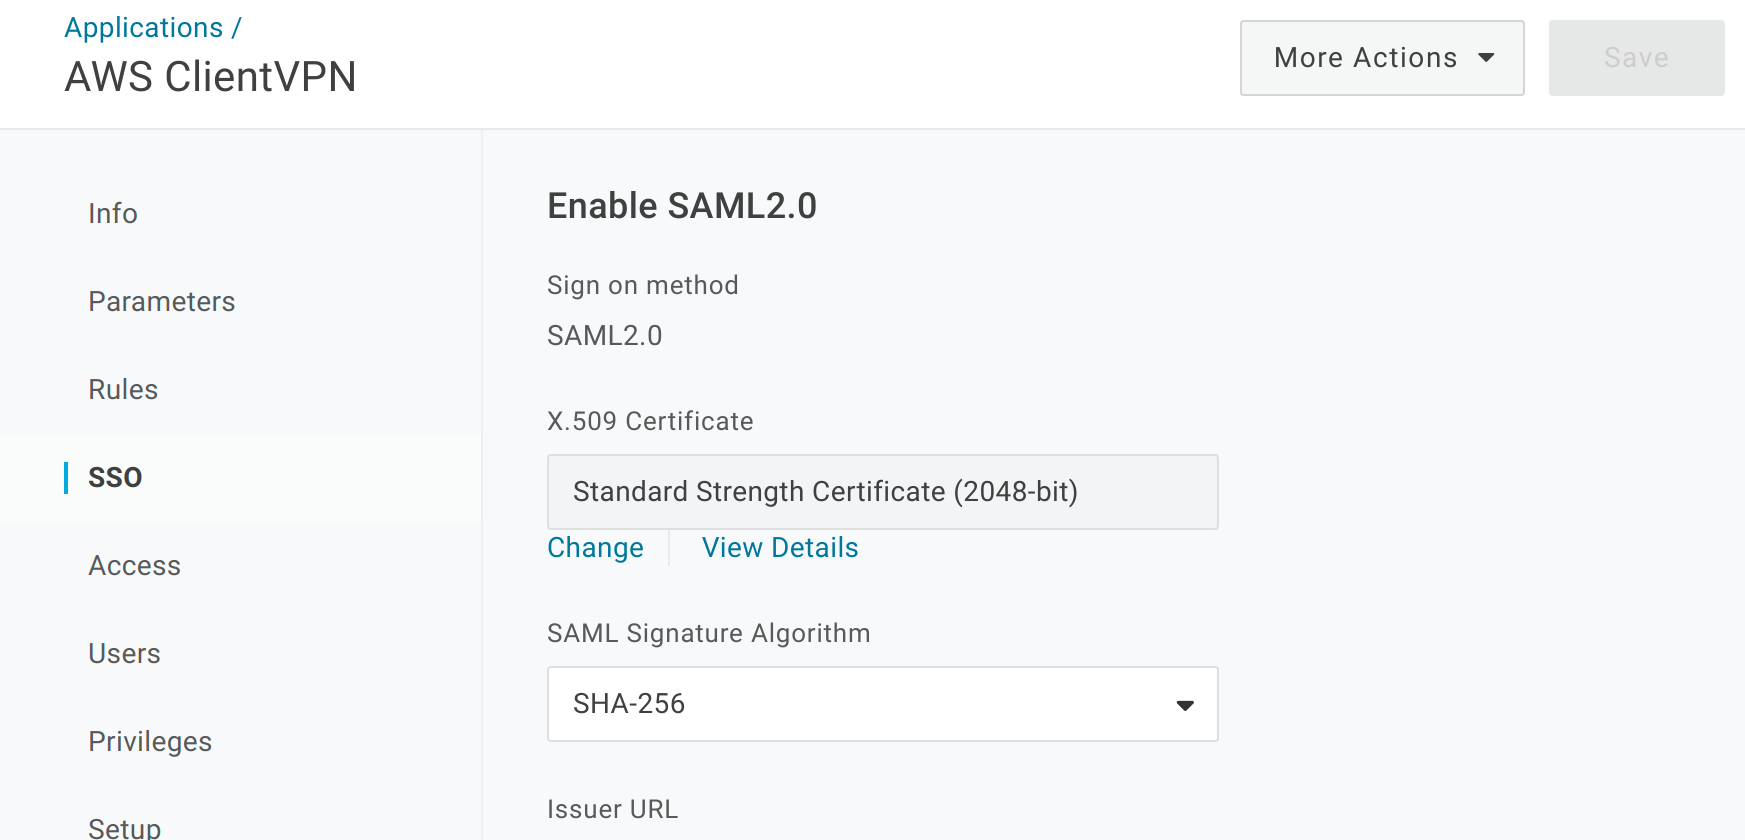
-
Export the metadata for the new AWS Client VPN by selecting More Actions > SAML Metadata. This metadata file is required to configure the federation partner in AWS IAM in the next section.

Configure AWS IAM Identity Provider
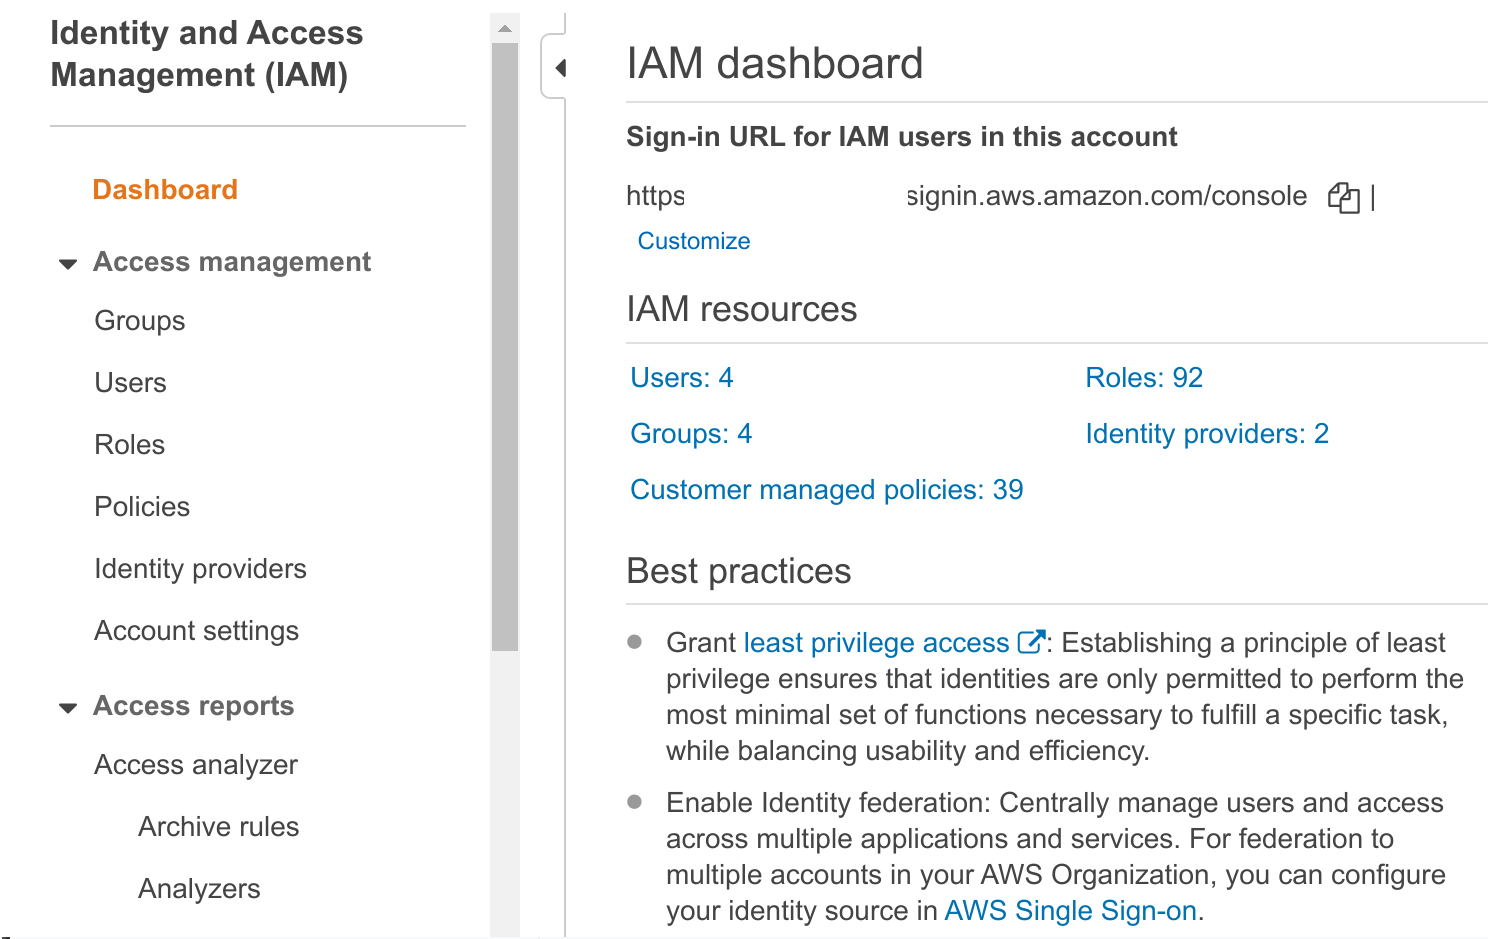
We now need to configure a new AWS IAM Identity provider to the new OneLogin IdP that we created in the previous step. Log in to the AWS Console with a user that has permission to manage the IAM settings in your AWS account.
-
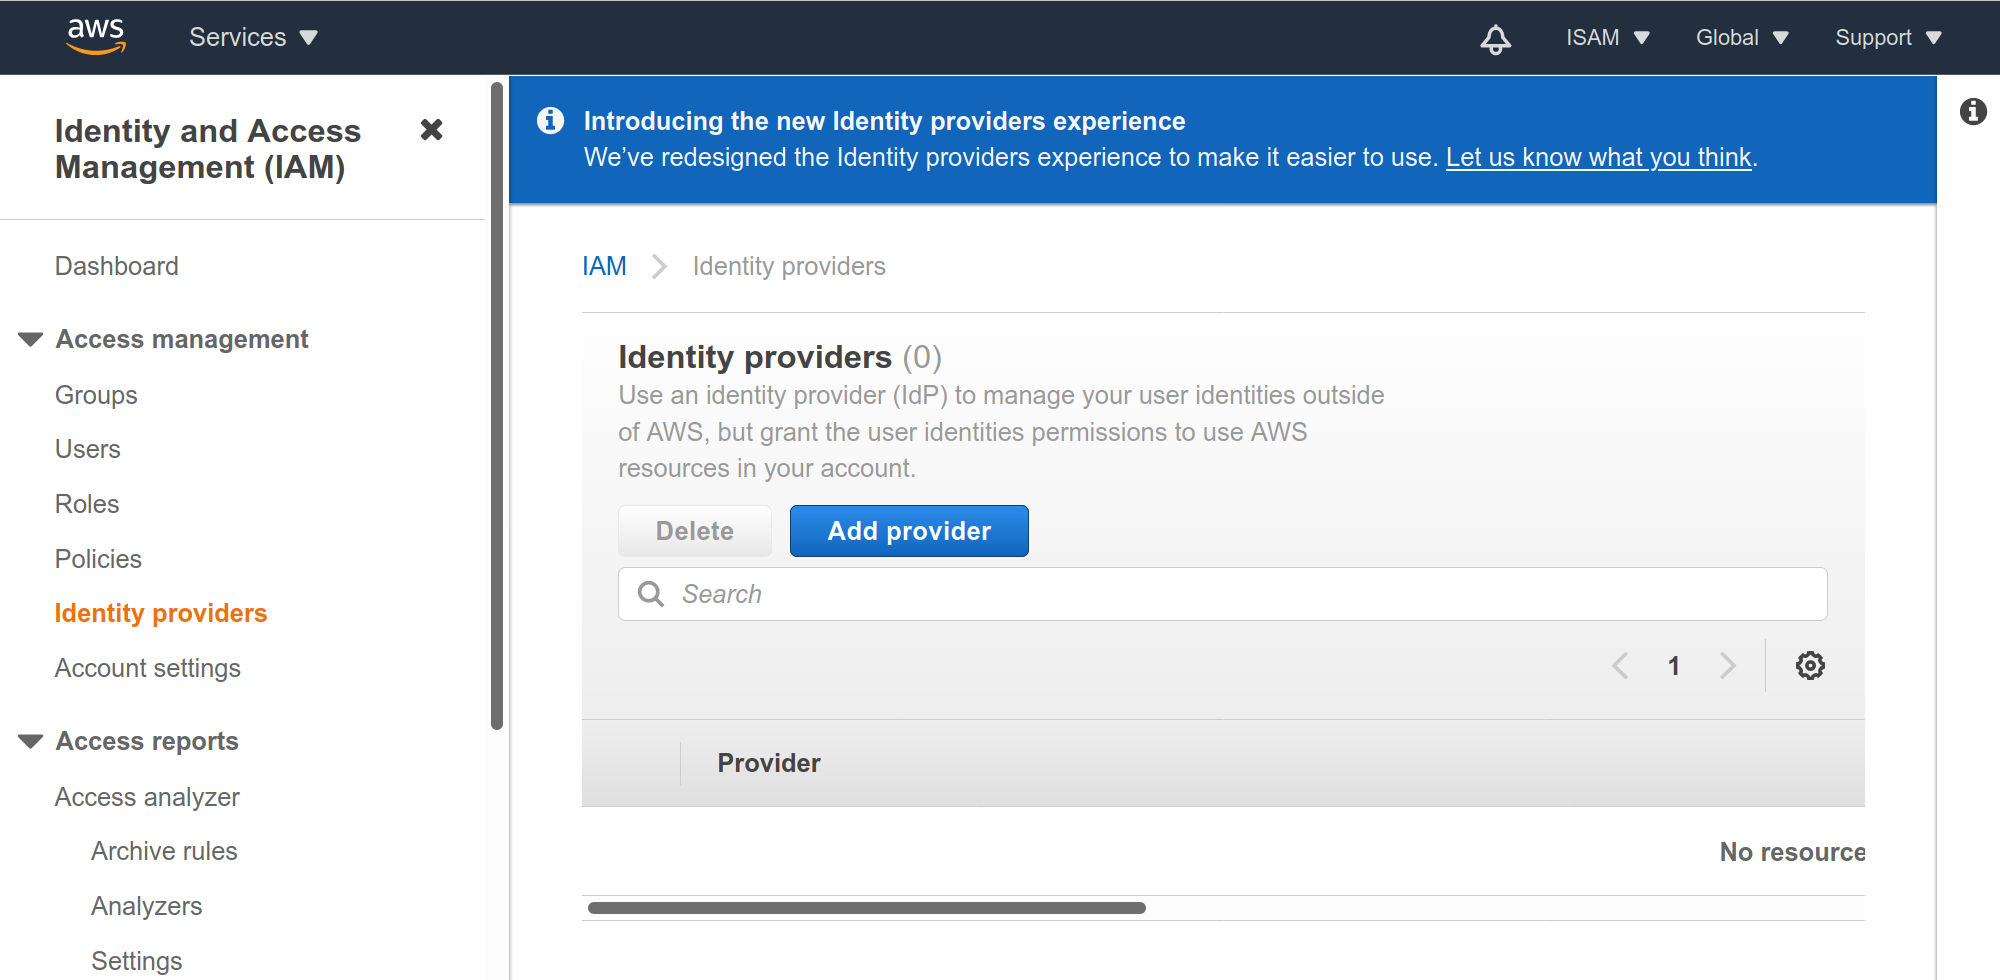
Open the AWS IAM console and select Identity providers.
-
Click on Add Provider.
-
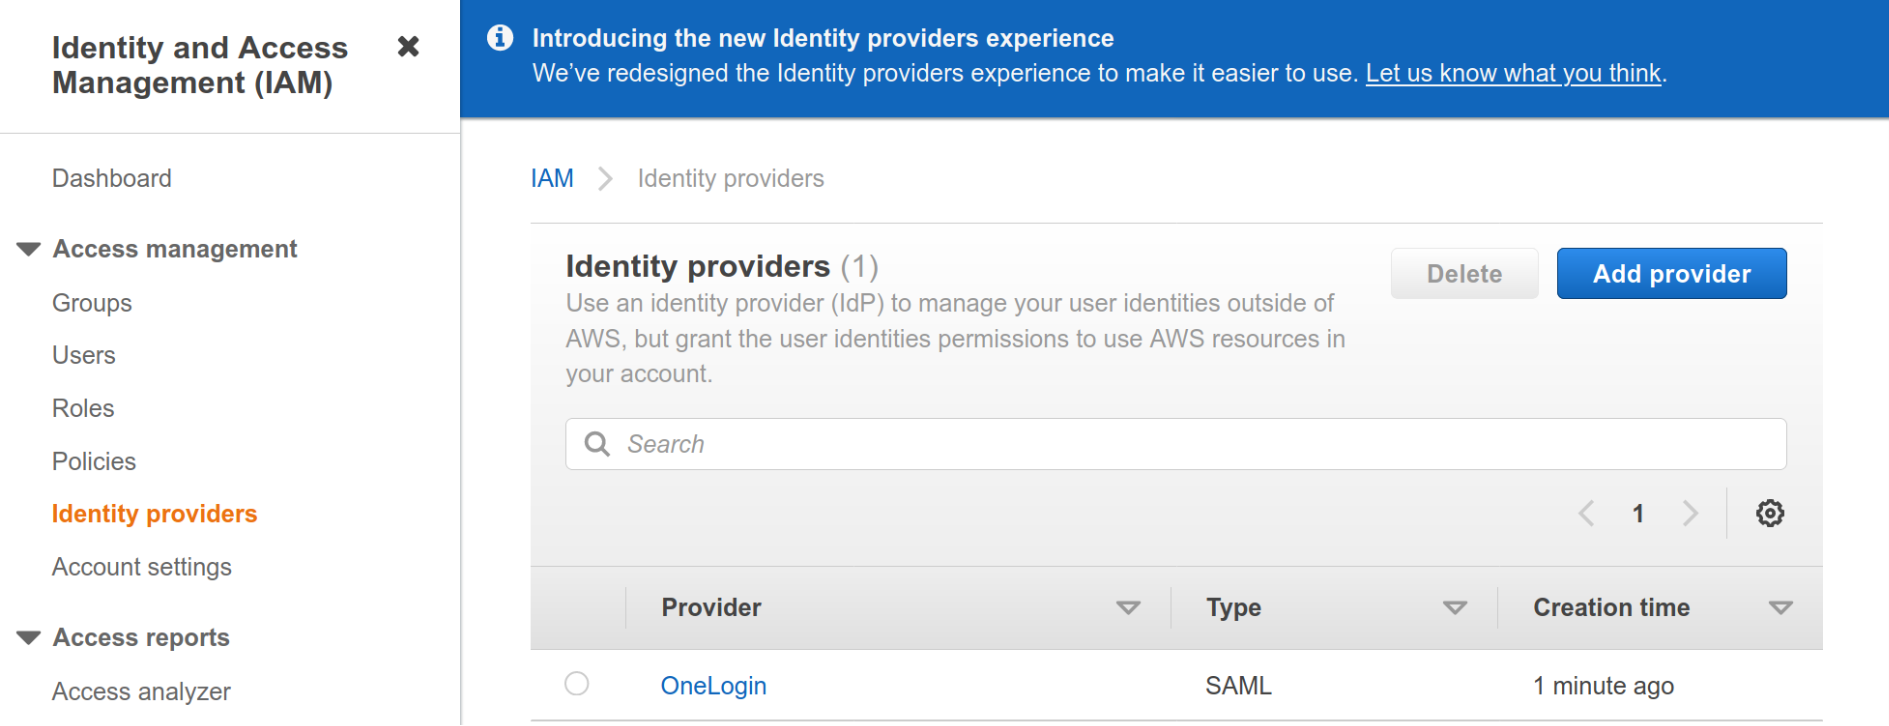
Enter a Provider name like OneLogin or OneLoginVPN. Click Choose file and locate the OneLogin connector metadata file that you downloaded in the previous section. Once the file finishes uploading click Add provider.

-
Once successful, you land on the Identity providers screen and see your new provider that you created.
Create AWS Client VPN Endpoint
The steps below outline the options required to create a Client VPN that uses the newly added identity provider.
-
Open Amazon VPC console in an AWS Region of your choice.
-
In the navigation pane, under Virtual Private Network (VPN), choose Client VPN Endpoints.
-
Click Create Client VPN Endpoint.
-
Enter the Name Tag and Description.
-
Enter
10.10.0.0/22for Client IPv4 CIDR. This IP range be any range that you want, the only restriction is it must be a/22or larger subnet mask. This is the IP range allocated to your remote users. -
For Server certificate ARN, choose the certificate you created as a prerequisite.
-
For Authentication Options, select Use user-based authentication and then Federated authentication.
-
From the SAML provider ARN dropdown, select the identity provider you configured earlier.

-
Under Connection Logging, specify if you want the connections logged in Amazon CloudWatch.
-
Under Other optional parameters, select Enable split-tunnel and leave everything else unchanged. Enabling split-tunnel option ensures that only traffic to the VPC IP range is forwarded via the VPN.
-
Click, Create Client VPN Endpoint to complete the setup.
Configure AWS Client VPN Endpoint Options
Before a Client VPN endpoint becomes active, you must associate it with a target VPC. You can also configure other options that define routing and authorization rules.
Associate Client VPN with Target VPC
-
Select the Client VPN endpoint you recently created. It should be in Pending state.
-
Choose Associations tab in the options and click Associate.
-
From the drop-down select the target VPC and subnet you want to associate your endpoint with.
-
(Optional) Repeat the previous steps to associate your Client VPN endpoint to another subnet for high availability.
Set Up SAML Group-Specific Authorization (optional)
-
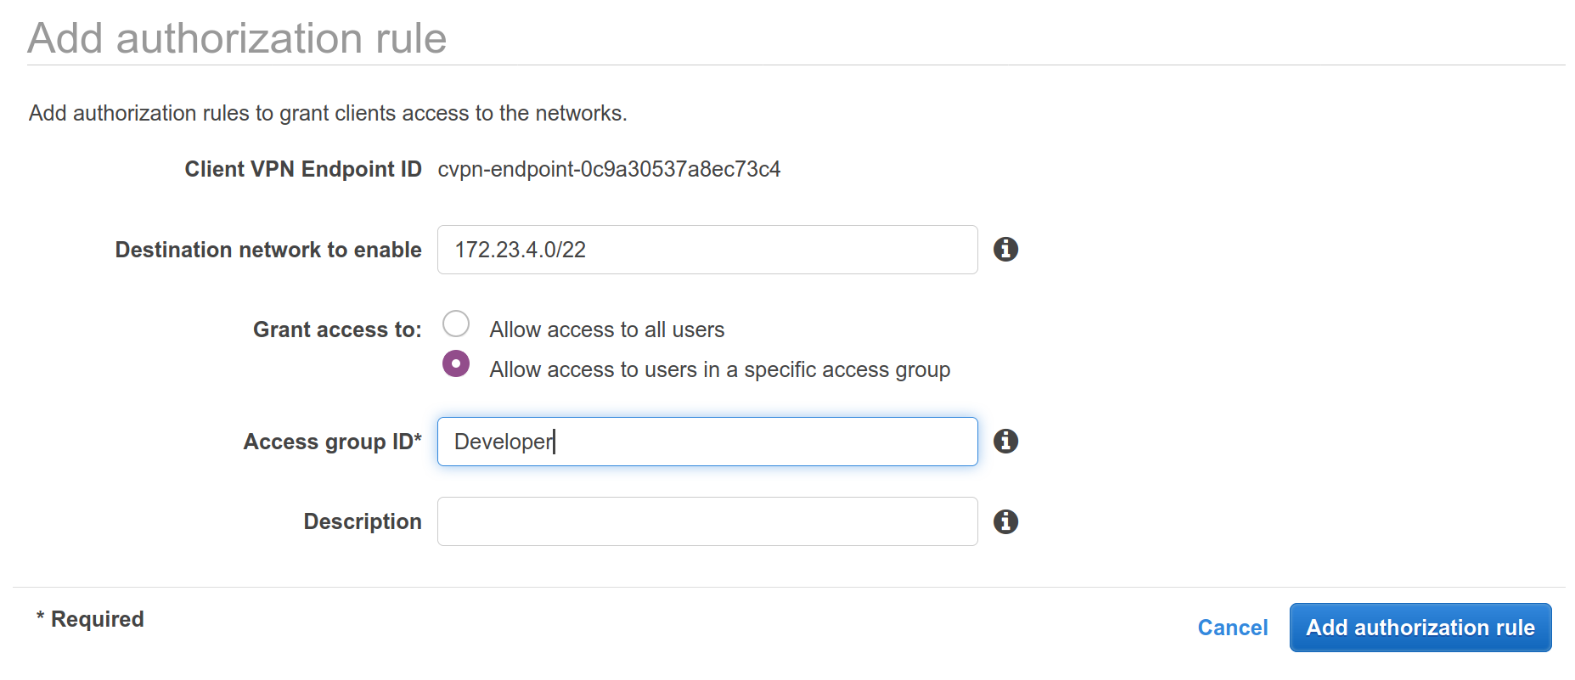
Select the Authorization tab in your Client VPN options and click Authorize Ingress.
-
For the Destination network to enable, define the IP Range that this VPN client can access. In this example, we grant access to the entire subnet of
172.23.4.0/22. -
Under Grant access to, select Allow access to users in a specific access group.
-
In the Access group ID field enter the name of the group you want to allow access to the IP Range. This can be any
memberOfgroup from OneLogin. -
Provide an optional description and click Add authorization rule.
-
(Optional) Repeat the previous steps to associate your Client VPN endpoint to another authorization rule.
Connect to Client VPN and Test Connectivity
To connect to the target VPC, download the configuration profile for the configured Endpoint. This profile can be added to the AWS Client VPN software running on your desktop.
To Connect to Client VPN
-
Select the Client VPN endpoint you just created. It should now be in Available state.
-
Click Download Client Configuration to download the configuration profile to your desktop.
-
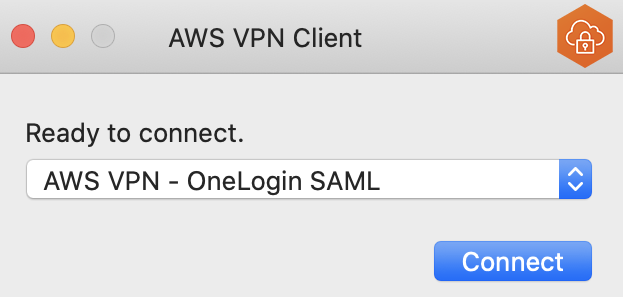
Open the AWS Client VPN desktop app on your machine.
-
In the top menu select File and Manage Profiles.
-
Click Add Profile and point to the recently downloaded file. Enter a Display Name.
-
You should now see the profile in the list on the AWS Client VPN software. Select it and click Connect.
Note: During the connection process you're redirected to your IdP for authentication. AWS Client VPN uses the default browser configured on your device. This allows you to continue using tools already integrated with your browser, like password managers.
Troubleshooting
If you experience problems, investigate the issues below:
-
Confirm that the Client VPN connection has successfully established. It should be in a Connected state. To troubleshoot connection issues, you can follow this guide.
-
If the connection is not established, make sure that your machine has TCP port 35001 available. This is the port used for receiving SAML assertions.
-
Check if the Security Group associated with your instance permits the traffic you’re testing with (for example ICMP).
-
Validate if the user you’re testing with is a member of the correct SAML group on your IdP.
-
Confirm if the OneLogin is sending the right details in the SAML assertion. You can use browser plugins to inspect the information received in the SAML assertion.