Prerequisites
- A test user for this connection
- A valid default certificate; you should generate one every 6-12 months or 5-10 applications
- A Role with access to the app
- Admin access to Burp Suite with a super user or above in your OneLogin instance
- Vendor documentation for SAML and SCIM.
Note: SCIM is only supported with PortSwigger Burp Suite Enterprise Edition, and deleting SCIM-provisioned users or groups within Burp Suite requires you to delete your corresponding Burp Suite SCIM integration.
-
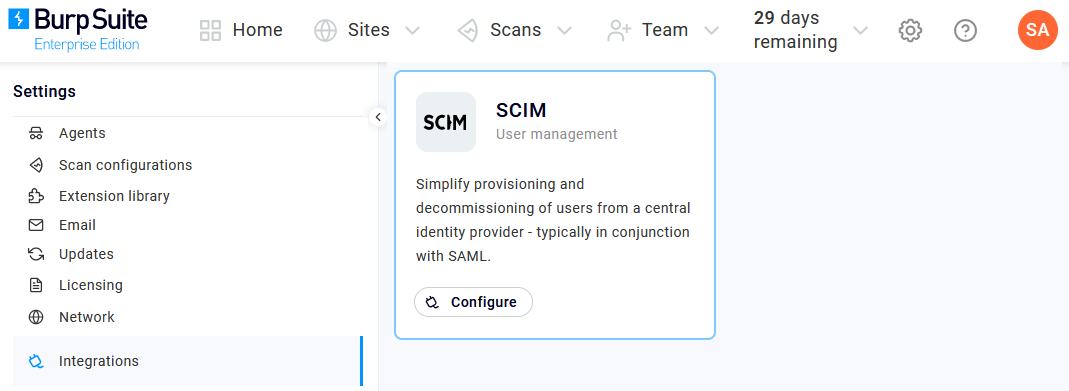
Log into Burp Suite Enterprise as an admin and click the gear icon for Settings. Go to Integrations, then click Configure under SCIM User management.
-
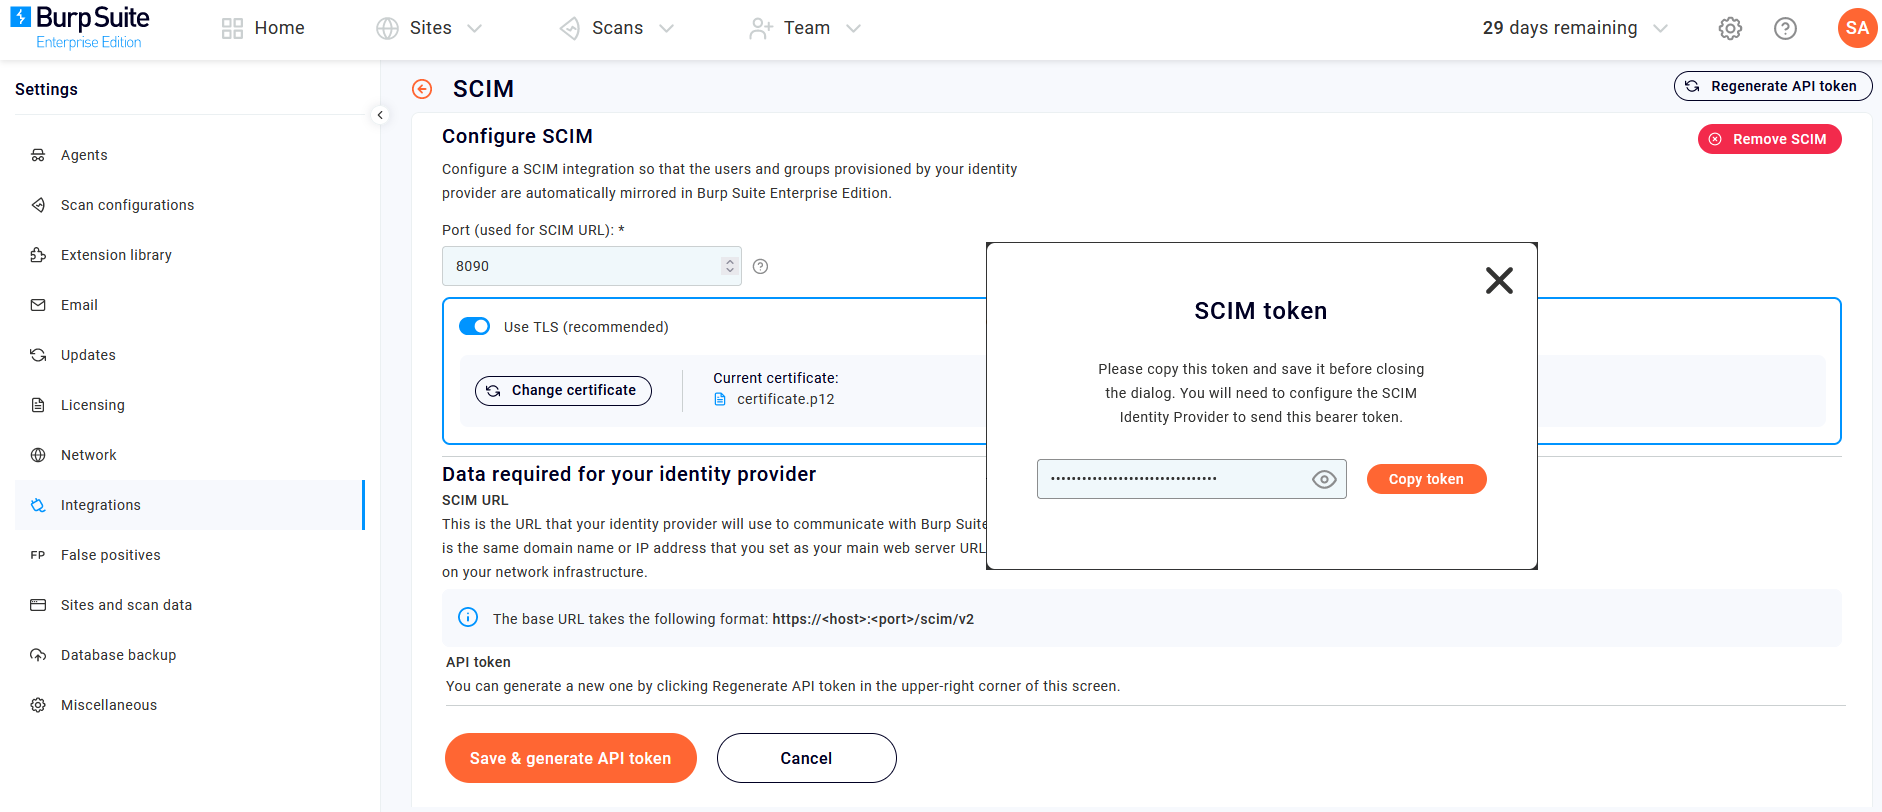
Enter a SCIM URL Port using the settings required by your firewall, then check Use TLS (recommended) to then upload your P12 certificate.
-
Click Save & generate API token and copy down the SCIM token that appears. You'll be copying multiple values to paste from Burp Suite to OneLogin
-
Also copy down the Burp Suite SCIM URL. It will be in this format:
https://host:port/scim/v2). -
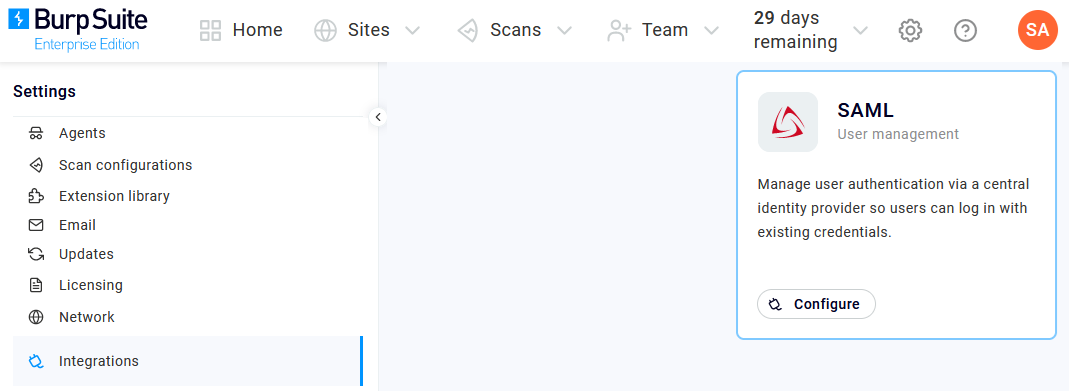
Return to Integrations and click Configure under SAML User management.
-
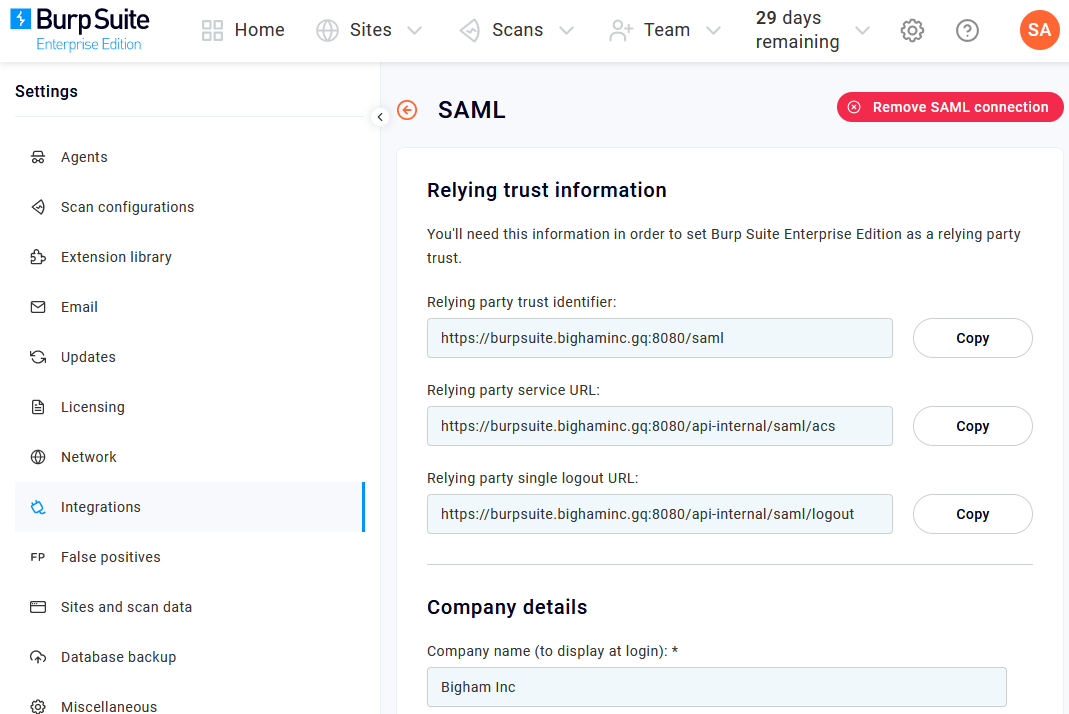
Copy down the Relying party trust identifier and Relying party service URL values and paste them somewhere safe for later retrieval, then enter a name for Company details. Leave this browser tab open.
-
In a new tab, sign in to your OneLogin admin portal. Go to Users > Roles and create a Role for each of your corresponding Burp Suite groups.
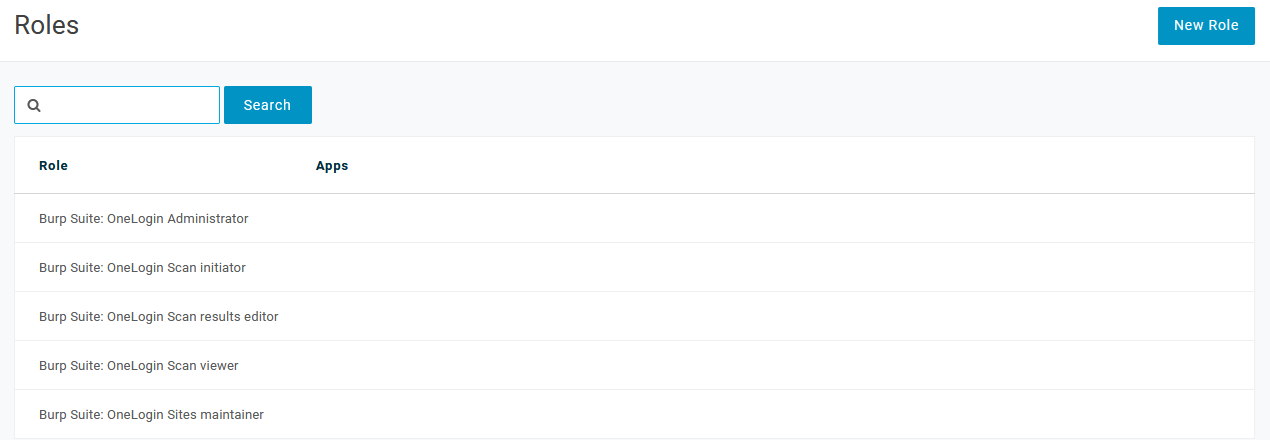
In this example, note how each Role's name begins with Burp Suite; we recommend using this or a similar naming scheme to make your mappings easier in a later step. -
Go to Applications > Applications, click Add App, and search for and select SCIM Provisioner with SAML (SCIM v2 Core). Enter a relevant display name, such as "Burp Suite" and Save the new app.
-
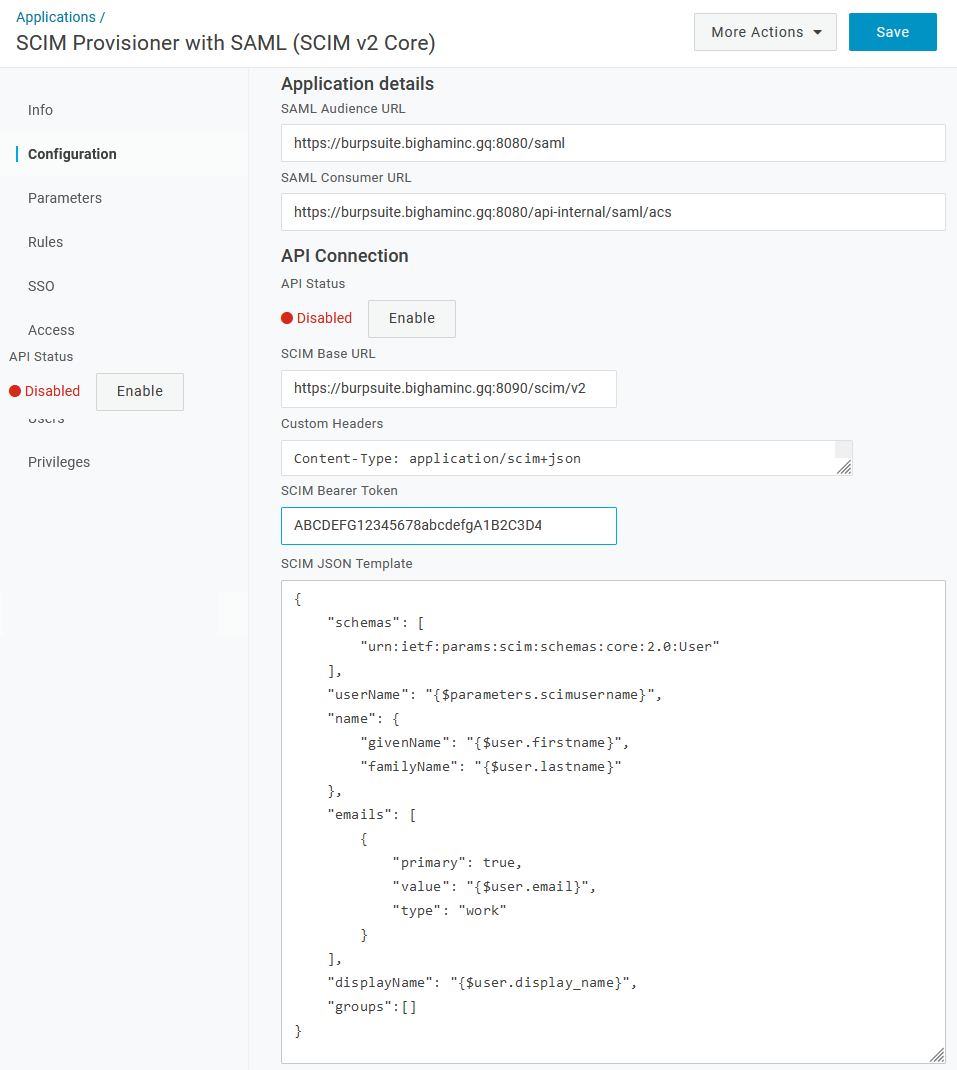
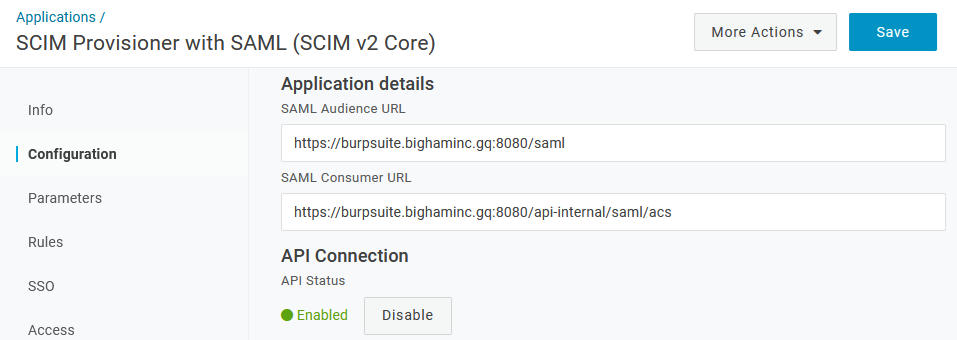
Click Configuration.
-
Paste the values you copied from Burp Suite into the following fields:
Burp Suite OneLogin Relying party trust identifier SAML Audience URL Relying party service URL SAML Consumer URL SCIM URL SCIM Base URL SCIM API token SCIM Bearer Token -
In the Custom Headers field, enter
Content-Type: application/scim+json. -
In the SCIM JSON Template field, enter:
{
  "schemas": [
    "urn:ietf:params:scim:schemas:core:2.0:User"
  ],
  "userName": "{$parameters.scimusername}",
  "name": {
    "givenName": "{$user.firstname}",
    "familyName": "{$user.lastname}"
  },
  "emails": [
    {
      "value": "{$user.email}",
      "primary": true,
      "type": "work"
    }
  ],
  "displayName": "{$user.display_name}",
  "groups":[]
}
-
-
Go to Parameters and map the relevant attributes from Burp Suite to your OneLogin values.
-
Go to Rules and click Add Rule to map your application to Burp Suite.

In this example, the rule uses REGEX to search for any OneLogin Role that starts with Burp Suite, so it will easily find the Roles created previously. -
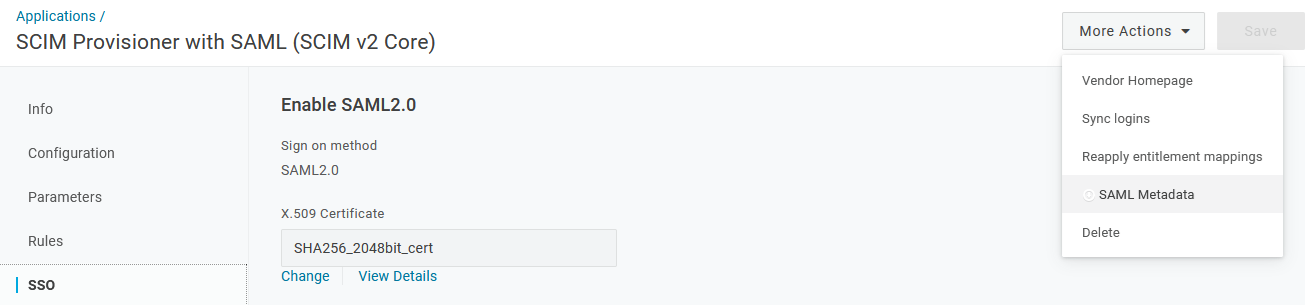
Go to SSO, open More Actions, and select SAML Metadata to download the OneLogin application metadata.
-
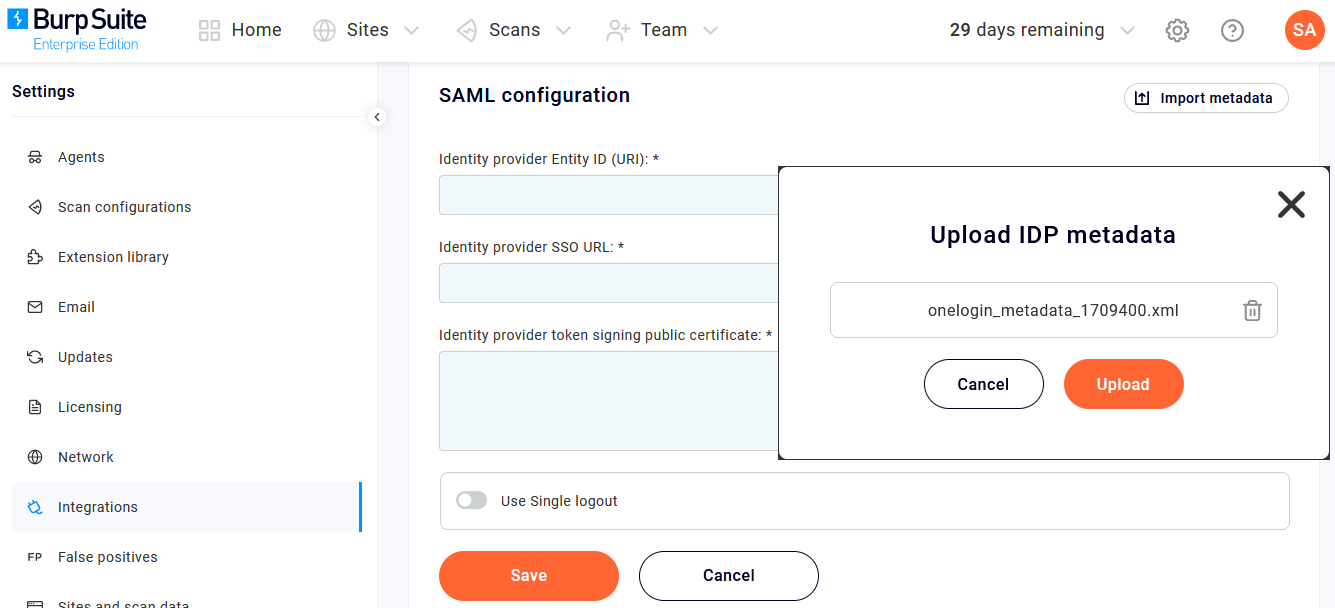
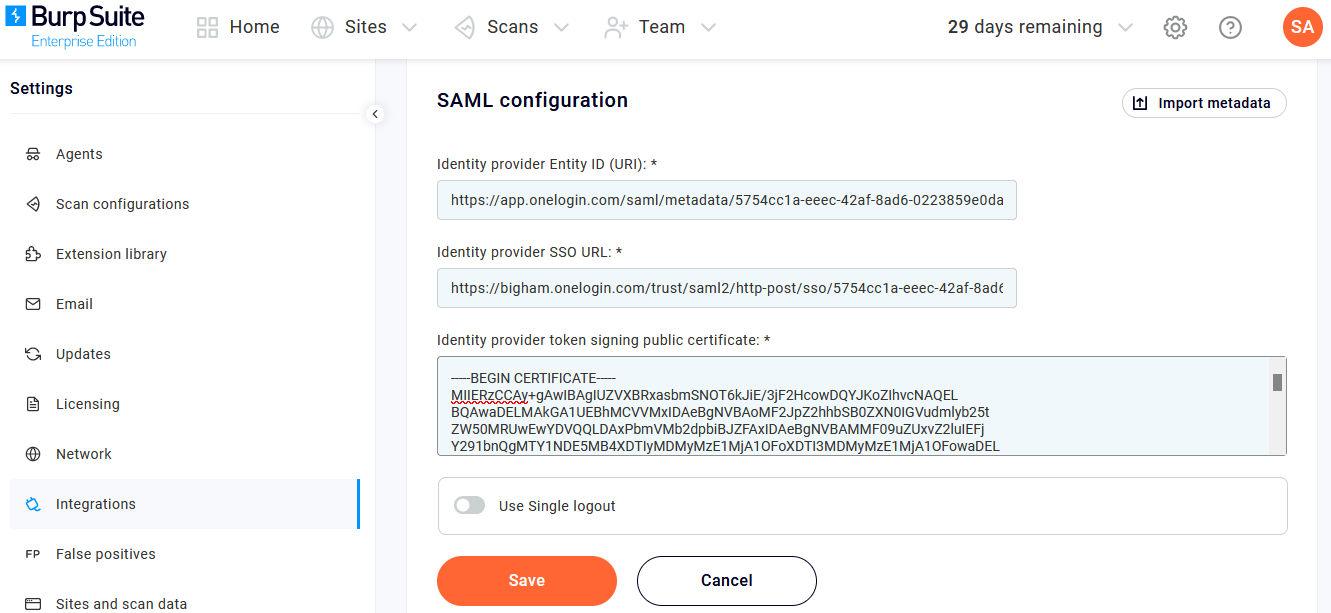
Return to your Burp Suite tab, leaving your OneLogin tab open. Go to SAML configuration, click Import metadata, and upload the file you just downloaded from OneLogin.
-
Confirm that all three Burp Suite SAML configuration fields have been populated with information that matches your OneLogin application configuration, then toggle Use Single logout to Off and click Save.
-
Switch back to your OneLogin tab and return to Configuration. Click Enable under API Connection.
-
Go to Provisioning, check Enable provisioning checkbox, and click Save. You can now assign users to your OneLogin Burp Suite app.
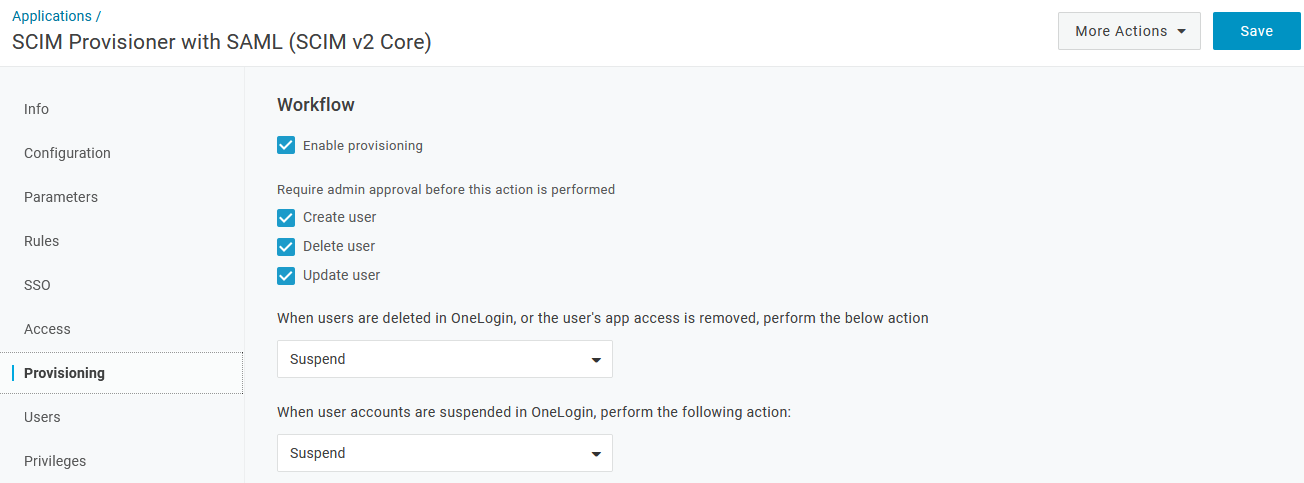 Note: We recommend that you leave Require admin approval before this action is performed checked for all three actions so that you can test user and group provisioning. Once you've successfully completed your testing, you can update them to best fit your user provisioning needs.
 -
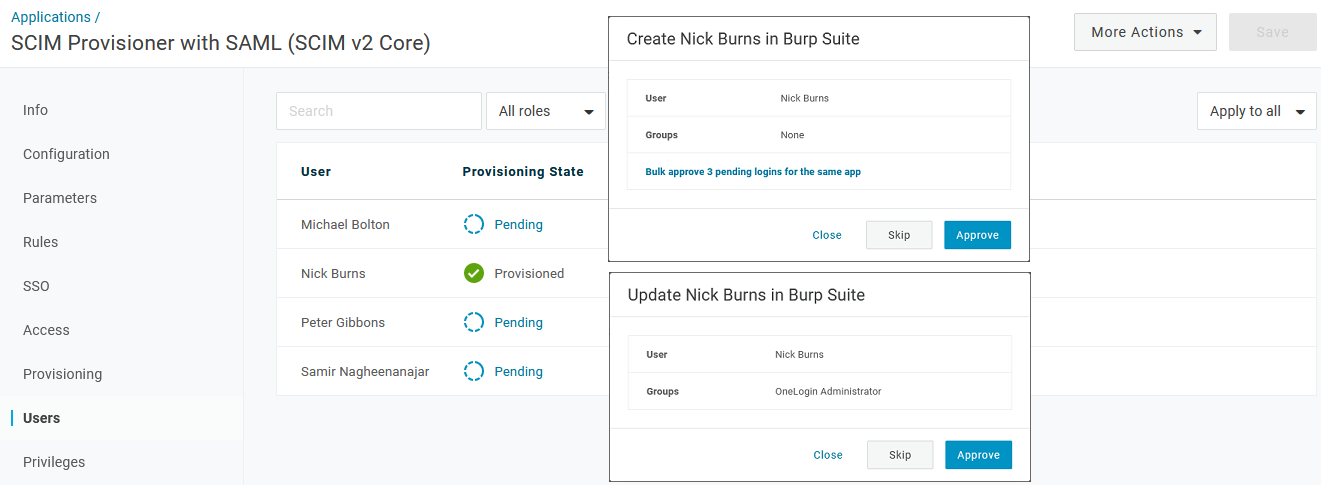
Go to Users, select your initial test users and Approve each provisioning prompt.
-
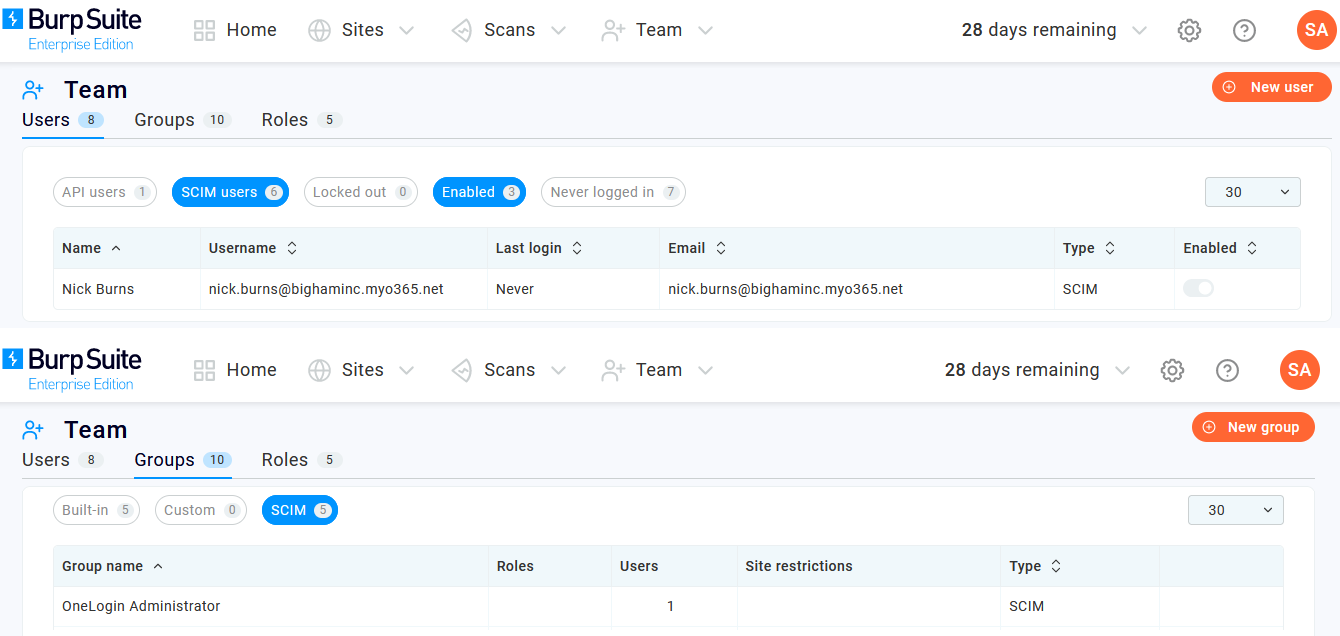
Confirm that your users and groups are successfully provisioned in both OneLogin and Burp Suite.
-
Your configuration is now ready to be tested.
-
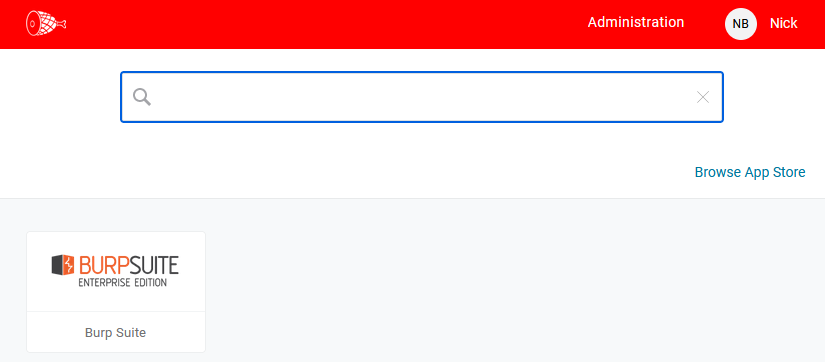
For an IdP-initiated test, use a separate browser or incognito browser session to click the Burp Suite app icon from your OneLogin dashboard.
-
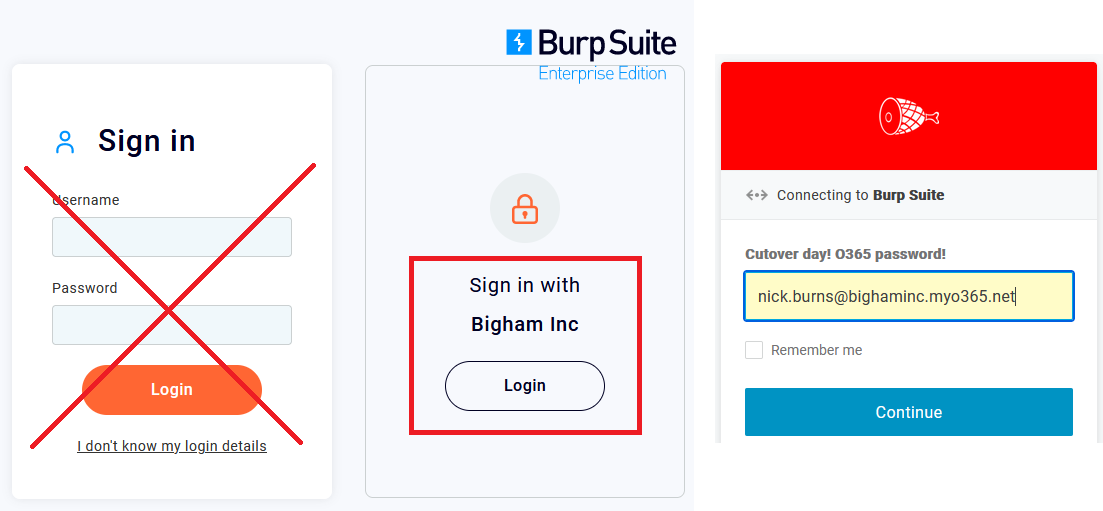
For an SP-initiated login test, use a separate browser or incognito browser session to go to your Burp Suite website (e.g. https://burpsuite.your-company.gq:8080) and click Login under Sign in with Your Company.
-