These instructions tell you how to set up Microsoft or Google Authenticator to work as a secondary authentication factor when you log in to OneLogin.
Prerequisites
- You must have the Microsoft Authenticator or Google Authenticator app installed on your device.
- Your administrator must have configured Authenticator as an authentication factor for your user policy.
-
Go to Security Factors in your user profile. Add a new factor, and choose Authenticator.
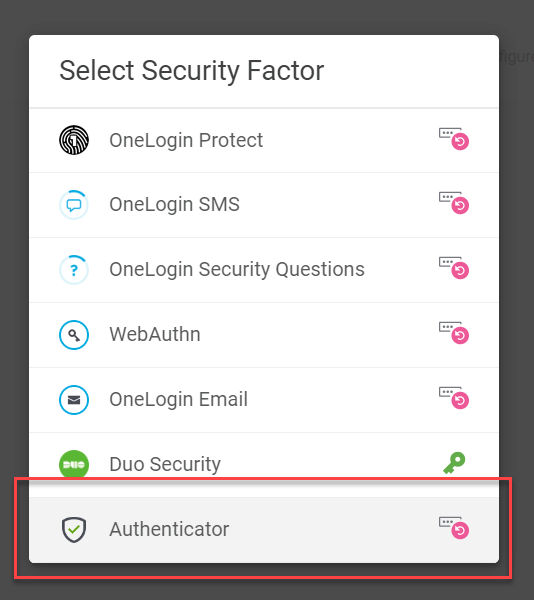
Troubleshooting: If Authenticator doesn't appear in your list of possible factors, it means that your organization has not configured it for multi-factor authentication (MFA) or that they've configured it but haven't assigned it to your user policy. Contact your administration for more information.
-
In the setup wizard that appears, follow the Authenticator enrollment process described in the Google/Microsoft documentation to scan the QR code and add your OneLogin account.

-
If setup completed successfully, Authenticator now appears in your list of configured Security Factors. Depending on the rules set by your security policy, you may be prompted to authenticate with this factor each time you access OneLogin, or only under certain circumstances, such as when you're signing in from an unknown browser.
