|
OneLogin can connect to almost any app you can imagine, handling your users' credentials and automating their login process to seamlessly access the applications they need, either directly or through their convenient OneLogin portals. As an administrator, you have finely-tuned control over these apps, how they connect, what they look like in the portal, and who has access to them.
Types of Apps
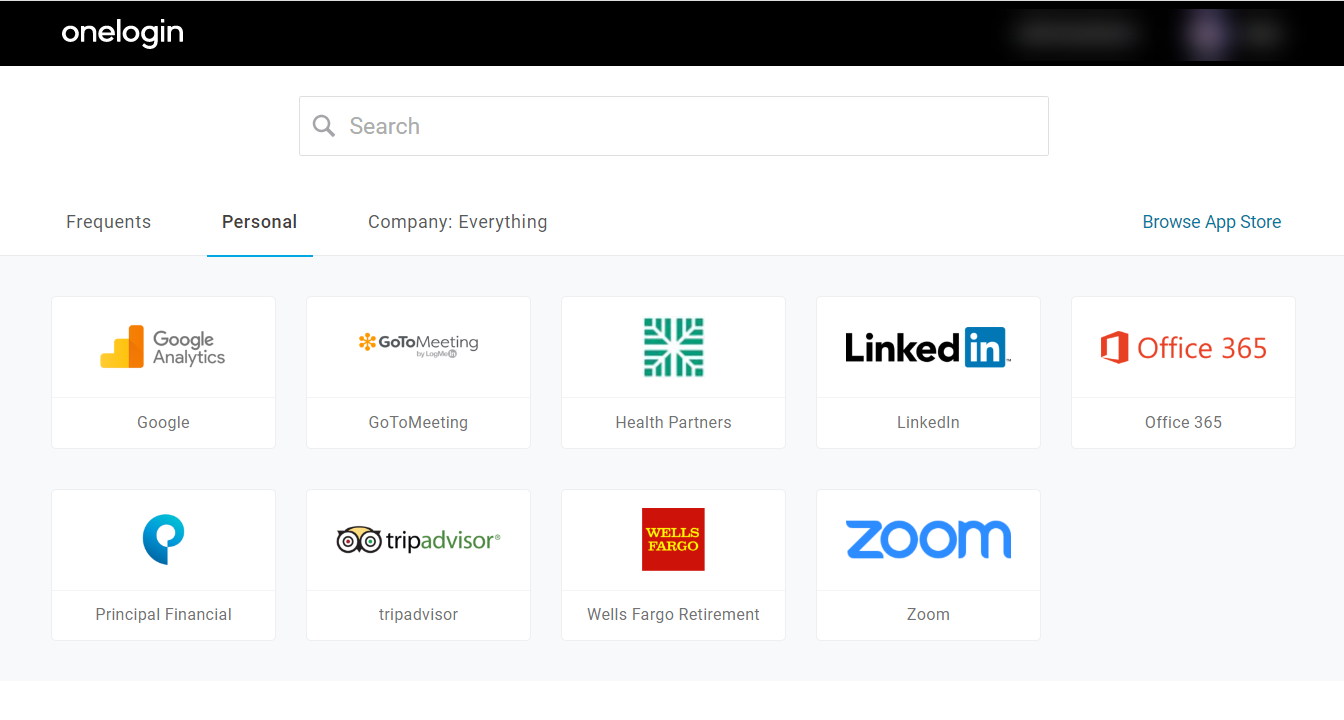
There are two kinds of applications available to your users and displayed on separate tabs in the OneLogin portal: company apps and personal apps.
-
Company apps are those that you and your administrators add to OneLogin on your users' behalf and assign to the specific users who need access to them. These usually include things like payroll and expense software, training platforms, CRMs, and other tools that your users require when working with you.
-
Personal apps are those that users choose to add to their own OneLogin profiles, either through their user portal or with the OneLogin browser extension, and can only be seen, modified, or deleted by the user who added them. They're useful for driving engagement with and adoption of the other apps added through OneLogin, but if necessary, personal apps may be disabled by the account owner.
Managing Apps
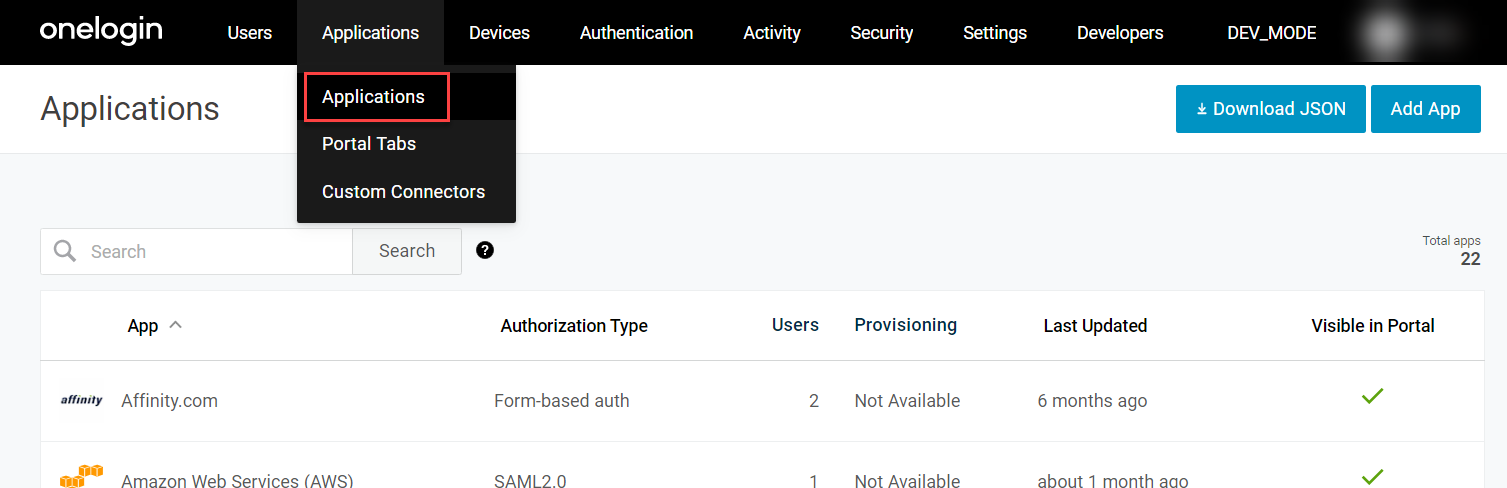
Go to Applications > Applications in your OneLogin admin portal to access the primary management page of your app listing. This is where you can view a complete list of all your current apps, search for specific apps, or add new applications.
App Listing
The app listing gives you a quick overview of all apps you currently have added to OneLogin, along with details like how many users they have assigned, what type of authorization they use, whether they have provisioning available, how recently they've been updated, and whether they're visible in your users' portals.
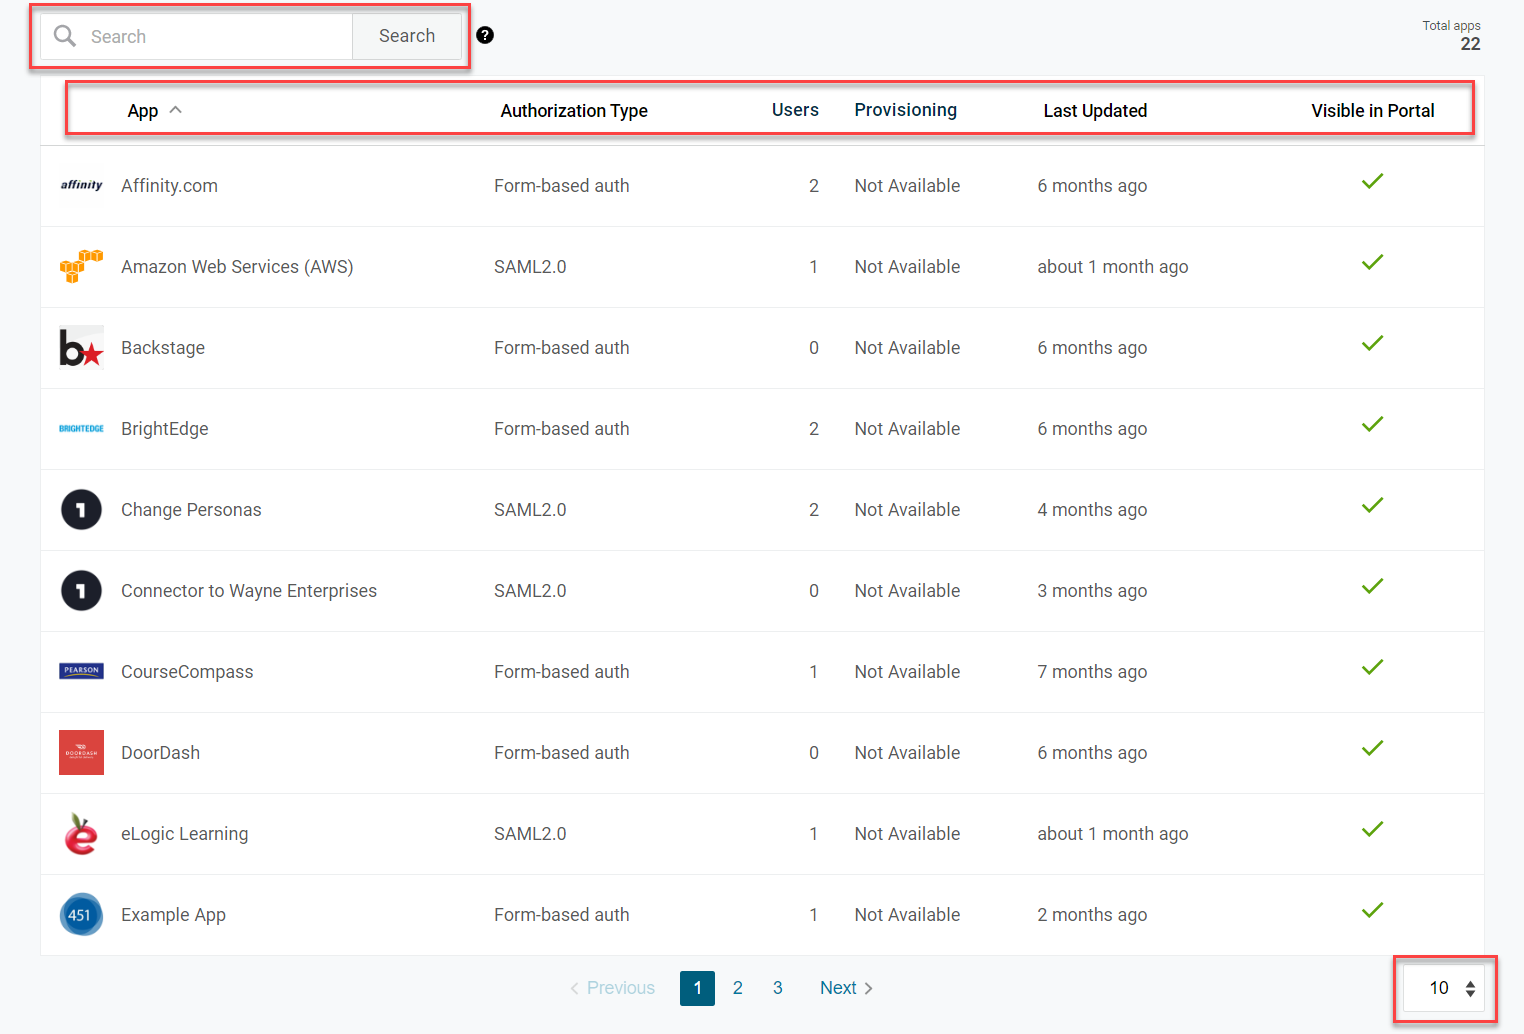
By default, your apps are listed alphabetically, ten at a time. You can increase the load count, sort them by another attribute, or filter them by name to more quickly find the apps you need.
Exporting App Data
Click Download JSON to retrieve a JSON file containing details for each application currently displayed on this page.
App IDs
An App ID may sometimes be required for configuring certain applications or settings. To locate any application's App ID, select it in the app listing and look at its URL. The string of numbers following .com/apps/ is your application's ID.
Users may be able to access some apps with the following URLs:
https://oneidentity.onelogin.com/client/apps/launch/{app id}/
https://oneidentity.onelogin.com/client/apps/select/{app id}/
Note: Some apps may not support access with this method. Please test links before distributing them to users.
Portal Tabs
To make navigating company apps easier for your users, you can organize the user portal with additional tabs in Applications > Portal Tabs. On this page, you can rename the default Company Tab, create a New Tab and select apps for it, or rearrange your current tabs by dragging-and-dropping them in the list displayed. Only the apps assigned to a given user appear on that tab in their user portal. If the user has no apps assigned in a given tab, that tab does not appear in their portal at all.
Adding Apps
There are thousands of apps in OneLogin's catalog of supported and proactively maintained integrations that you can configure for your users. Click Add App to browse possible applications by category or search them by name.
After selecting an app, you can choose to customize its display name, icons, or description, or hide it in the user portal. When ready, click Save and additional configuration options will appear.
Best Practice: The default display name is usually sufficient for most commercial apps. However, if you're adding multiple copies of the same app, such as for a generic connector or an app that has different configuration requirements for different teams, we recommend using the display name to distinguish them. Even if users will only see one given copy of the app and may not need the distinction, it will make app management easier for you and your administrators to quickly identify which copy is which.
If you have an in-house app or want to configure another app not currently available in the catalog, there are a variety of connectors and other solutions to help you integrate your app with OneLogin.
Configuring Apps
Configuration options can vary widely depending on an app's authentication type, provisioning, unique integration settings, and many other factors. This section covers some of the most common basic app settings, but you may need to consult app-specific OneLogin documentation or check the app's integration type for additional configuration details not provided here.
Info
|
Display Name
|
Enter the name as you want it to appear in the user portal and app listing.
|
|
Tab
|
Select a tab to assign the app to in the user portal.
|
|
Visible in portal
|
Toggle this off to hide the app in the user portal. This may be useful for some apps designed to run behind-the-scenes for your users that they need assigned to them but don't need direct access to.
|
|
Rectangular Icon
|
Hover over the current icon to upload a new image for this app. It should be a transparent .PNG or .SVG file with an aspect ratio of 2.64:1.
|
|
Square Icon
|
Hover over the current icon to upload a new image for this app. It should be a transparent .PNG or .SVG file with a square aspect ratio at least 512x512 pixels.
|
|
Description
|
Enter a user-facing description of the app up to 200 characters.
|
|
Notes
|
Enter any internal notes you wish to document for the app.
|
Parameters
Parameters allow you to map your OneLogin attributes to their corresponding fields in the application. For example, if your users log in using their email addresses, you might create a parameter correlating their Username with their Email. Consult the app- or integration-specific documentation for more details on the parameter options available for your app.
Allow users to view the username and password: (Disabled by default) If enabled, users will be able to view their credentials for form-based apps in their user portal.
This page also allows you to configure how your users' credentials are entered. There are up to three options, depending on the type of app you're configuring:
|
Configured by end-users
|
This option is only available for form-based applications. It allows users to enter their own username and password the first time they sign into the app. These are securely stored by OneLogin and auto-injected into the sign-in page by the OneLogin browser extension every time they access that application.
|
|
Configured by admin
|
Select this option to set each user's credentials individually. You can do it manually on a per-user basis, or automatically with the parameters defined on this page.
|
|
Configured by admin and shared by all users
|
Select this option to allow to configure a single set of credentials that will be used by every user accessing this app. For example, if multiple members of your social media team use your organization's Twitter account, you can assign the app to all team members who require access to that account.
|
Some parameters configured by the application may appear as a boolean type. Rather than associating with a specific attribute, these fields offer a simple checkbox to select or deselect.
In this example, the Is Admin attribute is set to False to ensure that all users are marked as not administrators by default unless overridden manually or by a rule.
To allow a parameter to contain multiple values, select Multi-value parameter during its creation. It appears in the Parameters list as the multi_select type and permits you to search for and select values to include in its Added Items.
Rules
Rules allow you to automatically change various app settings for your users based on their configuration in OneLogin. For example, if the app allows you to designate users as administrators, you could create a rule that assign administrator status to any user with the text "admin" in their job title in OneLogin. Consult Rules for more information.
SSO
|
Login Hint
|
Select this setting to auto-populate the user's username during login if a login hint is provided.
|
|
Login Connection Display
|
Select this setting to prevent the login field from displaying the name of the app that the user is attempting to access
|
|
Assumed Sign-In
|
Select this setting to allow administrators who are currently assuming a user account to access the app with the assumed user.
|
Access
|
Policy
|
Select an app security policy to apply to this app and determine your users' access and authentication requirements.
|
|
Role-based policy
|
If desired, you can choose a different policy to apply to users with a specific role with unique authentication requirements.
|
|
Roles
|
Select one or more roles to grant app access to any user assigned to that role.
|
Users
This page displays a complete list of all users who have been assigned to this app. To more easily locate a given user, you can search them by name or filter them by groups or roles.
Select any user to view or edit their login credentials, or to hide or deny access to the app for that user.
Note: Manually edited login details always override those set by rules or provisioned attributes.
Privileges
On this page, you can add or manage any users that you want to have administrative access over this app in OneLogin.
Assigning Apps to Users
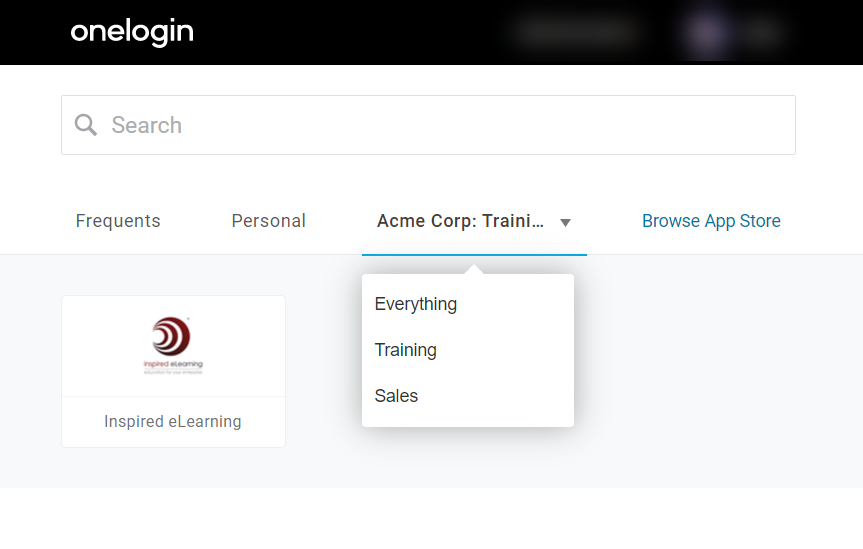
Although it's possible to manually assign applications to individual users in OneLogin, the most efficient way to manage app assignments is by using roles. A role in OneLogin is essentially a collection of apps. For example, you might create a "Training" role that gives access to all your training and onboarding applications, or a "Sales" role that includes the CRM and sales platforms used by that team. Any user assigned to that role has access to every app that the role contains.
In turn, these roles can be automatically applied to entire groups of users by using mappings, preventing you from having to individually grant access on a user-by-user or app-by-app basis. |