Multi-factor authentication (MFA), also sometimes called two-factor authentication or 2FA, adds an extra layer of security to user accounts, drastically reducing the chances that bad actors can steal sensitive information. This guide provides a brief overview of how MFA works and walks you through the process of enabling authentication factors and assigning them to your users.
This feature requires a OneLogin subscription that includes Multi-Factor Authentication. Speak with your account representative for more information.
Overview
As you might guess from the name, MFA uses multiple different factors to authenticate users instead of just one. In a typical single-factor authentication (SFA) scenario, the user signs in with a password, which acts as their one security factor. Most MFA scenarios require both the user's password and at least one other authentication method. There are four types of authentication factors:
- Something the user knows: a username and password, age, birthplace, pet's name, etc.
- Something the user has: either a physical object, like a phone, fob, or keycard, or a digital resource, like a token, app, or certificate file
- Something the user is: a biometric such as a fingerprint, iris, or voice pattern
- Something the user does: the time of day someone typically signs in, the location they sign in from, or similar habits that can highlight unusual or suspicious behavior
MFA uses at least two of these to confirm the user's identity. For example, after entering their username and password credentials [something they know] as the first factor, your user might use a one-time password (OTP) application like OneLogin Protect [something they have], to generate a code that they can enter as the second factor.
Requiring both of these factors before they can log in creates a strong barrier against unauthorized access – in the example above, even if someone finds out your user's password, they still can't get into the account without also having access to that user's phone with OneLogin Protect installed on it. Another advantage of MFA is that it allows for redundant factors that will provide your users with alternative ways to prove their identity even if someone loses access to one of their factors.
Not sure about the best choices for your org's security? Consider SmartFactor Authentication, a machine learning algorithm with advanced risk calculations for determining whether a login attempt should require MFA. It can be a powerful way to provide both convenience for your users and increased security for your organization.
Enabling Authentication Factors
-
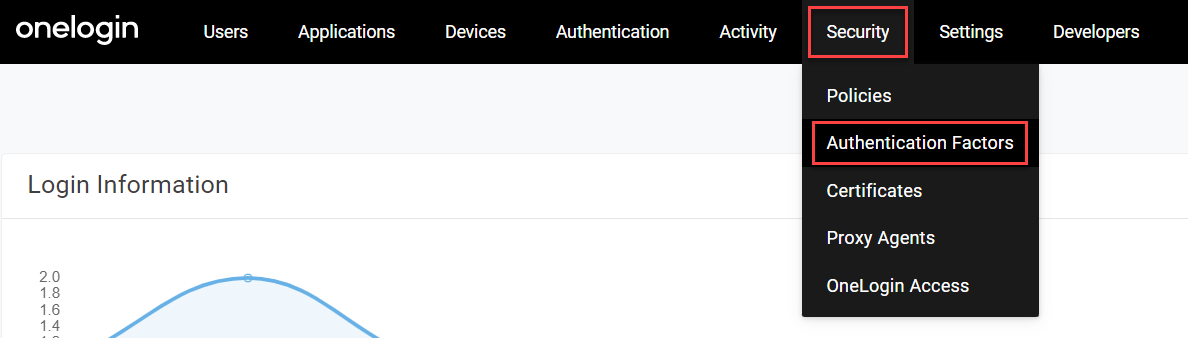
Log in to your OneLogin account as an administrator and go to Security > Authentication Factors.
-
-
Select your desired factor and click Choose.
-
Give the factor a name in the User description field, configure your desired settings, and click Save. The specific settings available will vary by factor, but you can find more detail in the app-specific OneLogin articles or partner documentation.
Best practice! While you can leave the User description with its default name, it's a good idea to give your factor a unique description if you're configuring multiple instances of the same factor. Some factors also allow you to upload a custom icon if you want to further help your users differentiate between multiple instances.
-
The factor now appears in your Authentication Factors and can be assigned to your users.
Bring-Your-Own MFA
If you have a OneLogin plan with Advanced Directory, you can configure a trusted identity provider (TIdP) as one of your authentication factors, even if they're not one of the third-party partners listed above.
Ask your OneLogin account representative to activate the BYO MFA feature for your tenant, and choose Trusted IdP as a Factor for your factor type when adding a new authentication factor. In the settings dialogue, select the TIdP that you want to use from the Trusted IdP name dropdown menu. Your IdP can now be used as an MFA factor alongside any other factors you configure.
Note: This feature only supports TIdP using OIDC and does not work with just-in-time (JIT) provisioning. If you don't see the options shown above, verify that:
- You have an account that supports Advanced Directory and has at least one TIdP configured and enabled.
- The TIdP you want to use has JIT provisioning disabled.
- The TIdP you want to use is configured with OIDC.
- Your account representative has activated the BYO MFA feature for you.
You can also ask your account representative to enable an additional feature allowing you to enable contextual app information to be sent to your trusted IdP whenever an MFA request is triggered.
Once the feature is activated, the requesting application's ID will always be sent with the verification URL. For example, a URL that previously would have appeared as https://example.com/ext/oidc/v1/verifiers/1234/mfa/v1/idp/auth_callback would be updated to include https://example.com/ext/oidc/v1/verifiers/1234/mfa/v1/idp/auth_callback&ol_app_id=567890, making it quick and easy to identify which app triggered the MFA request.
Assigning Authentication Factors to Users
Because OneLogin allows near-complete control over user access to all of your company apps, it's important to plan out your authentication process carefully. You can configure user settings individually or with a mapping, but the best way to maximize security and ease of access is to set up MFA with user groups and policies.
Security policies can be highly customizable, allowing you to create the best authentication processes to meet your org's needs, or even to support multiple users with different needs. Users in the office might prefer a hardware factor like YubiKey because of its ease of use, for example, while users who travel could instead use OneLogin Protect because it's conveniently on their phone.
-
Create a user policy for each kind of security process you want to apply and assign each one its relevant authentication factor(s). A policy can have as many different authentication factors as you want.
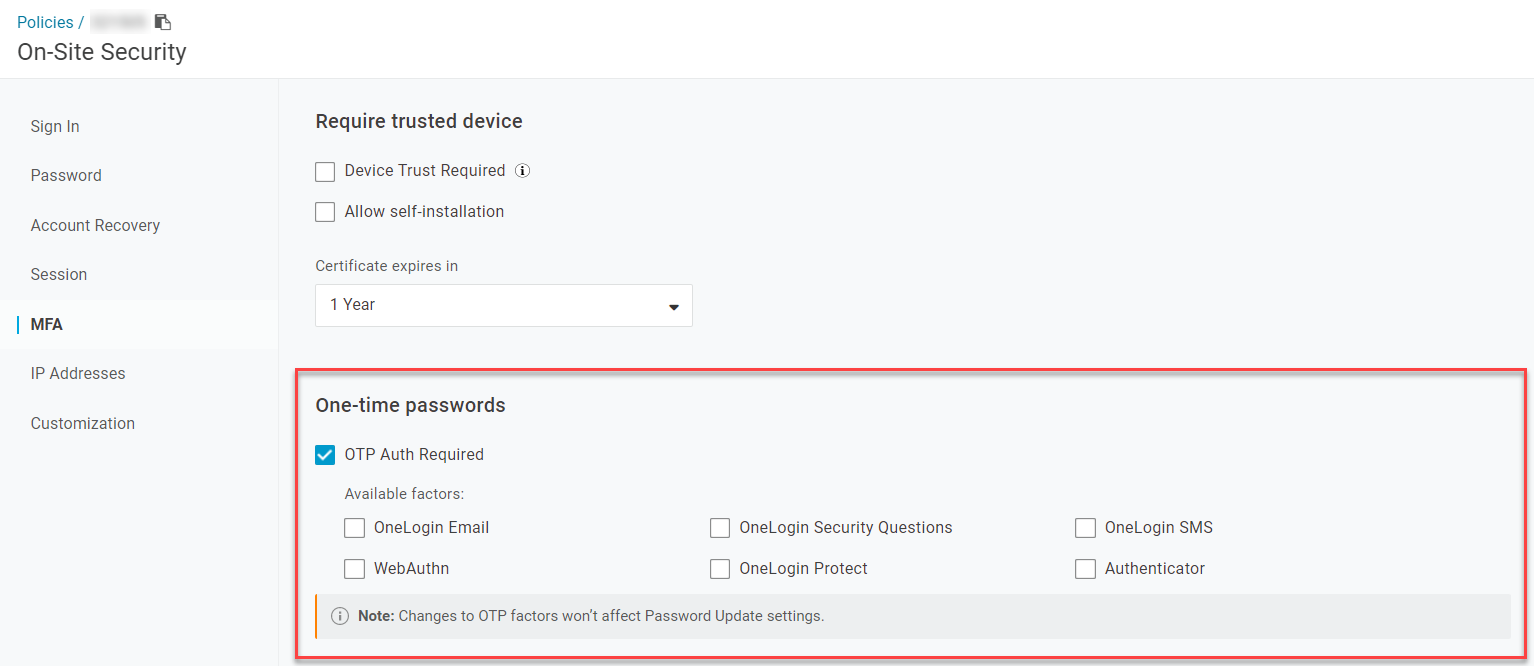
Only the auth factors that you've enabled will appear here. If you don't see the factor you want to use, verify that it's listed in Security > Authentication Factors.
Optional
Apply any desired exceptions for your MFA policies. For example, you can allow users to bypass MFA if they're signing in from a trusted device or specific IP address.
If you want to only allow users to sign in from certain IP addresses regardless of their authentication factors, you can set this up in the IP Addresses section of your User Policy.
-
Create a user group for each of these policies and assign your users to their relevant groups.
But what if a user loses access to a factor they need, and doesn't have a redundant factor available?
You can generate a Temporary token for your user by selecting their name from the Users menu and going to Authentication. This creates an OTP that you can set to expire within a certain timeframe or after a single use, allowing the user to regain access to their account and update their authentication methods.
|