OneLogin offers numerous localization options for the end-user portal. In addition to setting the default language displayed to end-users, the Account Owner can define a selection of languages that end-users can enable in their portal.
NOTE: The translation only modifies the text in the end-user portal. Administrative and control settings remain in English for the admin of the account.
To Enable and Configure Localization:
- Log into the Account Owner account.
- Go to Settings > Account Settings > Localization.
- On the Localization page, adjust the settings:
| Enable |
Click to enable localization for languages other than English. |
| Language |
Use the Default Language dropdown to select the dafult language for the end-user portal. |
| Additional Languages |
Check the languages to be made available to end-users. |
User View:
When the Account Owner enables localization, users will encounter the localized language upon logging in. The user can also select other available languages by going to Profile and selecting their chosen language from the Language dropdown.
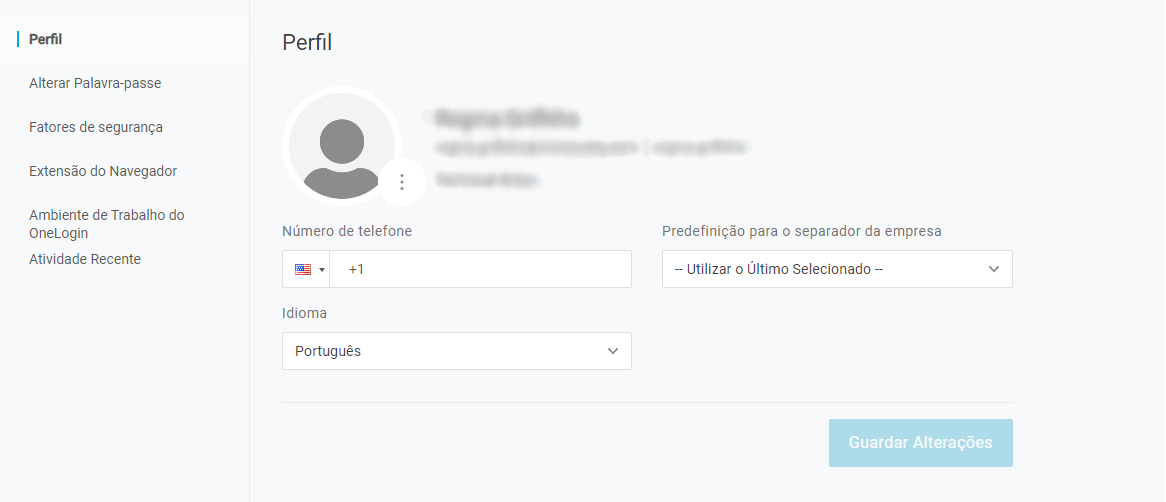
Above is an example profile page localized to Portugese, as shown under the Language -- or in this case, Idioma -- dialogue box. This setting allows both administrators and users more control over their personal OneLogin experience. OneLogin's localization settings initially default to the browser's localization and languages setting. Once the Account Owner enables localization, the default language set within OneLogin overrides the browser's default language. |