This article describes how to configure OneLogin to provision users to Zoom.
Note: before beginning this process, ensure that your Zoom admin portal has Just-in-Time Provisioning activated.
Configure provisioning for Zoom
-
Log in as a Super User or Account Owner and go to Applications > Applications > Zoom.
-
Go to the Parameters tab to confirm or update the mapping of Zoom attributes to OneLogin attributes. For licensed users, set userType to -No Default-, then create a Macro with the variable Licensed, ensuring you click Reapply All Mappings after you've done so.
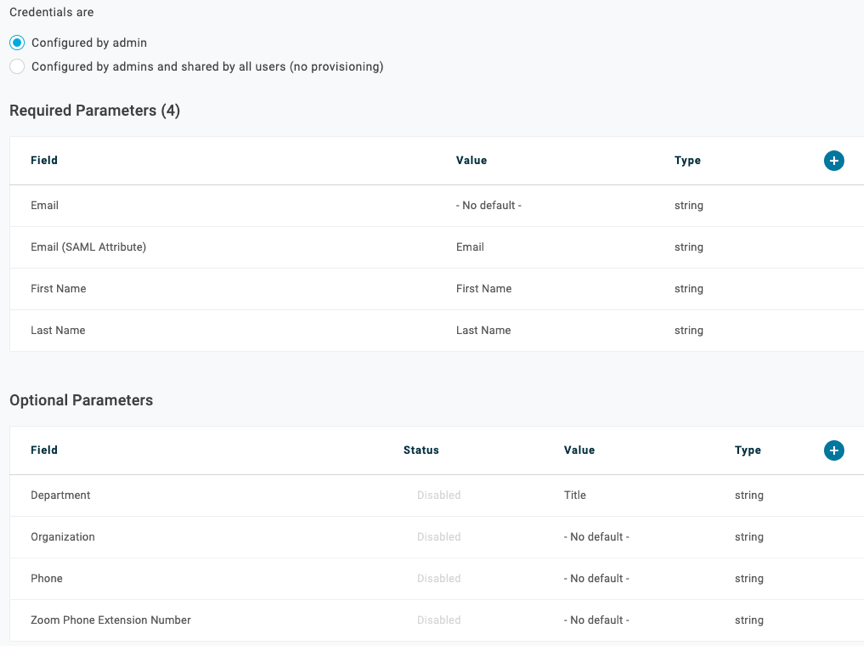
| Email |
Maps to user email attribute |
| Email (SAML attribute) |
Email attribute for SAML assertion |
| First Name |
User's first name |
| Last Name |
User's last name |
| Department |
Maps to the user's department |
| Organization |
Maps to user's org |
| Phone |
Maps to user's phone |
| Zoom Phone Extension Number |
Maps to Zoom Ext |
-
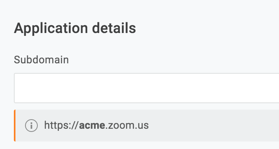
On the Configuration tab, enter your vanity URL subdomain in the Subdomain field.
-
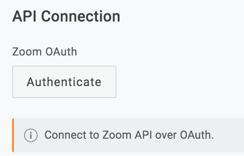
On the Configuration tab, Authenticate Zoom OAuth.
-
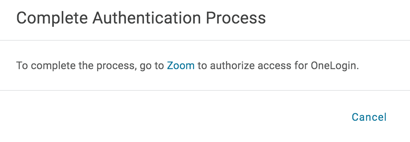
After you authenticate, click the Zoom link to complete this process. The link directs you to the Zoom UI and requires you to sign in and accept this change.
-
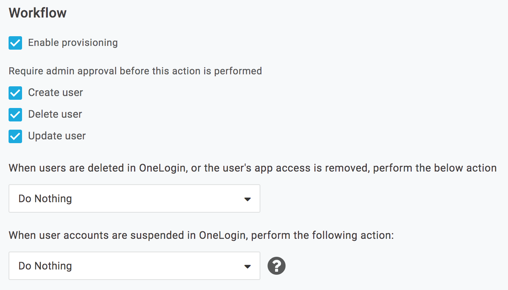
On the Provisioning tab, enable provisioning and set your admin approval policy.
-
Select Enable provisioning.
-
Select the provisioning actions that require admin approval. Note: statuses for Zoom Room and Admin users cannot be altered via provisioning and attempting so will generate a 200 error.
If you select any of the available actions, an admin must go to Users > Provisioning to manually approve the action every time it occurs.
-
Select how users that are deleted in OneLogin are handled in Zoom.
Choose between Delete, Suspend, or Do Nothing.
-
Select how users that are suspended in OneLogin are handled in Zoom.
Choose between Suspend or Do Nothing. If you choose Suspend, users are suspended in Zoom. If you select Do Nothing, accounts remain active in Zoom if the user is suspended in OneLogin.
Licensing
You can define a user's license level by adding an optional parameter. To do this, create a macro by adding a custom SAML attribute userType with one of the following values:
Note: To define the license level, you must first enable JIT provisioning. In the near future, you can easily set this value in the Parameters section.
To create an optional parameter, complete the following.
-
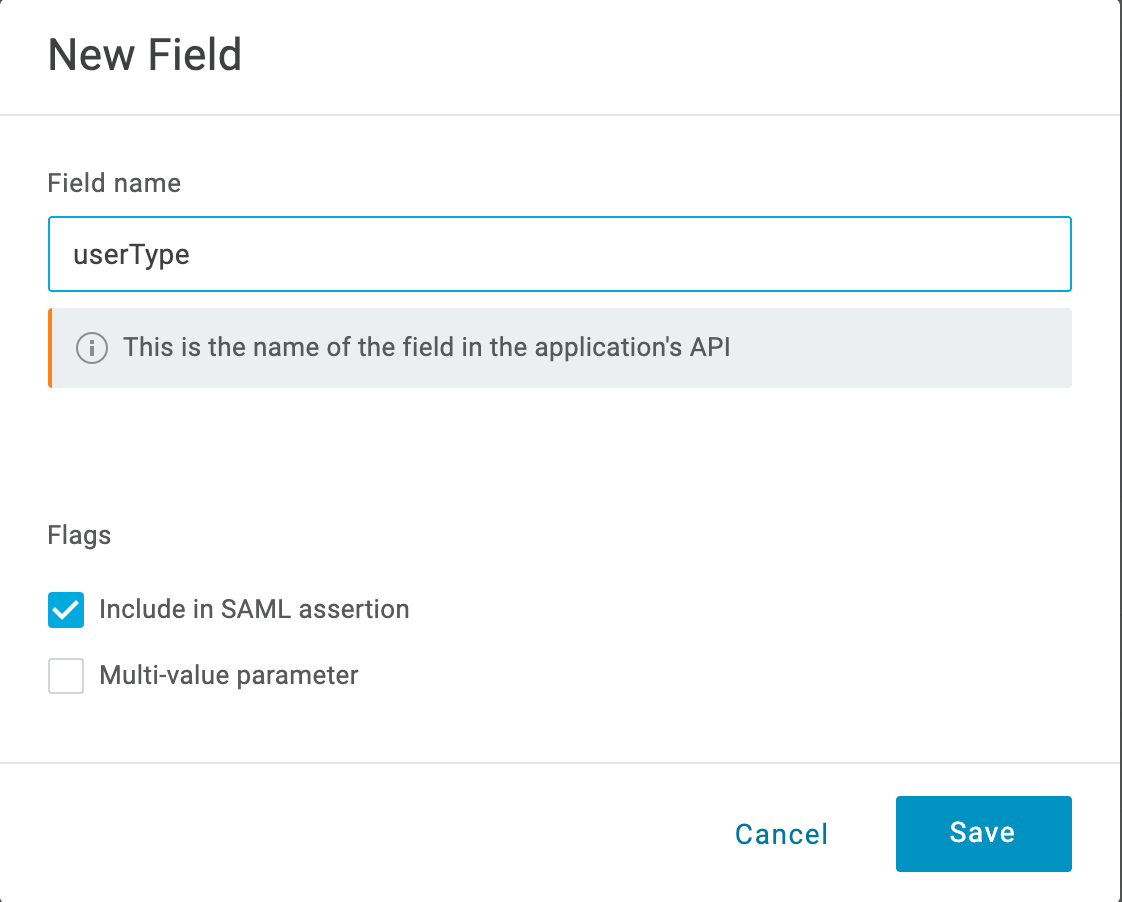
Click on the blue + sign under Optional Parameters.
-
In Field name, Name the parameter userType. Click Include in SAML assertion and Save.
-
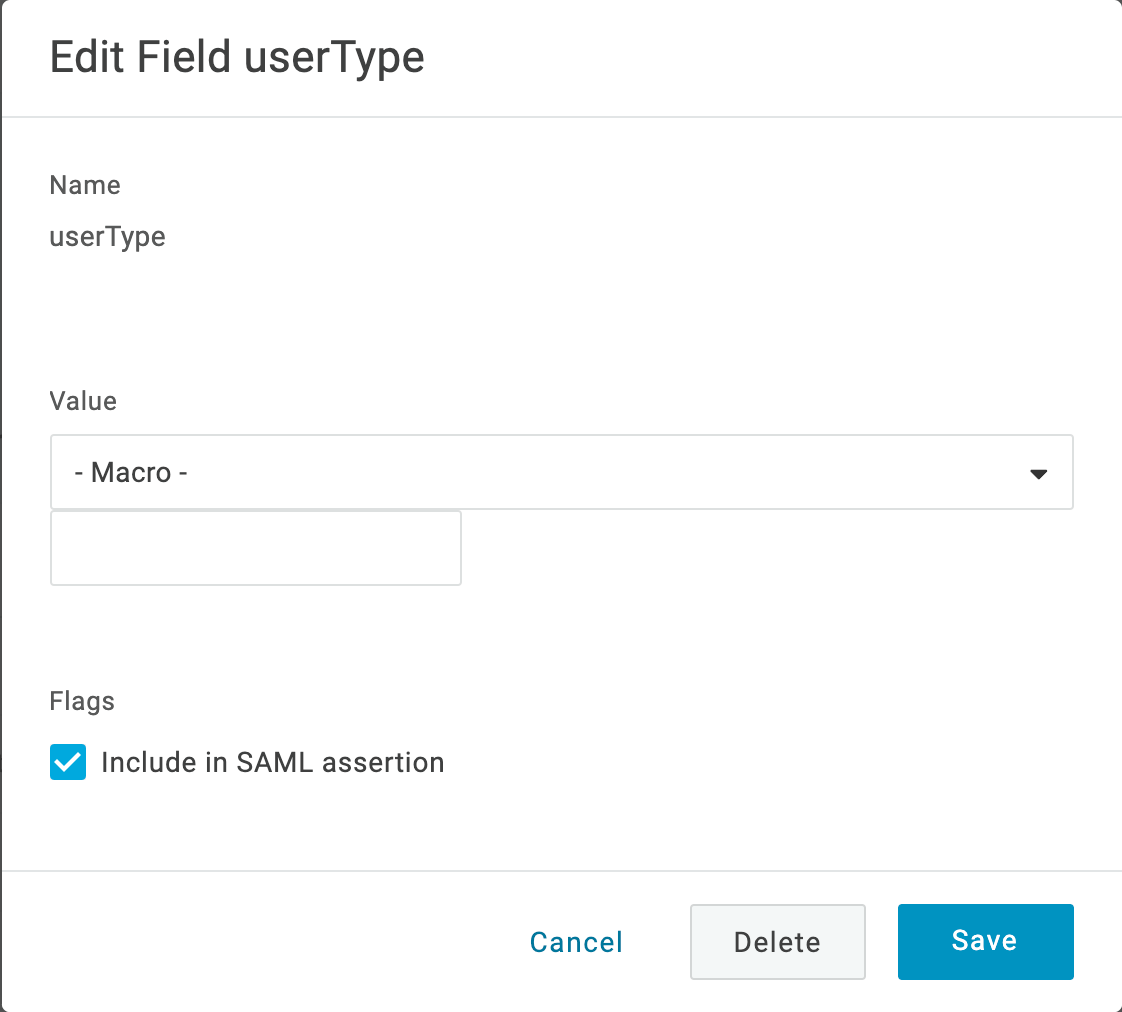
In the next dialog, choose Macro from the Value dropdown. In the space below, you can define the user value: Basic or Licensed.
-
Click Include in SAML assertion and Save.
|