These steps will guide you through setting up Authenticator as an authentication factor for OneLogin. Authenticator
Prerequisites
- You have downloaded Authenticator onto your mobile device.
- Your administrator has enabled Authenticator as an authentication method for the account.
Note: If OTP is required for all users and a user is under that security policy, the user will be prompted to register the device at the first successful login.
End-User Configuration
To register Authenticator as a user, do the following:
- Go to the corner menu and select Profile > Security Factors.
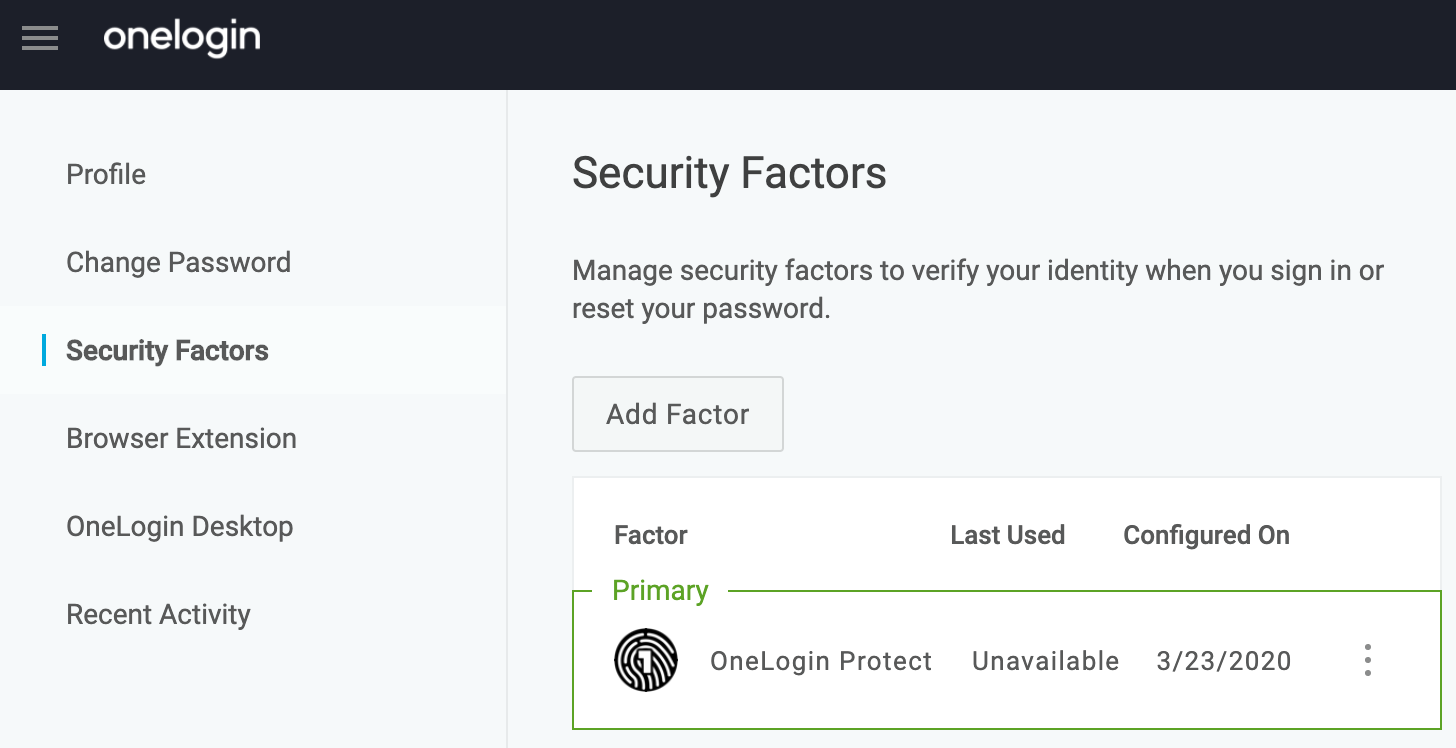
- In the Security Factors page, select Add Factor to add a new authentication factor.

- Select Authentication from the dropdown menu.
- Scan the barcode presented on screen.

- Input the security code generated by Authenticator and click Continue. Remember that the security code is only valid as long as its displayed.

- Your registered device will appear under Authentication Devices in the security page, with the attributed credential ID.

Confirm with your administrator how the OTP policy for users is set and whether it's for every single login attempt or only for browsers unknown to the user account. - Upon logging in, the user will be prompted for a 6-character security code generated by Google Authenticator.
- Enter the Security Code.
- Click Log In.
And with that, the user will be logged in and their Authenticator MFA successfully configured.